- Traveling Twosome Blog
- BeBelize - Our life in Belize (2011-2013)
-
Earlier adventures (2003-2010)
- First Belize Trip 2010
- Fall Sail Cruise Aboard Logos 2009
- Conch Key 2007
- Charleston Sailing School 2007
- Biscayne Bay Sailing School 2007
- Key Lime Sailing Club 2006
- Southwest Parks 2006
- BEYC/Jost van Dyke, BVI 2005
- Offshore Sailing School 2004
- Annapolis Sailboat Show 2004
- Finger Lakes 2004
- NY State Bike Tour 2004
- Biras Creek, BVI 2003
|
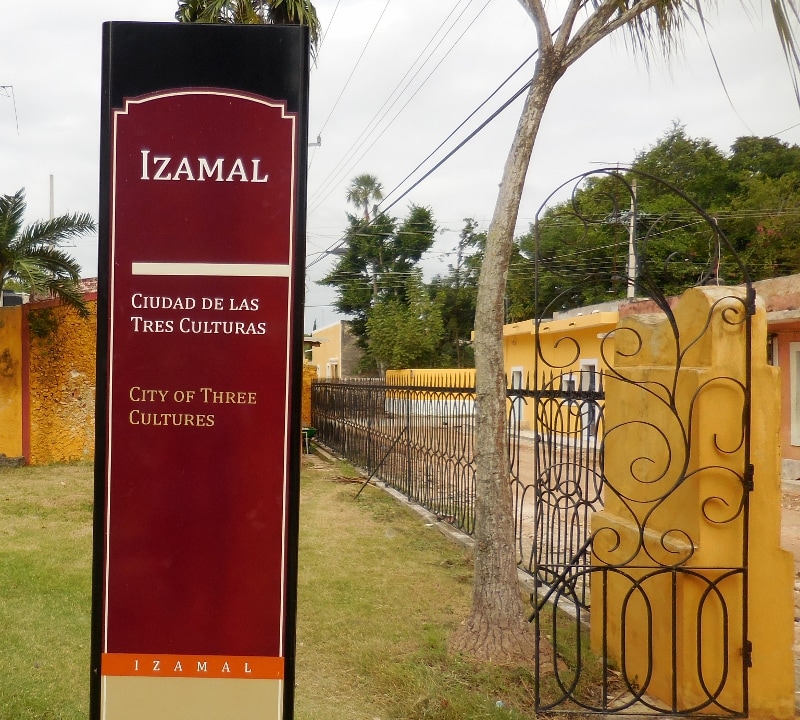
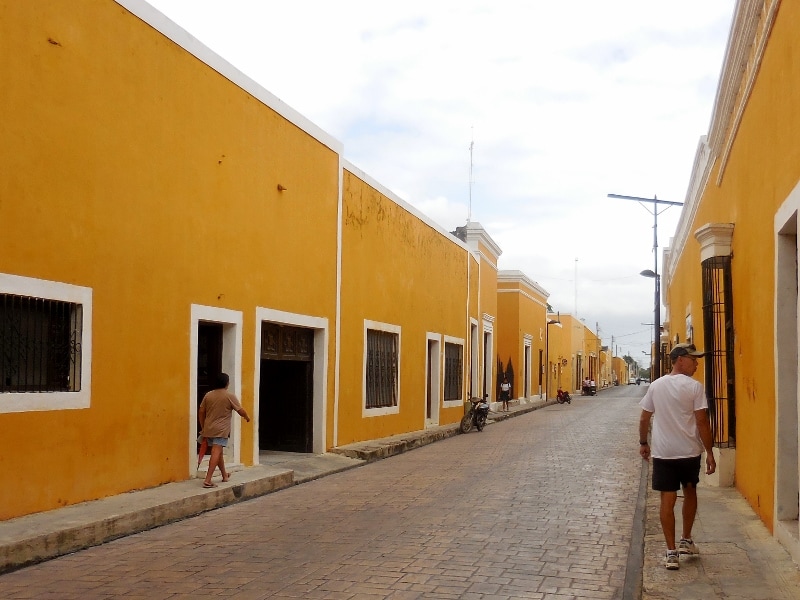
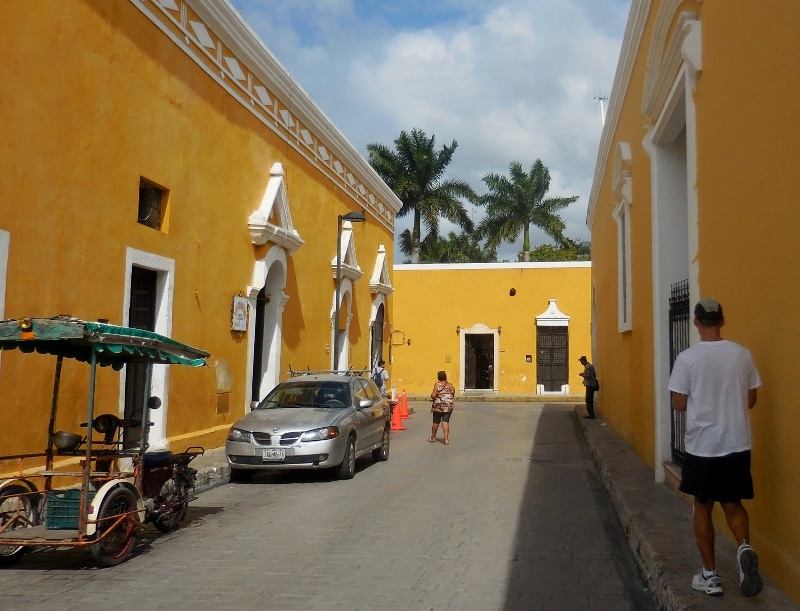
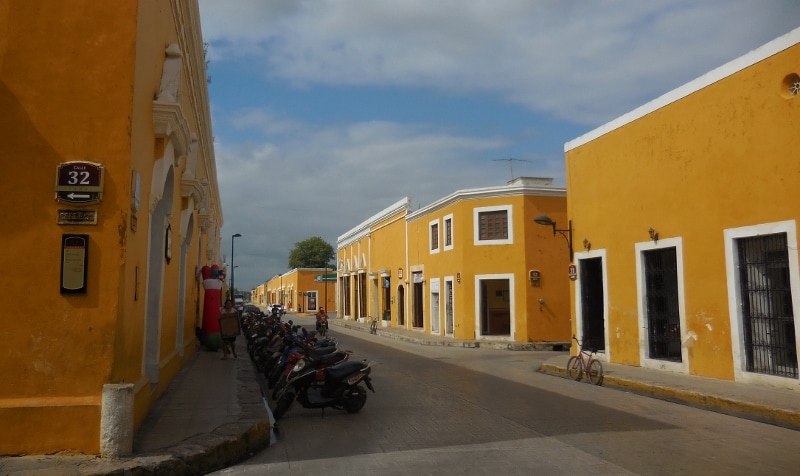
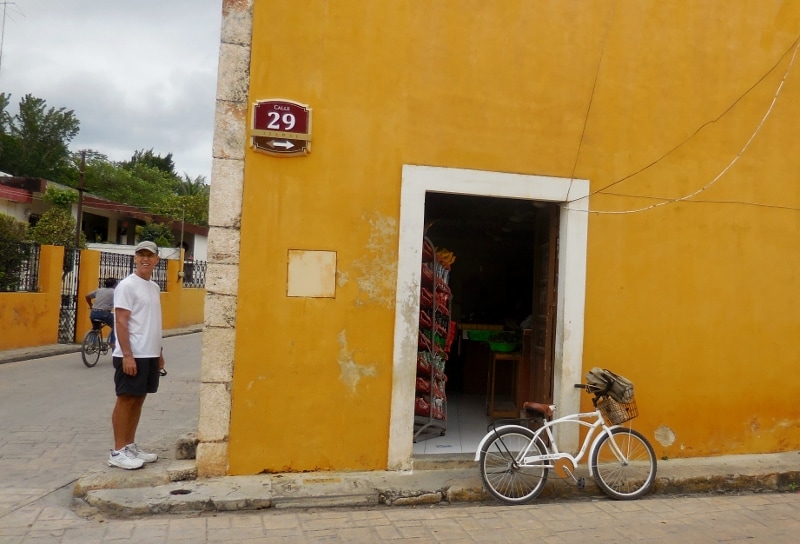
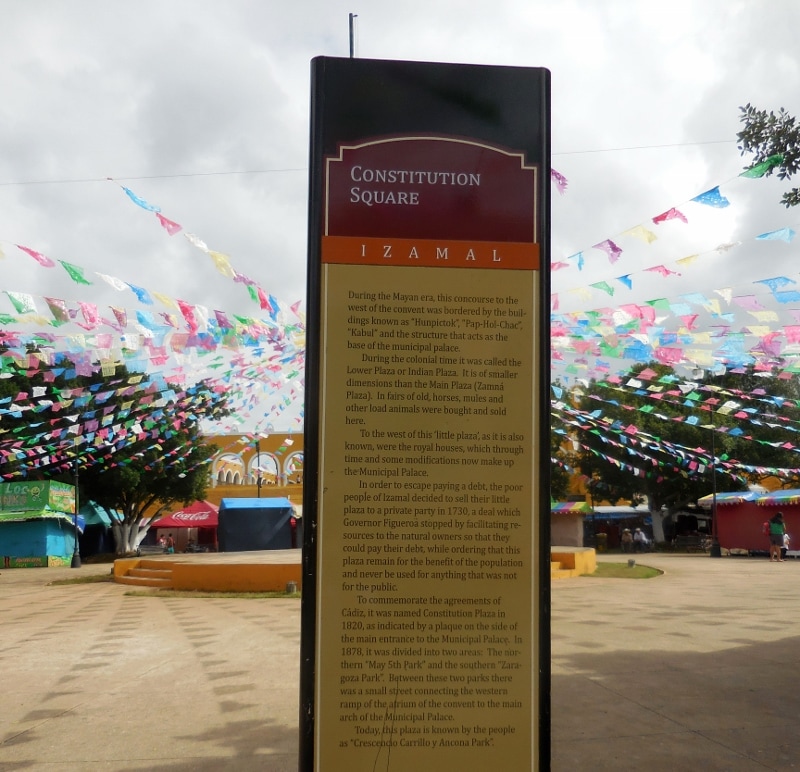
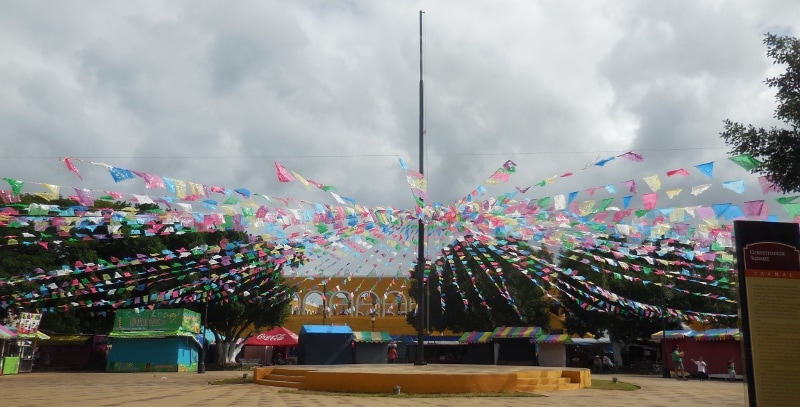
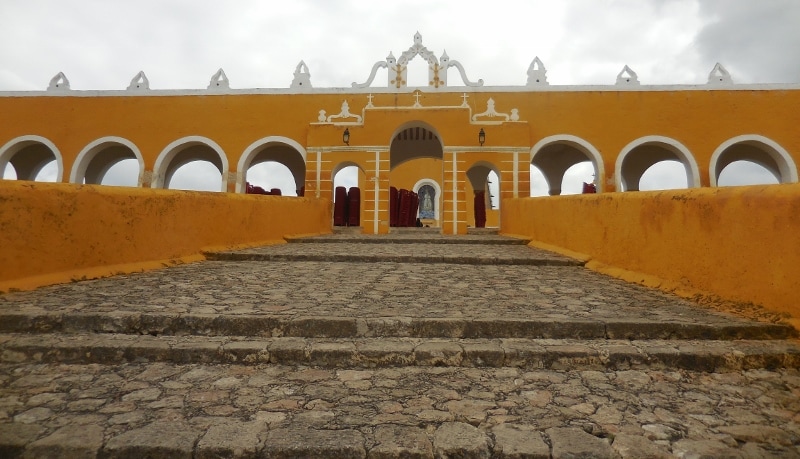
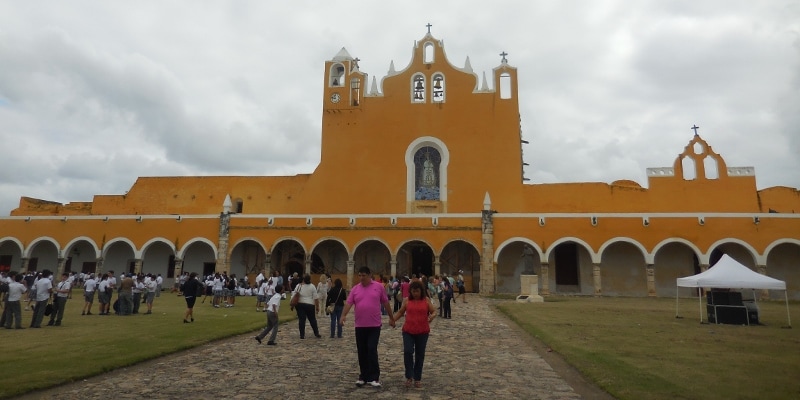
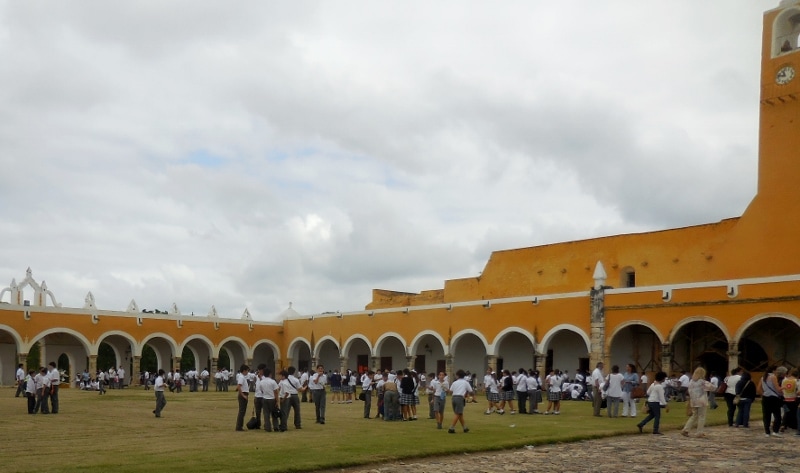
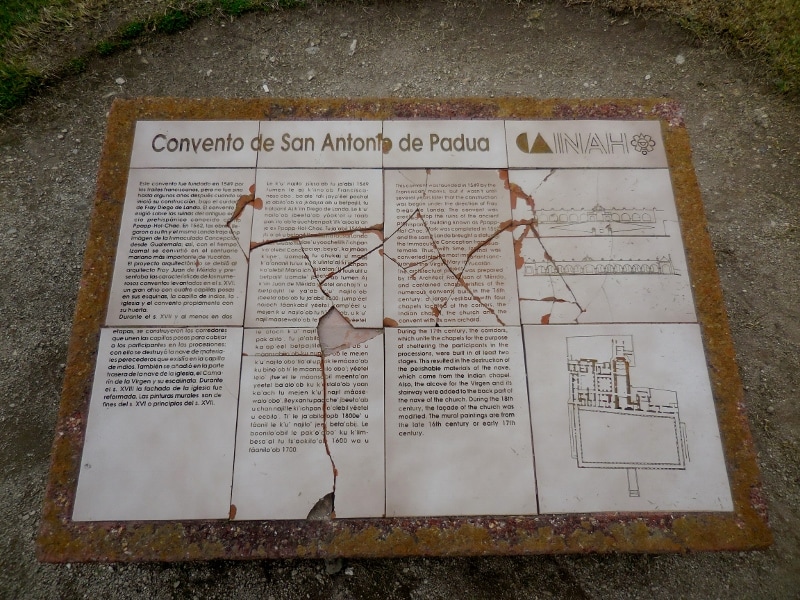
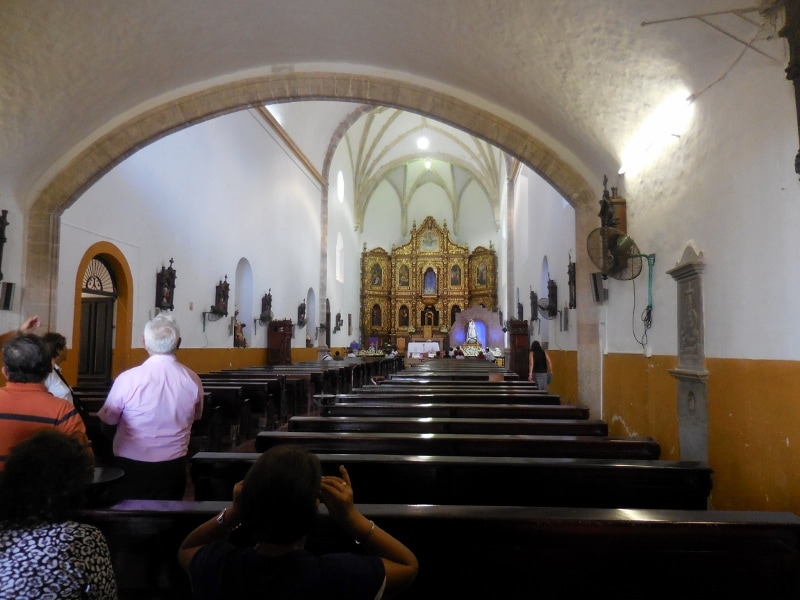
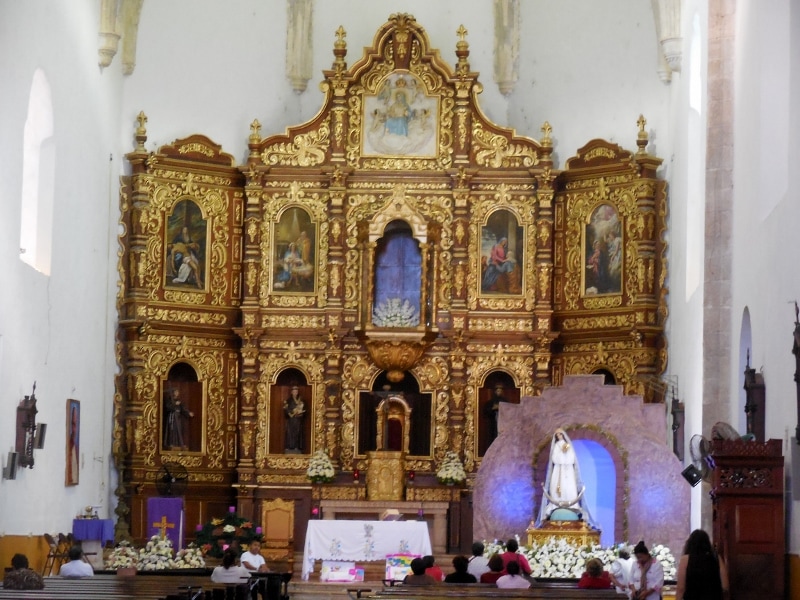
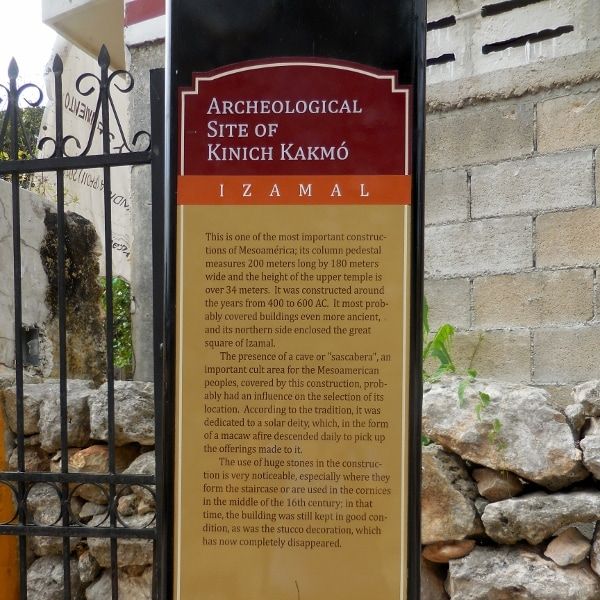
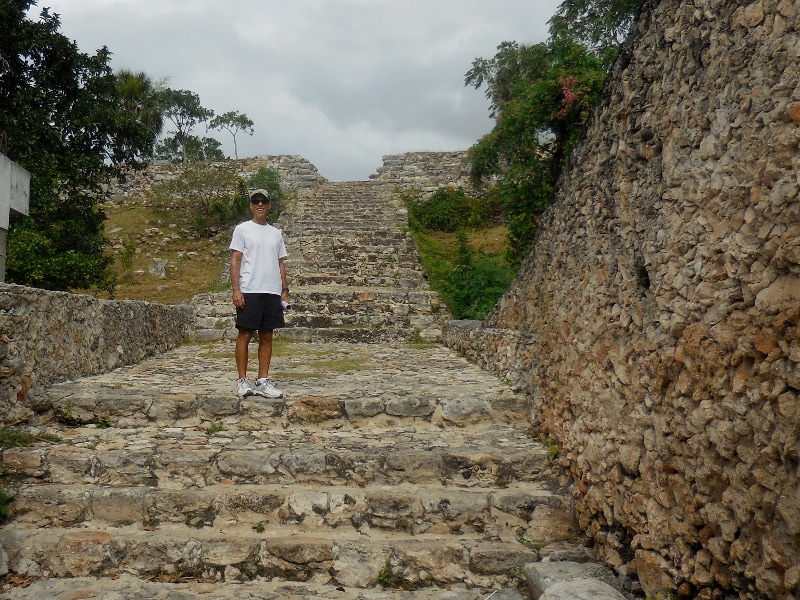
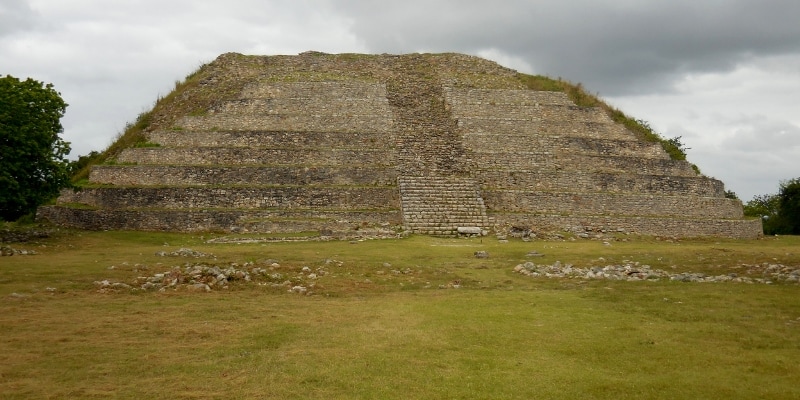
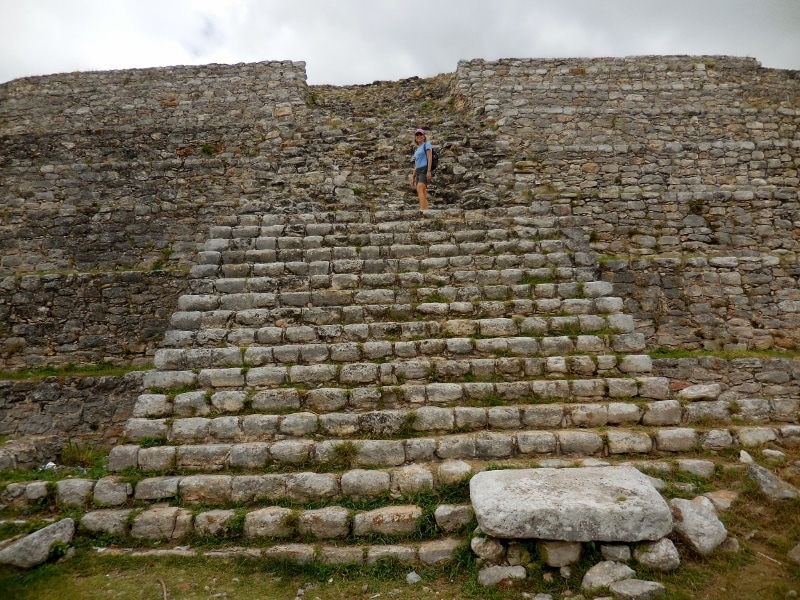
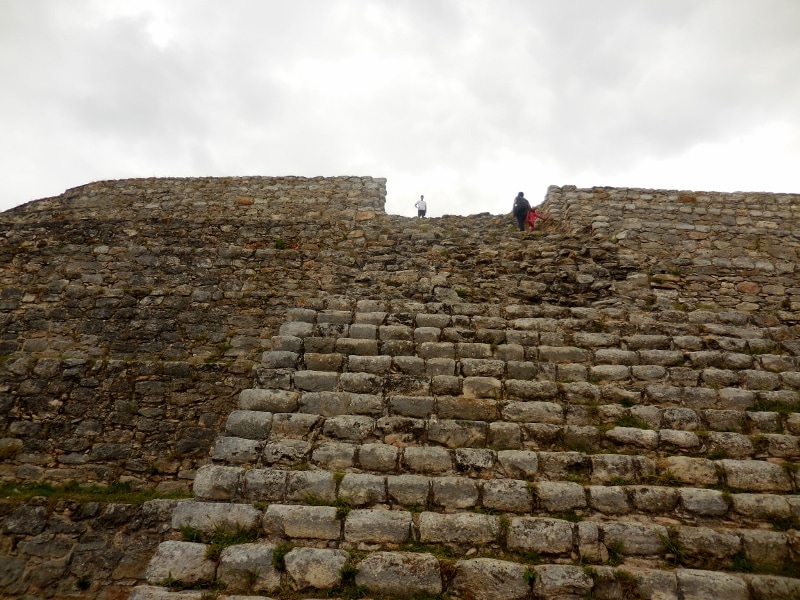
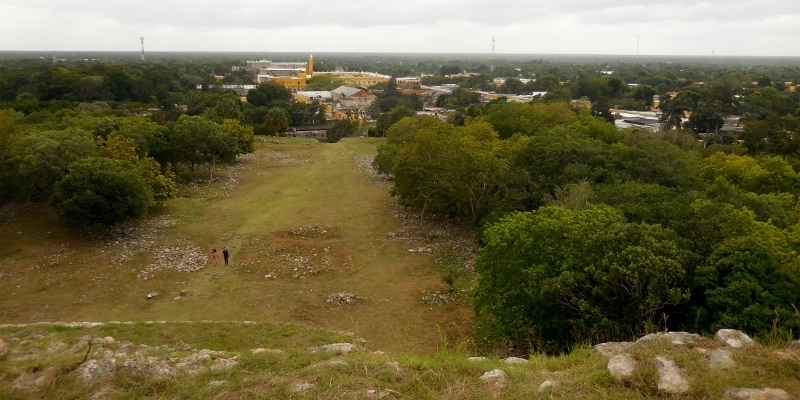
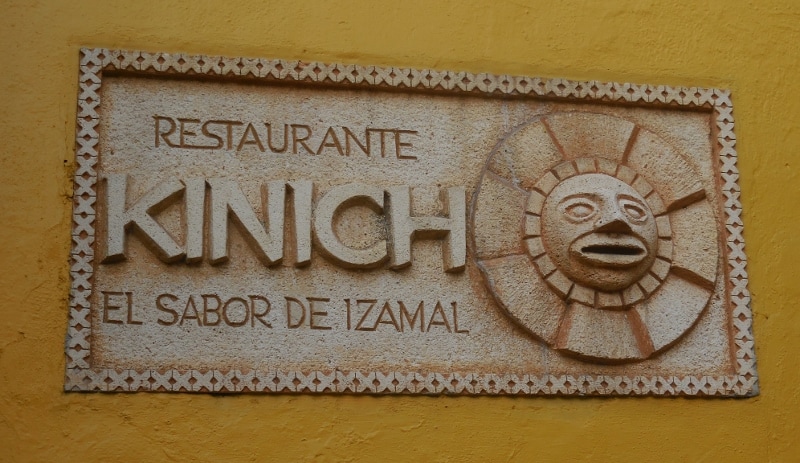
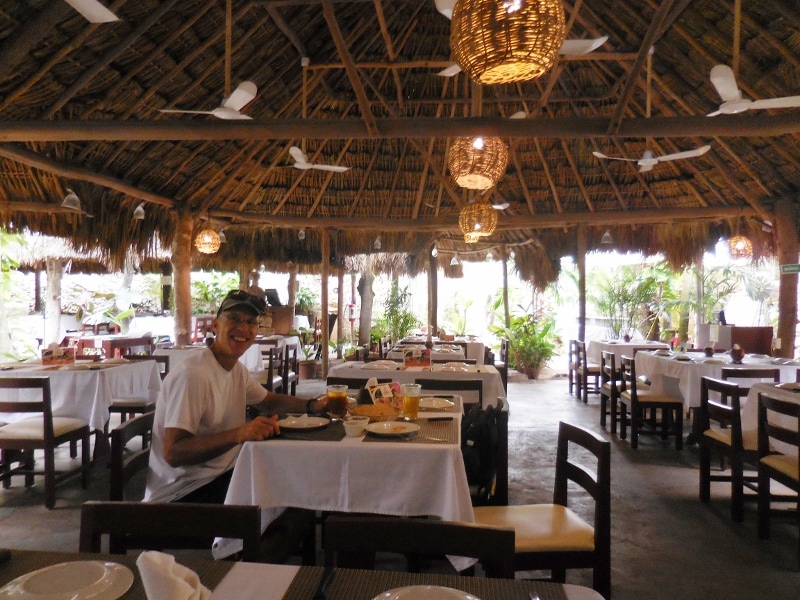
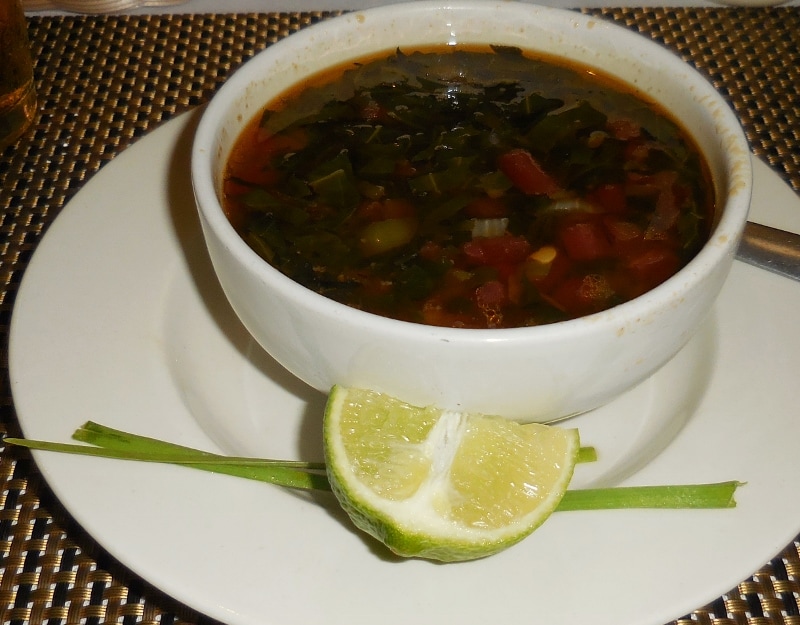
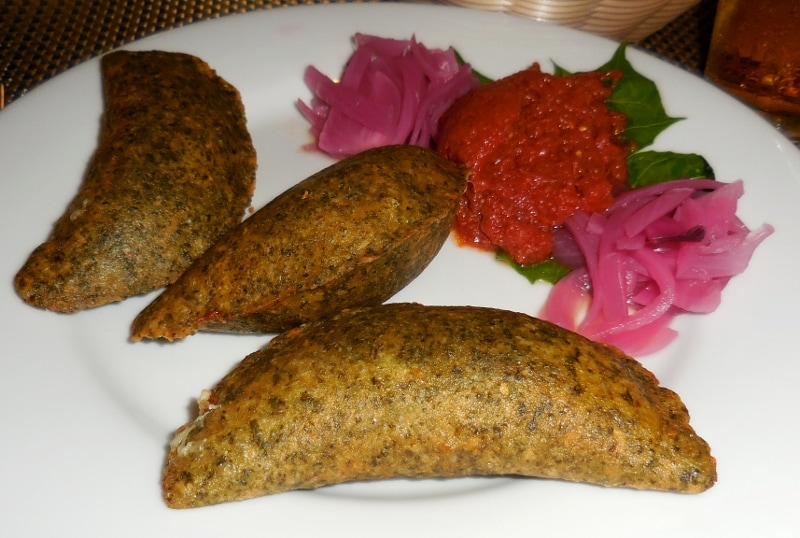
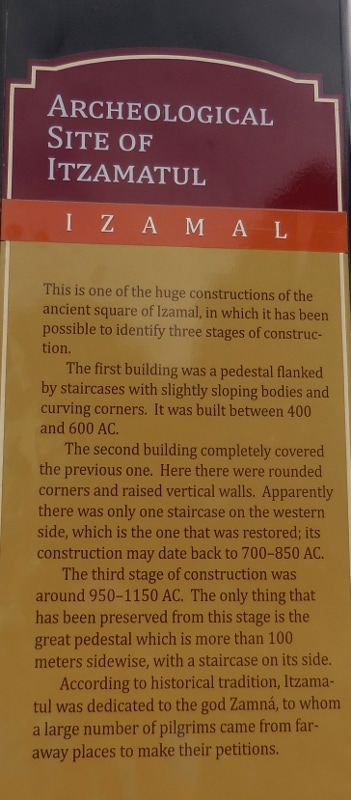
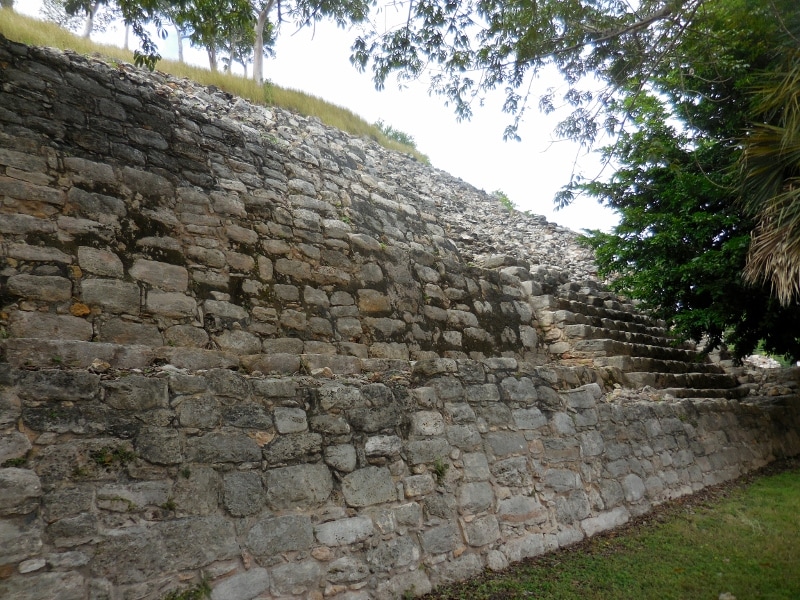
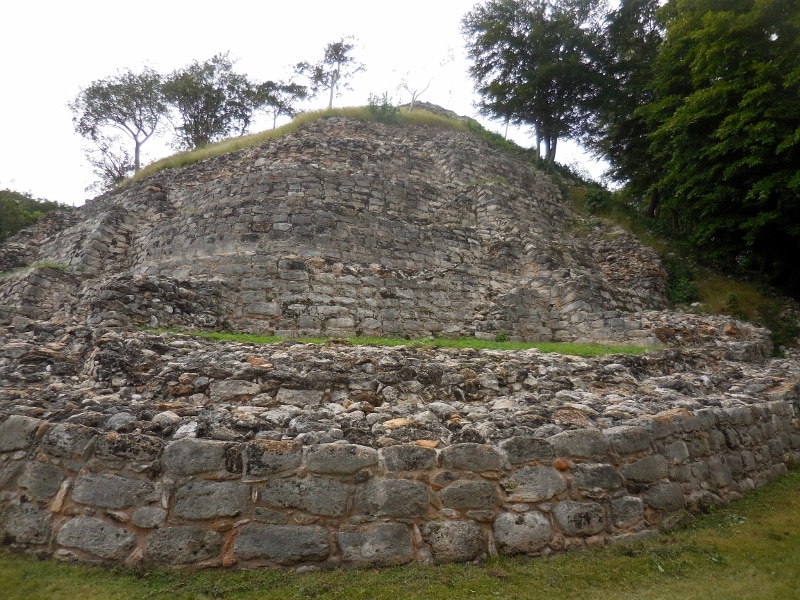
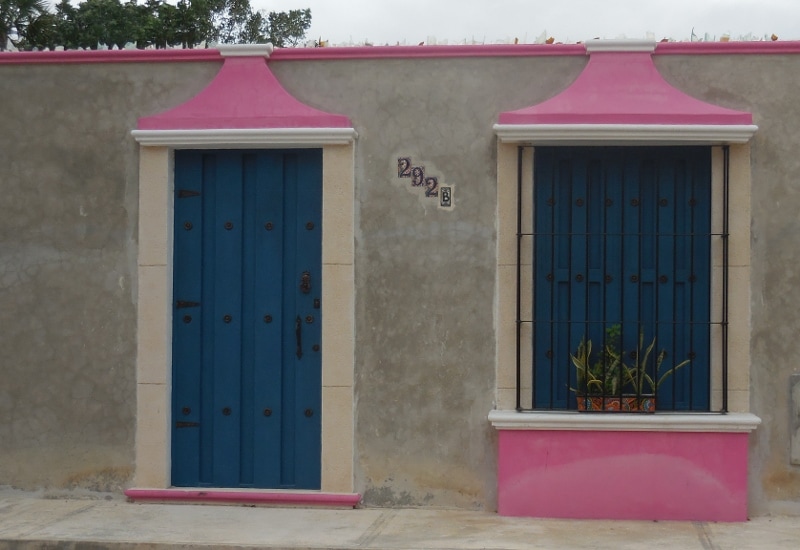
While visiting the Yucatan capital of Mérida in December of 2015, we took a day trip to a charming and unique city just 45 minutes away: Izamal, also known as the "Yellow City". Izamal has been designated as one of the "magical towns" in Mexico, and one of only two in the Yucatan, the other being Valladolid, which we also visited and enjoyed. Yucatan Today provides this explanation of Izamal's designation as a magical town: "What makes Izamal a magical town? Just enter the town and that question will be answered. The first thing that any visitor notices is that the town is painted yellow… all the colonial buildings, the market, the huge convent, everything! The next things that stand out are the cobblestone streets and the iron lampposts that give the town a tranquil ambiance. To visit Izamal is to visit a city/town that is alive with three cultures – the ancient Maya, the colonial, and the present day bustling Izamal. Izamal is a monument of color, history and pride that can be felt in its streets and buildings. Art, music, and gastronomy are all around you!" Since the ADO bus doesn't travel to Izamal from Mérida, we had to find the local bus station, walk over from our hotel, and catch a 2nd class bus, but it all worked out fine. I do wish we'd gotten a sunnier day for our trip, as the golden tones of all the buildings would have been so much lovelier against a clear blue sky, but it was still beautiful. Have a look! We visited on a weekday, so town was very quiet. I suspect they get most of their tourists on weekends. The central square was deserted, but it appeared that they were setting up for some sort of fair for the weekend, with booths all around, and pretty colored flags flying in the strong breeze. As the Yucatan Today article recommends, we visited the most important historical site in the city, the Franciscan Convent, built over one of the Maya pyramids. When visiting the Convent, there is first a walk up a wide entrance way through an outer wall. Once through the arch at the top, there is a large courtyard and view of the convent itself. Since we visited on a school day, the students were outside enjoying their recess. The interior of the sanctuary is impressive, especially the restored altar. After leaving the Convent, we walked to an archeological site right in town, Kinich Kakmo. According to the plaque, it was constructed around 400 to 600 BC (AC in Spanish), and likely over the top of an even more ancient structure. Getting to the upper temple requires climbing quite a few stairs, but we didn't mind. With all we'd been eating on this trip, we welcomed the exercise! Once at the top of the stairs, the upper temple is visible. More climbing up the much steeper stone stairs of the temple will take you to the top for a wonderful view of the city, so of course we had to go for it! And unlike most of the Maya sites we've visited before, we had this one nearly all to ourselves. That's me half-way up... And here's Barry at the top! The view from the top was indeed spectacular; just wish we'd had a prettier day. After all that climbing, we'd earned our lunch. We found this lovely restaurant we'd scoped out ahead of time on Tripadvisor and had a delicious meal. We ate inside this beautiful palapa, early by Mexican standards (noon), so we had the place to ourselves! We enjoyed delicious vegetable soup and chaya empanadas. Presentation and service were as good as the food. Before catching the bus back to Mérida, we checked out one more archeological site, Itzamatul, right on the edge of town. This one wasn't as high or magestic as Kinich Kakmo, and we didn't bother climbing it. Also of interest to me was that on the outskirts of town, I finally found a house that was not painted yellow. It was likely allowed because it was considered outside of Centro. I thought the colors were pretty and would have loved to see what was hiding behind its tidy facade! I hope you enjoyed our images of the Yellow City of Izamal. We have one more gem of the Yucatan to share with you, to the coastal fishing village of Celestun. Please stay tuned!
1 Comment
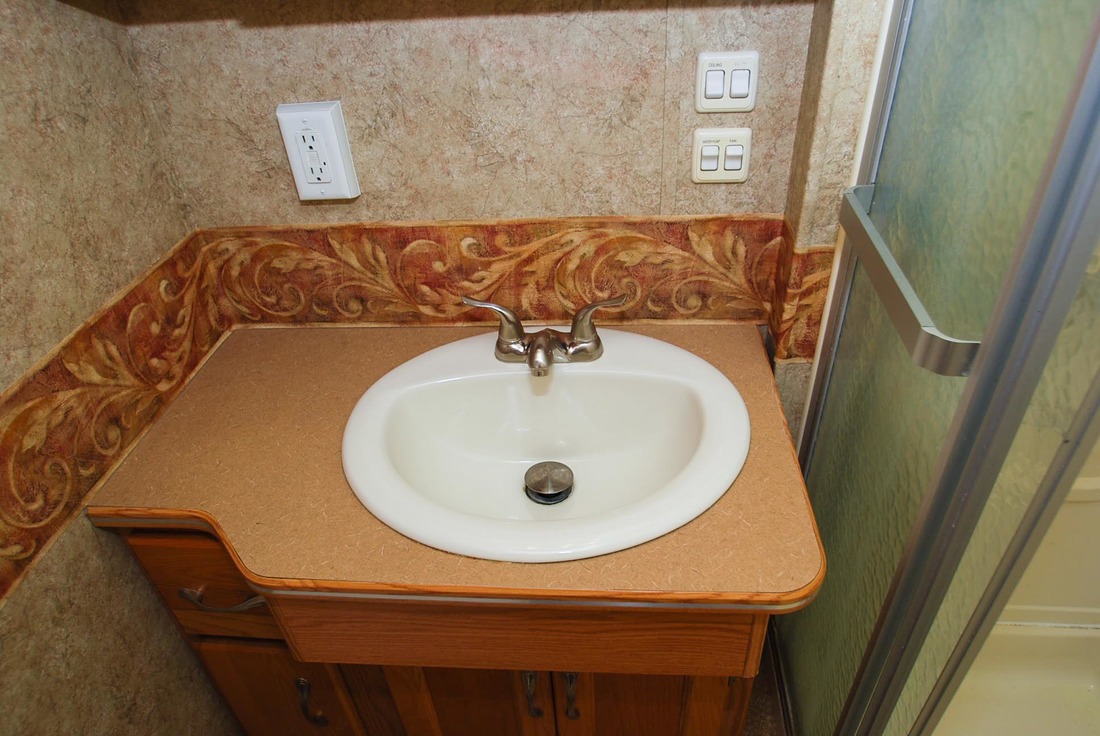
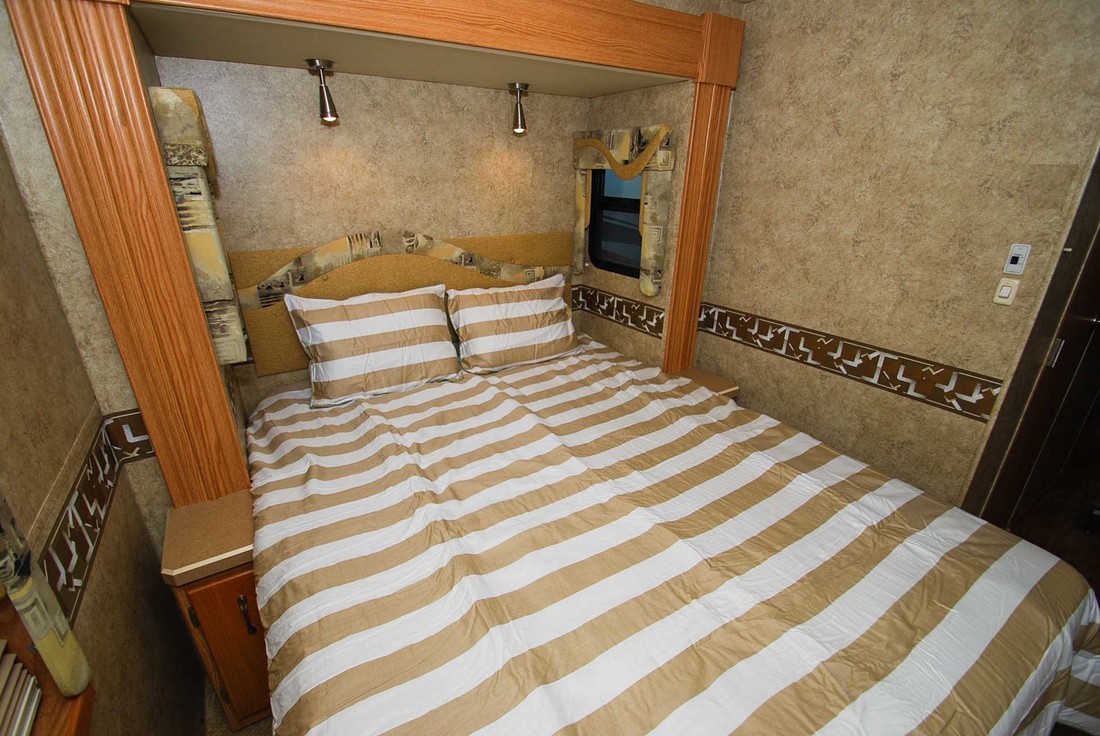
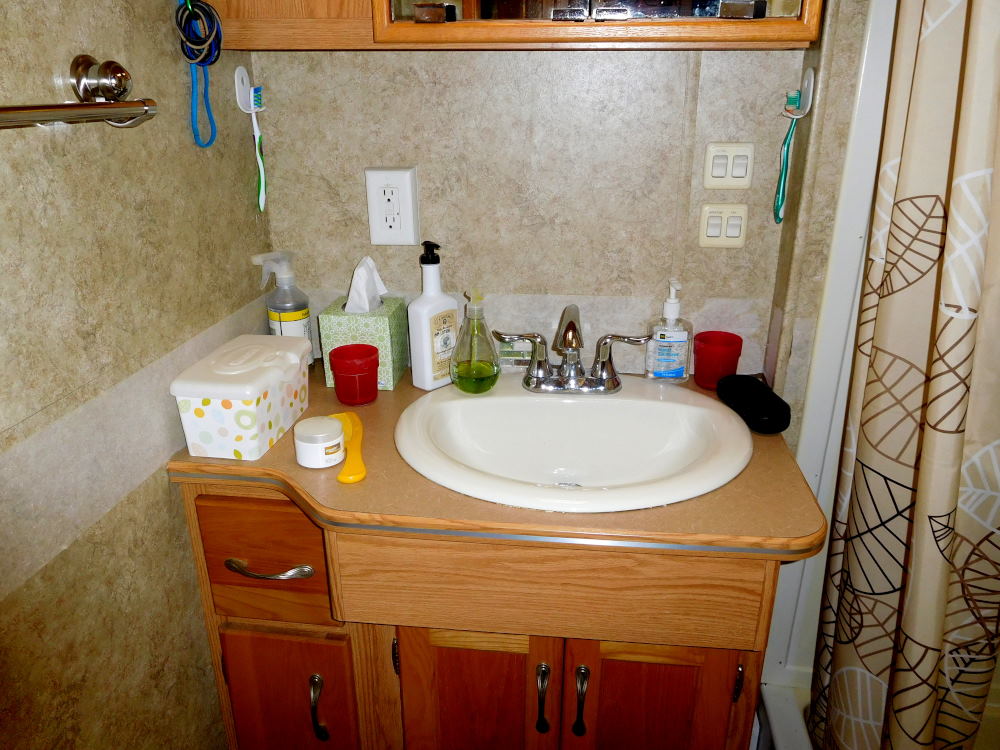
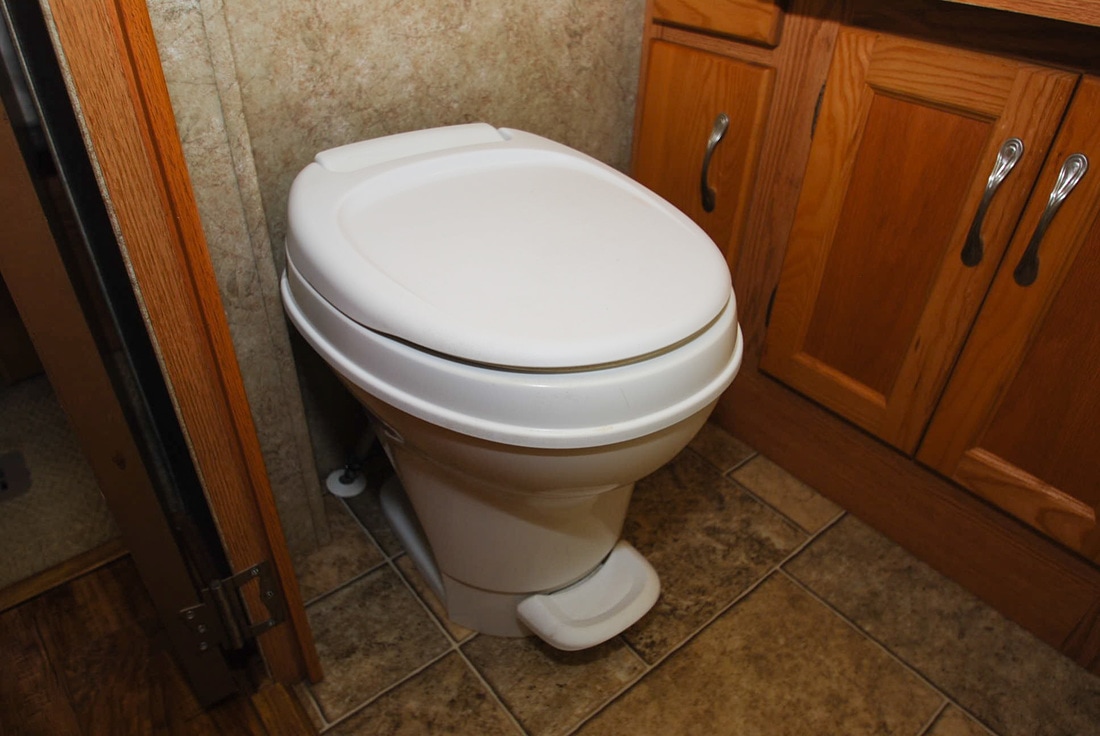
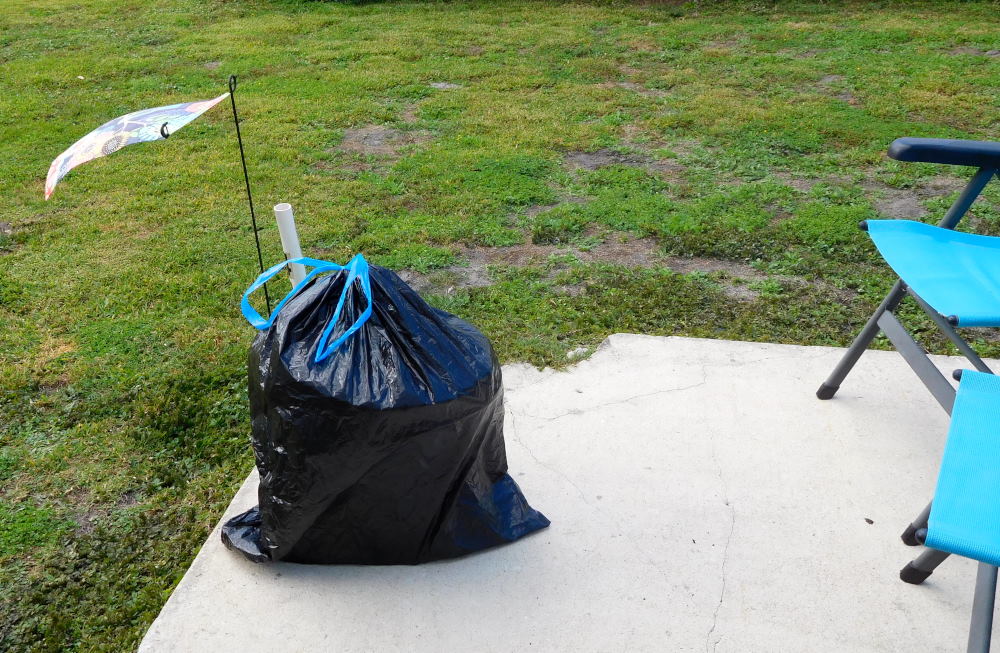
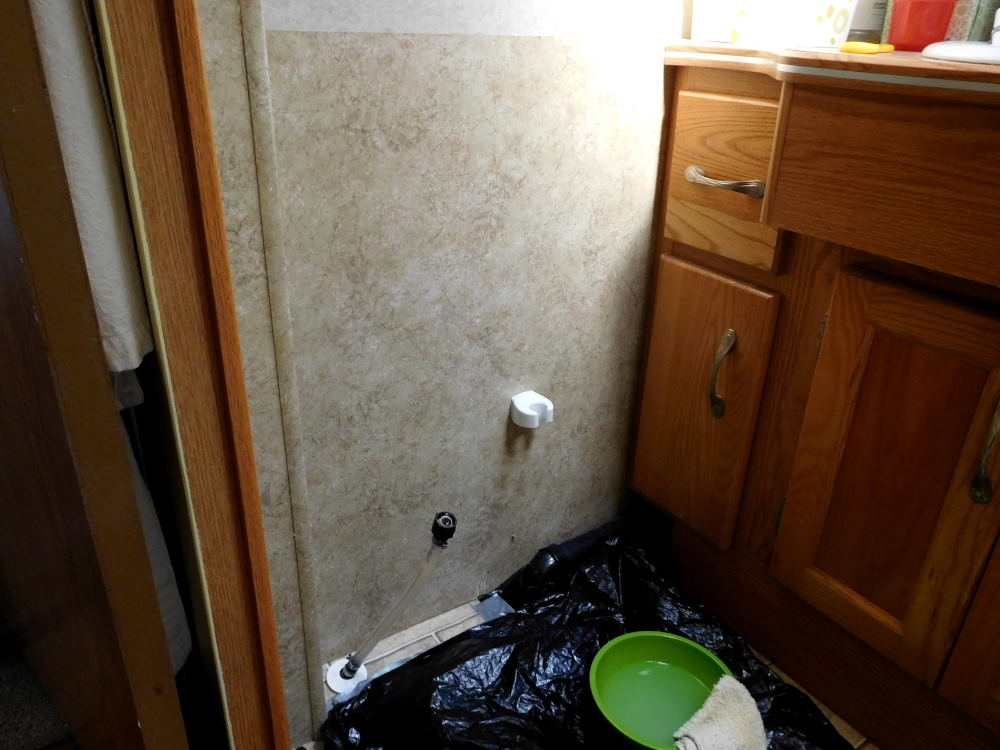
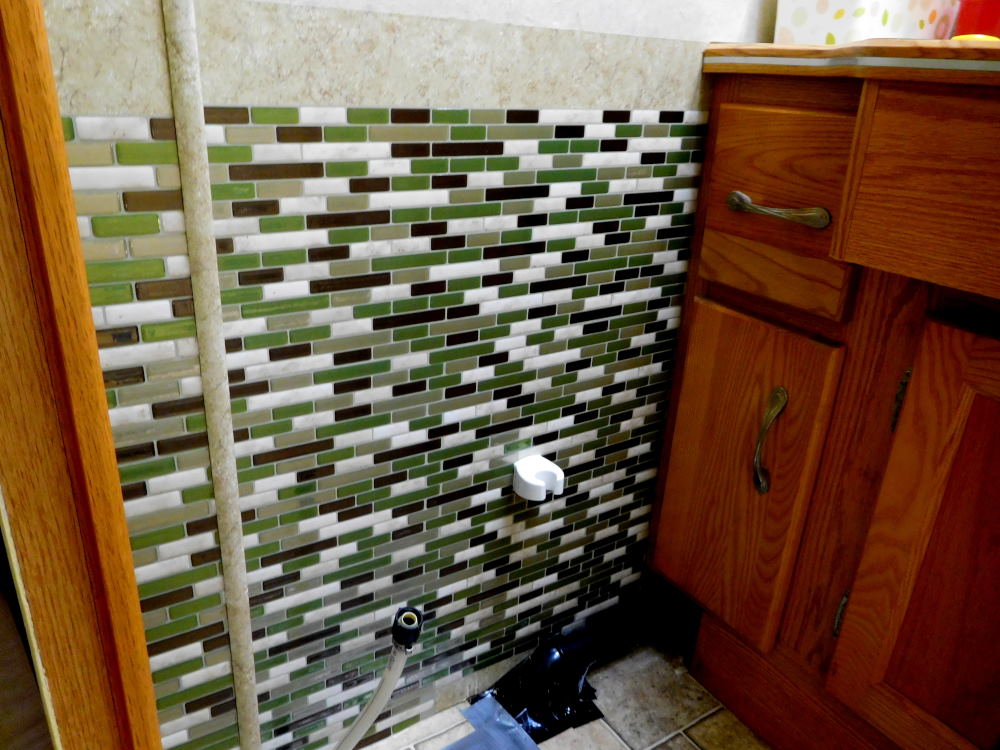
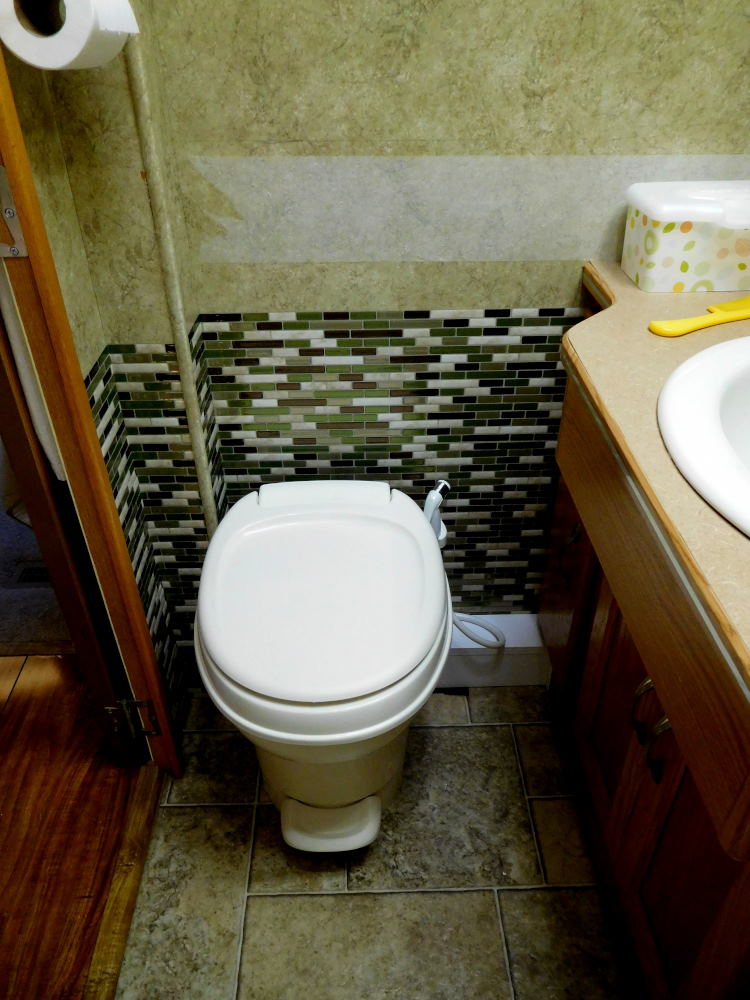
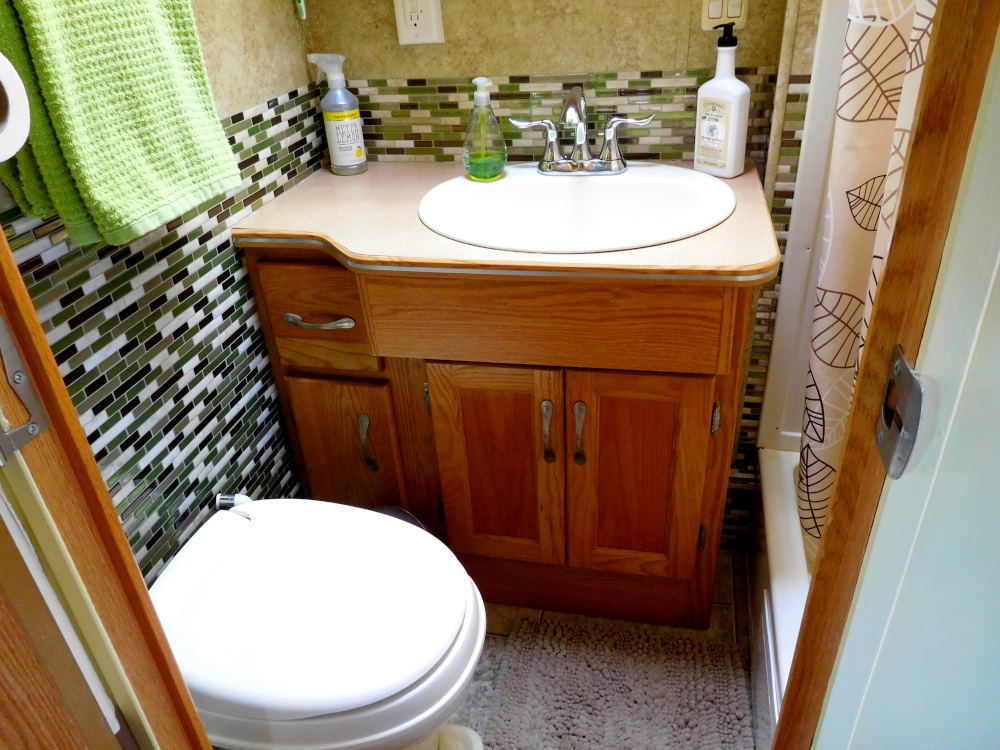
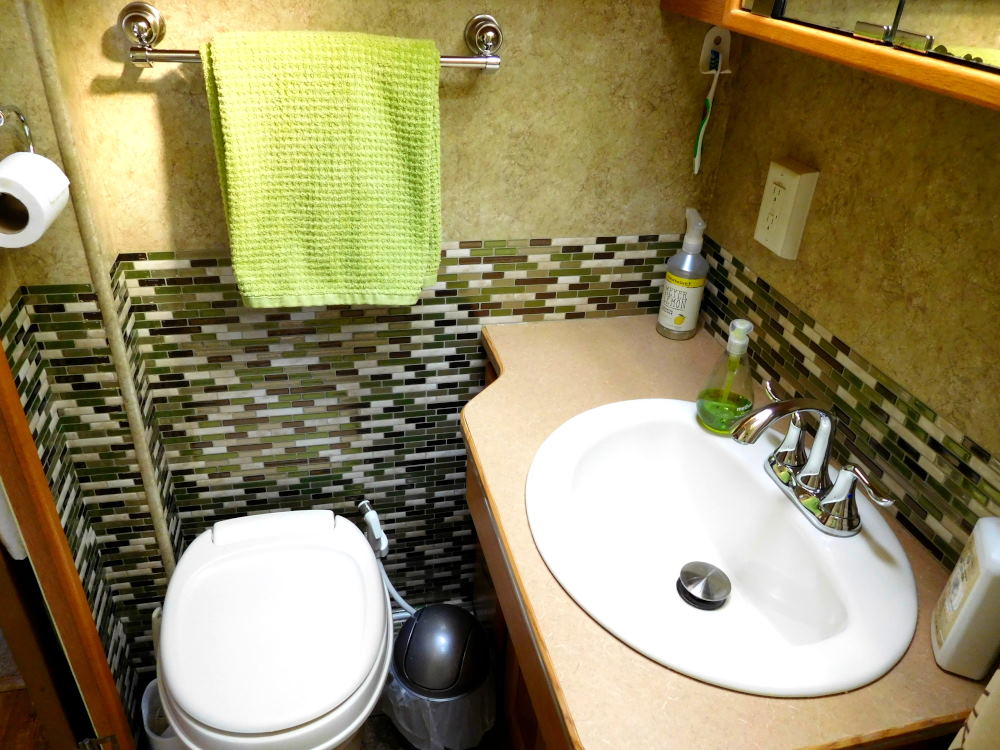
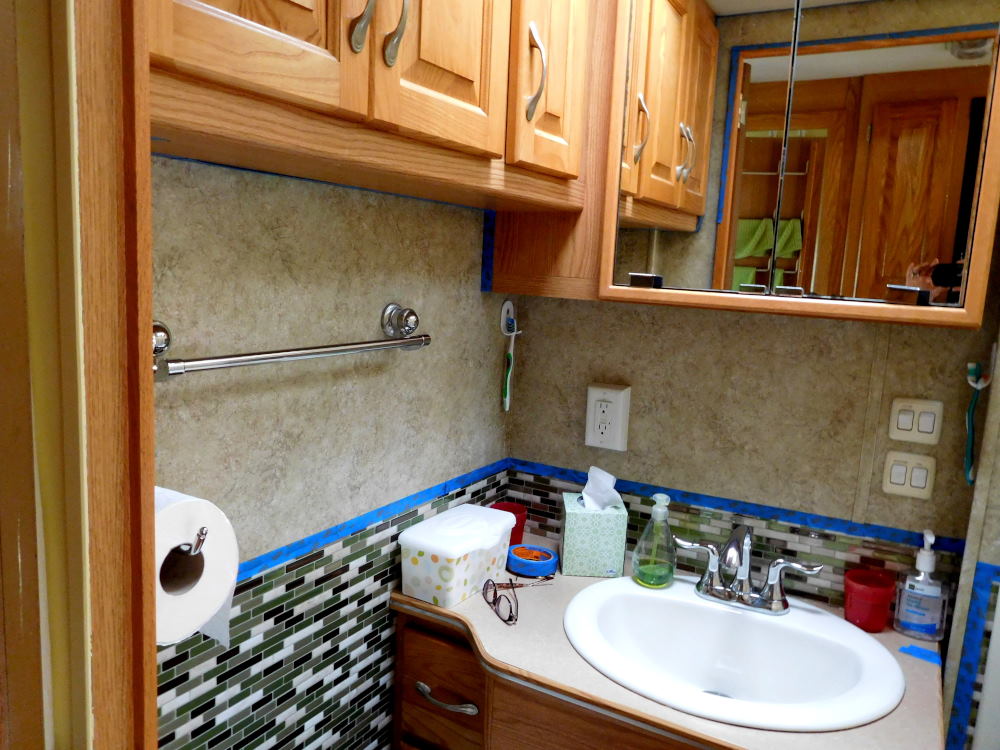
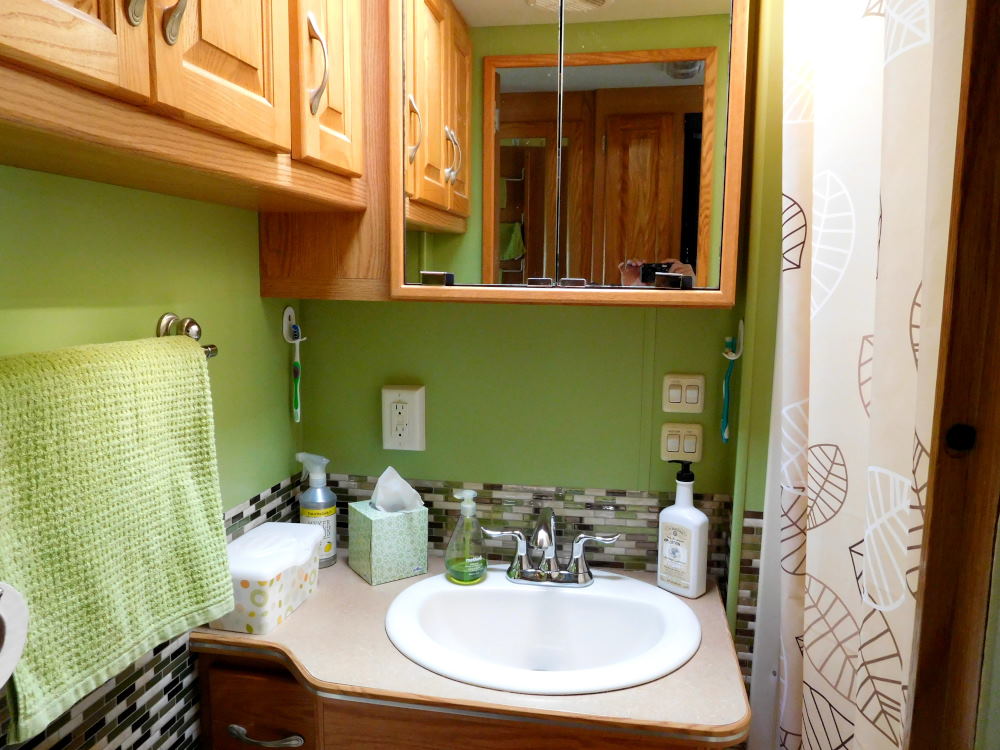
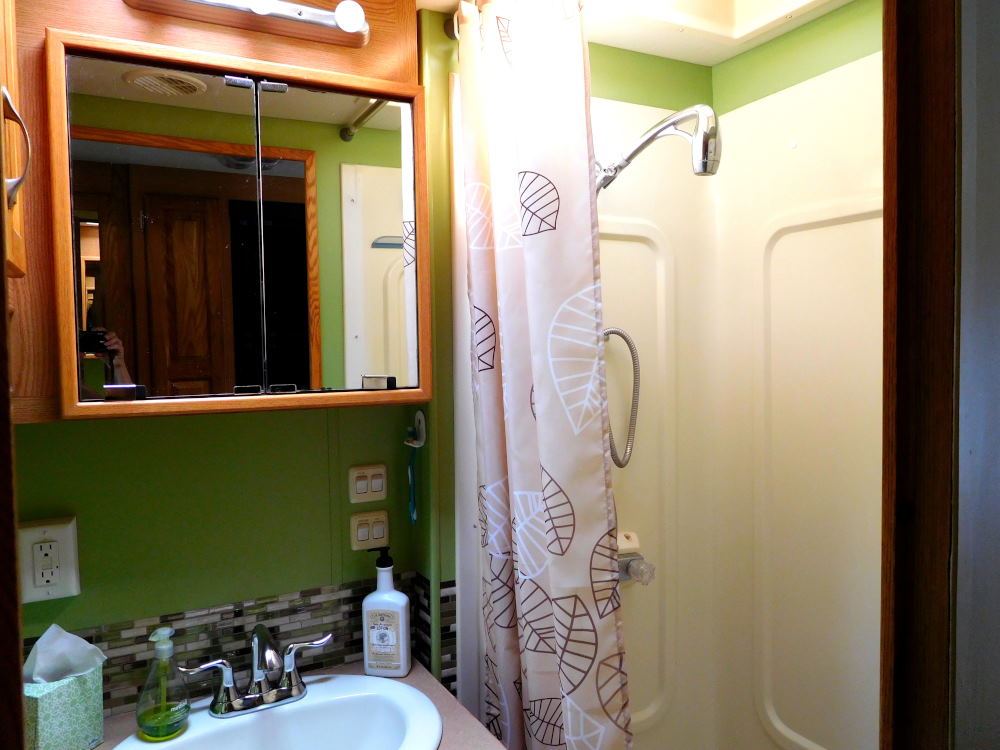
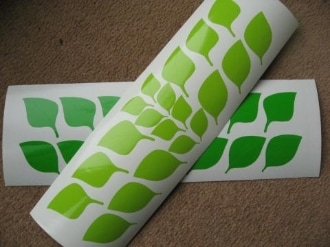
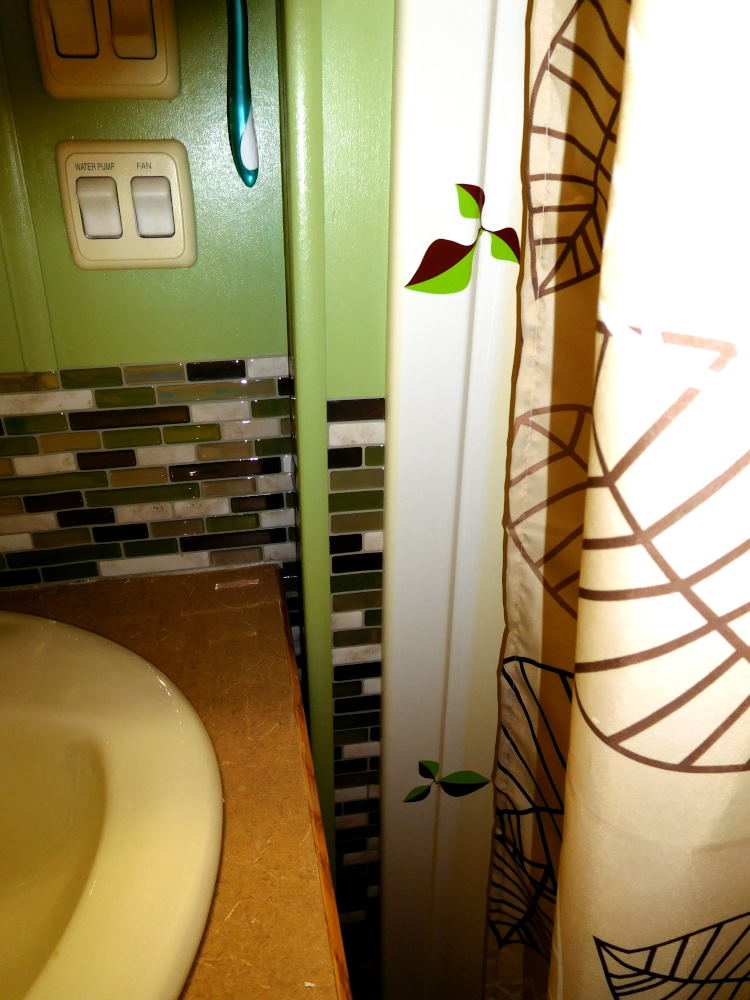
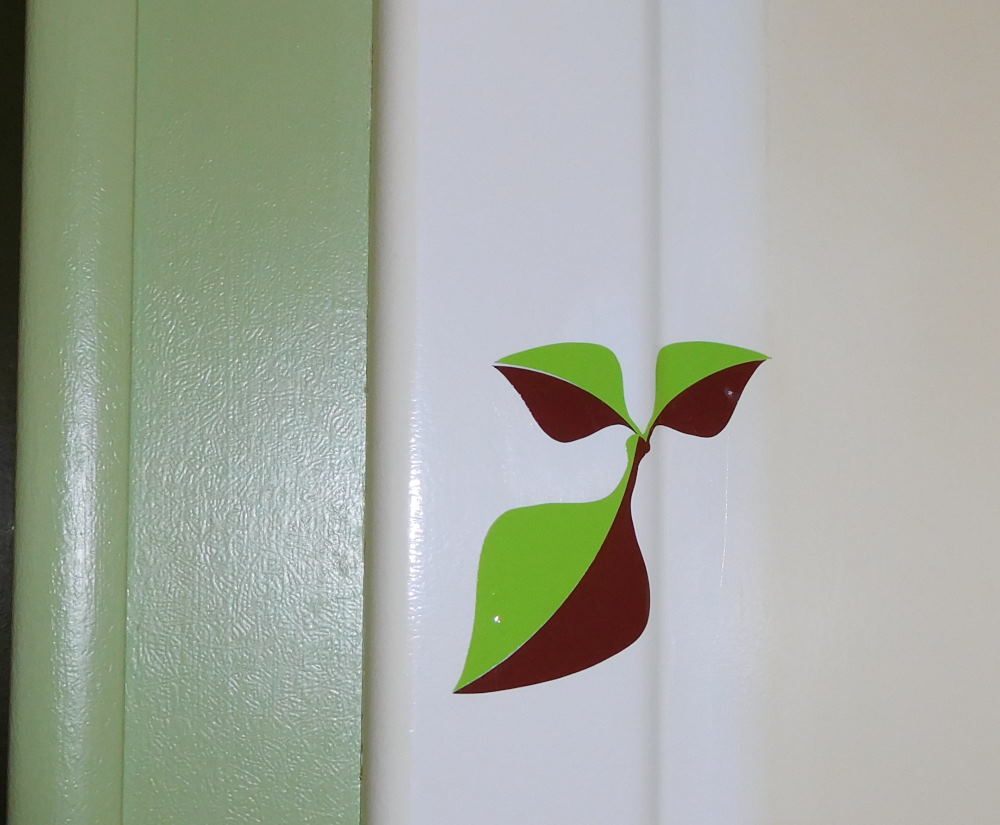
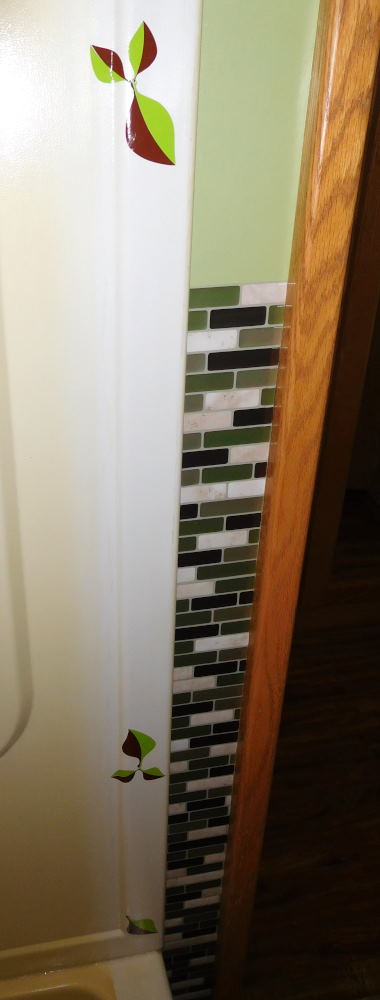
Since we live in our motorhome, Pearl, full-time, we have plenty of motivation to make her as comfortable, functional, and attractive a place as we can, while always keeping weight in mind. We recently completed renovating her tiny bathroom and thought we'd share with you what we did. Not only is the result more to our taste and pleasing to our eyes, we made a couple of functional changes that are working well for us. Below is how the bathroom looked when we bought Pearl. I think this is the only shot of the shower doors that we have. They were tempered glass in three sliding sections, and hard to keep clean. They also slid around while we were on the road so had to be bungeed back. And Barry would hit his elbows on them while showering. And they're heavy! So, first things first, we decided to remove them and replace them with a shower curtain. We weighed the doors after removing them, and they weighed over 42 lbs. I found a narrower-than-usual 48" shower curtain on Amazon that requires no liner. It is made of a lightweight, water-resistant fabric, and we used light plastic rings, Even with an extension rod, we saved over 40 lbs. by ditching the doors. The shower curtain is easier to use and travels better as well. And we haven't had any problem with water getting on the floor with it as the bottom tucks into the lip at the bottom of our shower pan. The wallpaper border also had to go. The border you see in the photo above was actually installed by the previous owners on top of the original border applied by the factory. And not very well, I might add. It wasn't really stuck down in the corners and peeled off easily in one strip. Gone! The border below it was a super ugly dark brown abstract atrocity. I don't even have a photo of it, but you can see the same border in this dealer photo of Pearl's bedroom. Whoever selected this incredibly unattractive thing should have been fired. Even in 2007, when Pearl was put together, this was not a good look. RV decor is notorious for being really bad, and this is a prime example. I peeled off the top layer of that as well, leaving only the backing on the wall. We lived like this for quite a few months. You can see the shower curtain in this photo as well. And then there was the this guy. This was likely the original Thetford toilet in Pearl, and it was showing its age. From the smells and escaping sewer flies (!!!!), we were sure some of the seals were less than robust. And although it looked fine on the outside, it was stained and scratched up inside. This was one change I was really looking forward to for all sorts of reasons, as you can imagine. First things first. I decided to apply peel-and-stick gel Smart Tiles to the lower half of the walls. I'd used these for the kitchen backsplash already (see blog post here) with great success, so I ordered more in a different pattern for the bathroom directly from the manufacturer in Canada, The Smart Tiles. I'm really impressed with this company and their follow-up. I ordered samples for both rooms and all my tiles from them, and received excellent customer service. The product is very good as well! In order to apply the tile sheets to the wall behind and beside the toilet, Barry would have to remove the old toilet, let me get in to do the tiling, then install the replacement toilet. Preferably this would all take place in one day so we wouldn't be stuck without a place to pee overnight...haha! Day 1: Toilet Replacement & Partial TilingFortunately, things went as planned on the big day. Barry pumped out the black tank, got the old toilet out, and discovered that indeed, the seal at the floor had some very nasty build-up. I did take a photo but will spare you! Here's the old toilet, ready to go to the garbage. Yippee! Once the area was all cleaned up (thank you, Barry!), he taped over the hole, and I laid down black plastic bags over the entire floor. Fortunately, there was no odor as I worked. I had already removed as much of the border backing as I could; the parts that were not stuck resolutely. The rest I left on the wall and tiled right over. Before applying the tiles, I washed the walls with a TSP solution, rinsed them, and let them dry. After lunch, I got right to tiling. Today I would only do the tile around the toilet that would be much more difficult to apply with the toilet in place. The rest could wait for another day. I thought I could get this area done in an hour, but I think it ended up taking more like 2 to 2.5 hours since I had to cut some of the tile sheets to fit. After I finished putting up the tile, Barry took over again and got the replacement toilet installed. We actually bought the same Thetford model (Aqua Magic V, high profile) again, as the size and function were fine, and although porcelain would have been a nice upgrade, plastic is better for weight. This one was clean, unscratched, and smelled fresh! And it actually has much better flushing action too. I'm sure the company has made some improvements over the years to this model. Barry got it installed late in the afternoon, so we were only without a toilet for about four and a half hours; and the campground has multiple bath houses, so no problem! Day 2: Finishing the Tile WorkThe next day I completed the Smart Tile installation. There were a lot of cuts since Pearl has lots of little zig zag walls, so it took longer (once again) than expected. However, it turned out good, and I had just enough sheets of tiles to end up with only scrap pieces, no full sheets. The entire job took 30 sheets, so I am very glad I got them for half price! Day 3: Prepping to PaintI think I actually took about a week off in between tiling and painting. Gotta pace myself, right?! But the next step was my least favorite: Prepping to paint. But it's very important and not a step to skimp on if you want paint to stick on an RV's vinyl wallpaper.. Prep consisted of lightly sanding the vinyl wallpapered walls, then washing them down. Since I was worried about the harshness of TSP possibly dripping down on the Smart Tiles, I made up a solution of water, white vinegar, and a little Dawn dish detergent. I used clear water to rinse them off, and once they'd dried, I blue taped. And blue taped. And blue taped. There were so many things to go around, this was actually the hardest part of the entire bathroom reno. Day 4: Painting!To me, painting is always the fun part of this kind of project. One, because I love color, but also because this is where it all comes together and you can finally see the results of all the pre-work. But before I could get started, Barry removed the towel and TP rods, and I taped paper and plastic on the floors and over the toilet and sink area to keep paint off of everywhere I didn't want it. I am not a tidy painter! Finally, it was time to paint. I took the risk of not priming because this paint, Behr Ultimate (from Home Depot) is supposed to be paint and primer in one. So that would save one coat and some of the white "primer creep" (out the edges) I had problems with in other areas of Pearl I'd already primed and painted. I used a satin finish in "Fresh Artichoke", a green that I thought blended well with muted green in the Smart Tiles and our spring green towels. I also took the risk that I could get by with a half-pint "sample" size, given the small area I'd be painting. And I was right! I got two coats of paint with just a tiny bit left over for touch-up. There's nothing like living on the edge! You can see the tiny jar of paint I used in the photo below. 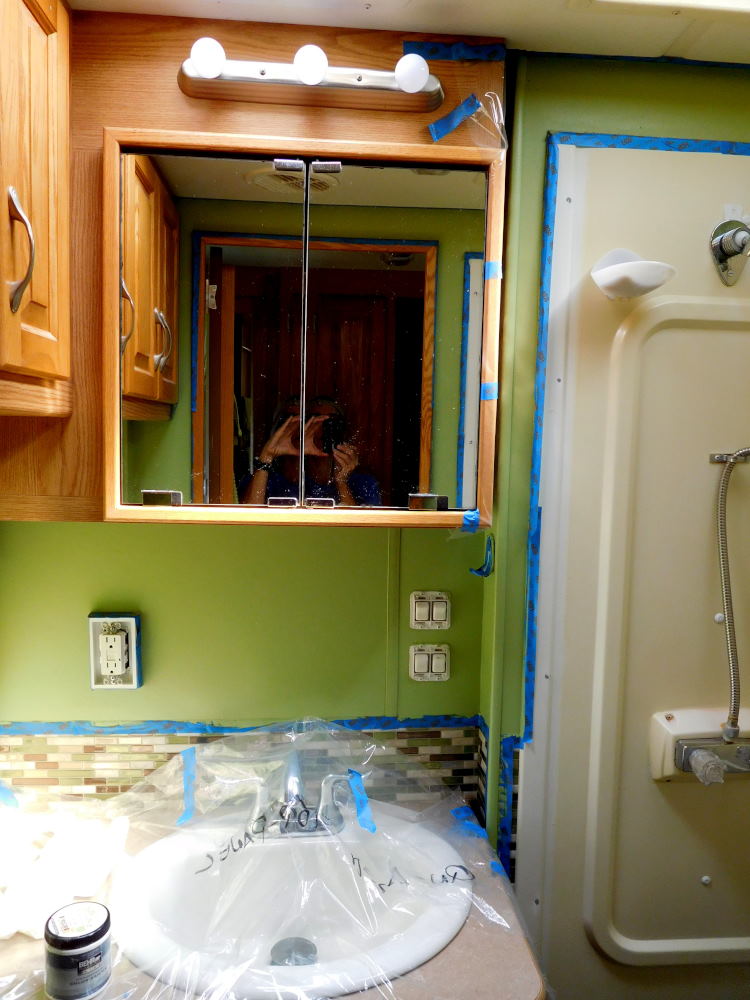 With all the small wall sections, painting was almost all cutting-in and brush work, with only a couple of areas large enough to use my 6" narrow roller on. I took my time taking off the blue tape, pressing a putty knife along as I went, to avoid tearing any of the paint off. I've had issues with this in other areas where I've painted in Pearl, so I am slowly improving my technique. I used good Scotch painter's tape, not the off brand, and applied it very carefully. As a result, I did get good clean lines when I took it off. There were only a couple of small areas I needed to touch up the next day. Whew! So, here's the finished product. We just love it! The Final Touch: Leaf Stickers for the ShowerThere was one last thing in our renovated room that needed attending to. When Barry removed the shower doors, screw holes were left up and down each side of the shower enclosure opening. We were unable to find white (or green!) covers for these, so Barry suggested some sort of sticker. I was skeptical at first; after all, the shower is a damp area; wouldn't stickers peel right off? I found some adorable wall decals on Etsy, but they were only for dry areas. Finally after looking around quite a bit online, I found Hippy Motors. They manufacture a wide variety of stickers for the exterior of cars. Cars get wet, very wet. If they work on cars, why not a shower? The price was right, and there were lots of choices. I decided to give them a try. Plus, what a cute company, right? Since we had a leafy theme going on with the shower curtain and the green, I decided to go for two-tone leaves. Here's what they look like when they arrive. (Note: This image is from the Hippy Motors site; mine were the lighter green and a dark brown color.) Barry had patched the screw holes and we'd let the filler dry thoroughly ahead of time. I cleaned the areas off with rubbing alcohol before applying the stickers. You have to keep your fingers wet to keep the sticker adhesive from sticking to them, and the area where you're applying them must remain wet as well, so I simply kept a small bowl of water next to me to keep dipping into. I used all of the small stickers and about half of the larger ones to make little clusters of leaves to cover each hole, You do have to have a steady hand to match the two different colored sides as closely as possible, but other than that, application wasn't difficult. In fact, I found this a fun, creative project. And I love the whimsical touch these stickers add to the space! So that's it! The renovation did take quite a bit of time and elbow grease, but we took it step-by-step, and we think the results were worth the work, while not costing an arm and a leg. We only spent around $300 for everything: tiles, new toilet, shower curtain and rod, paint and supplies, and stickers!
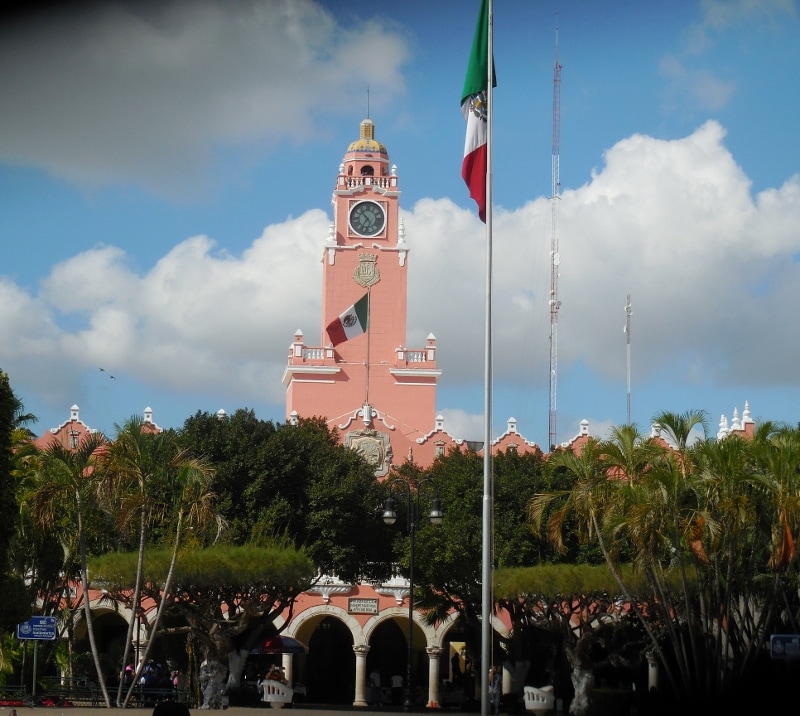
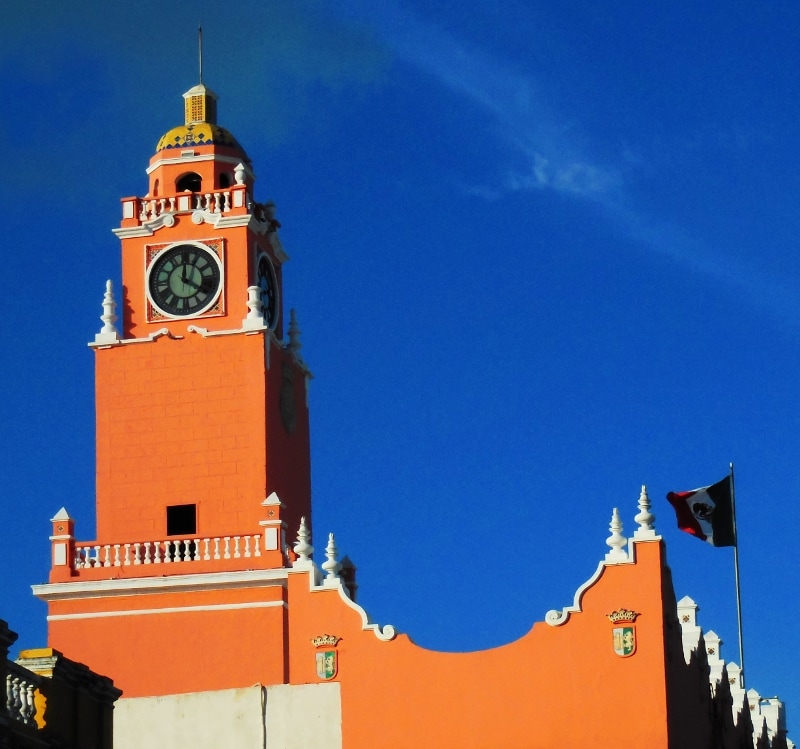
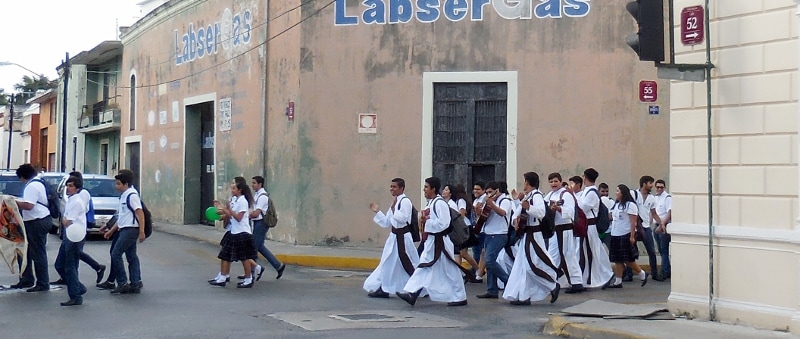
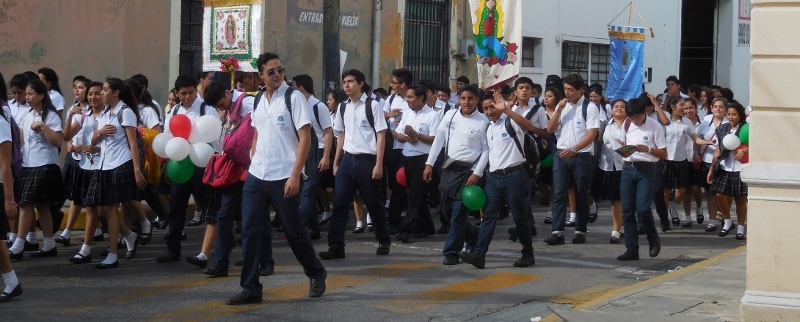
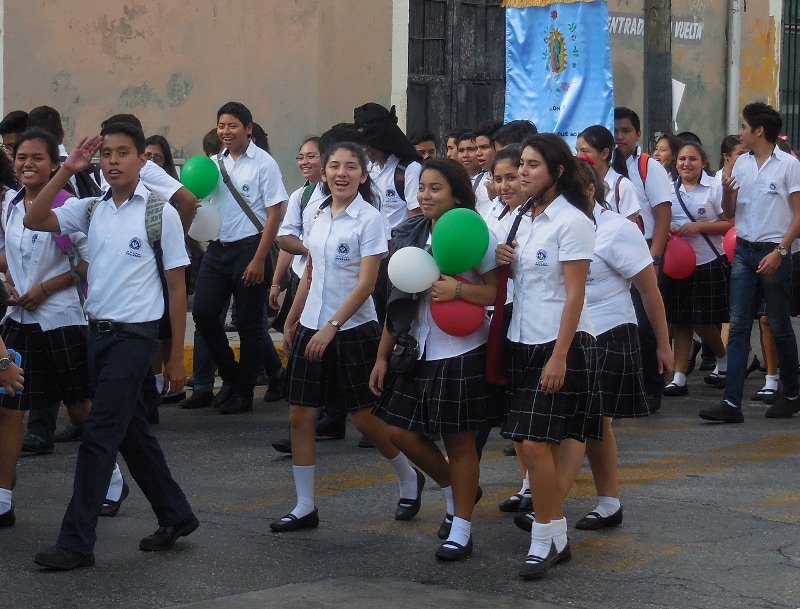
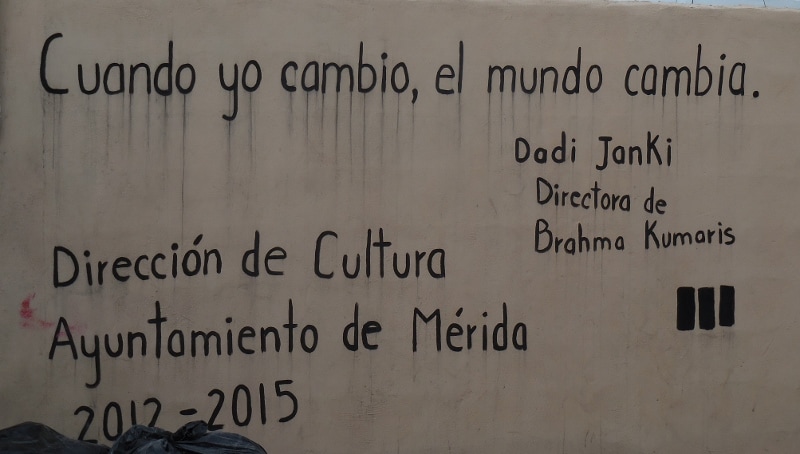
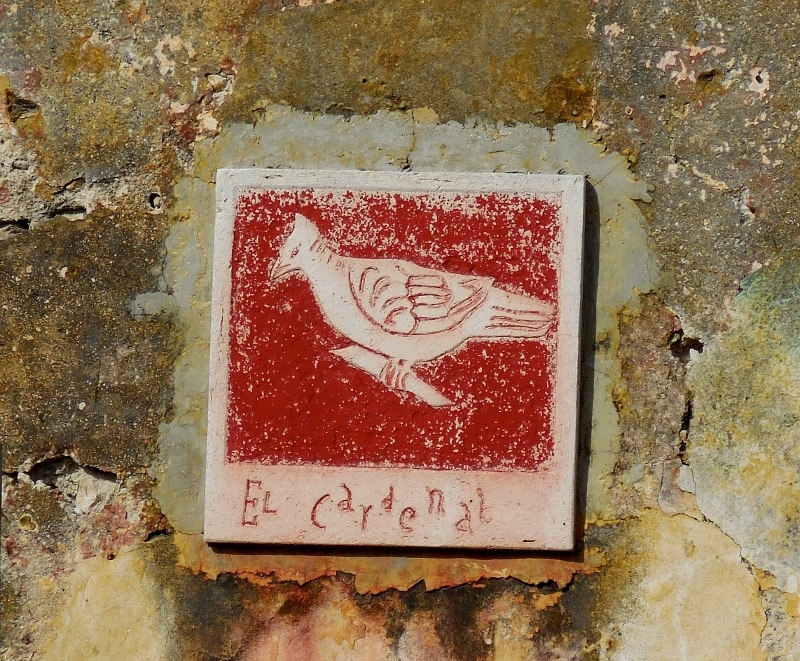
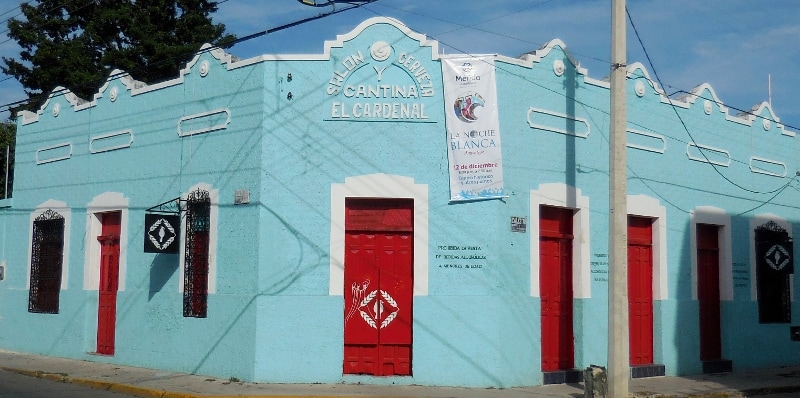
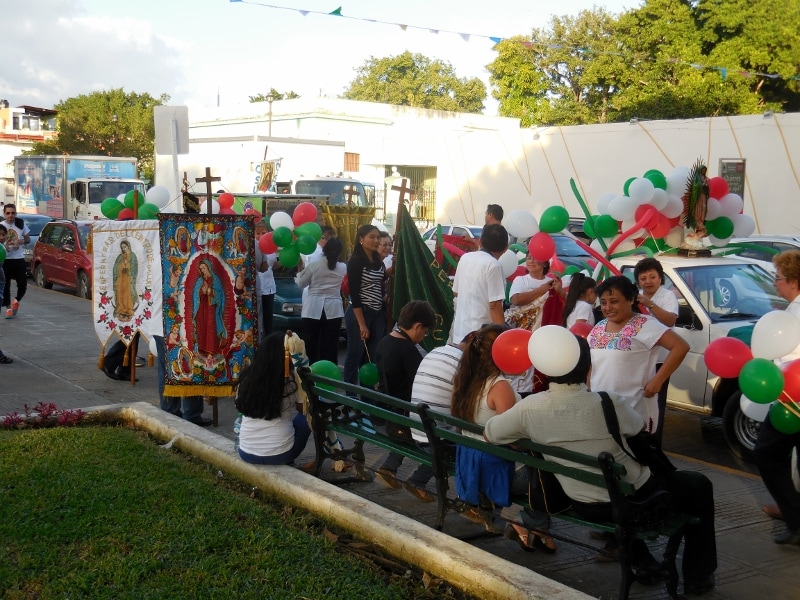
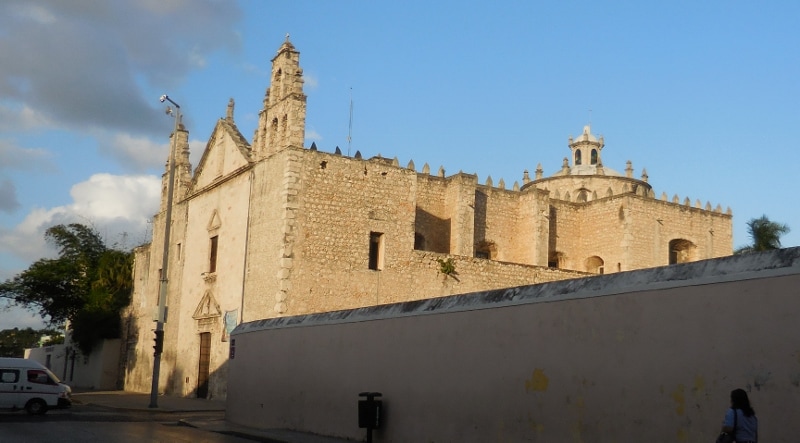
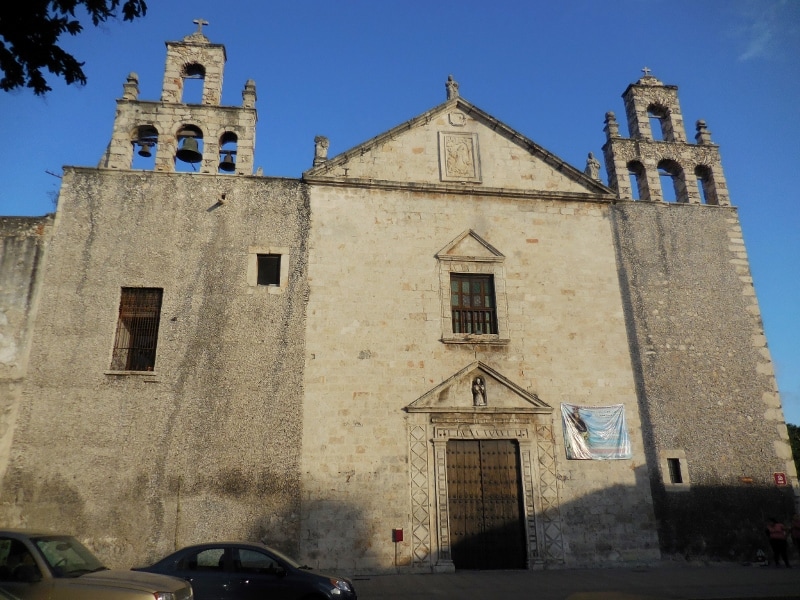
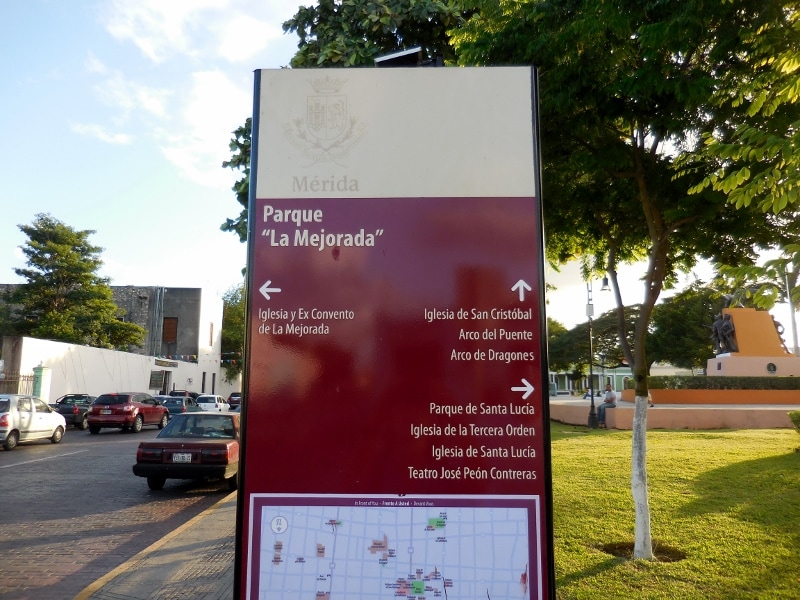
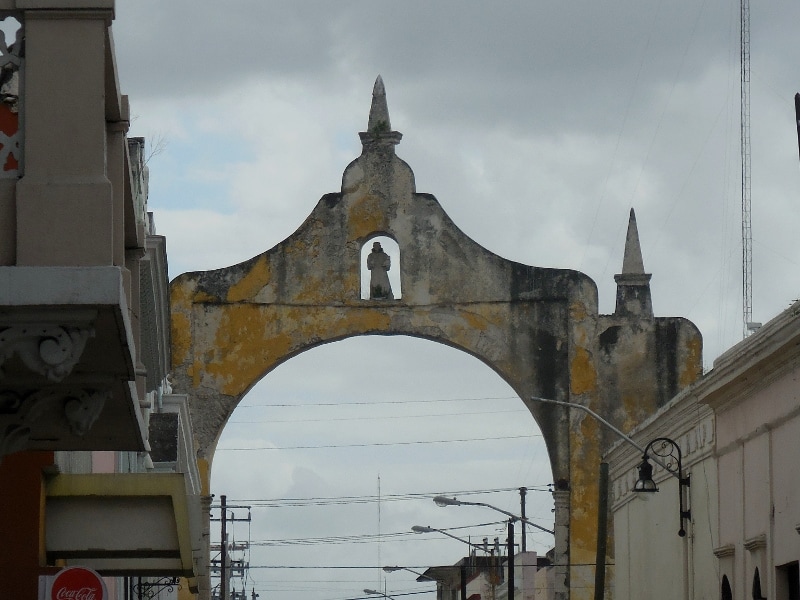
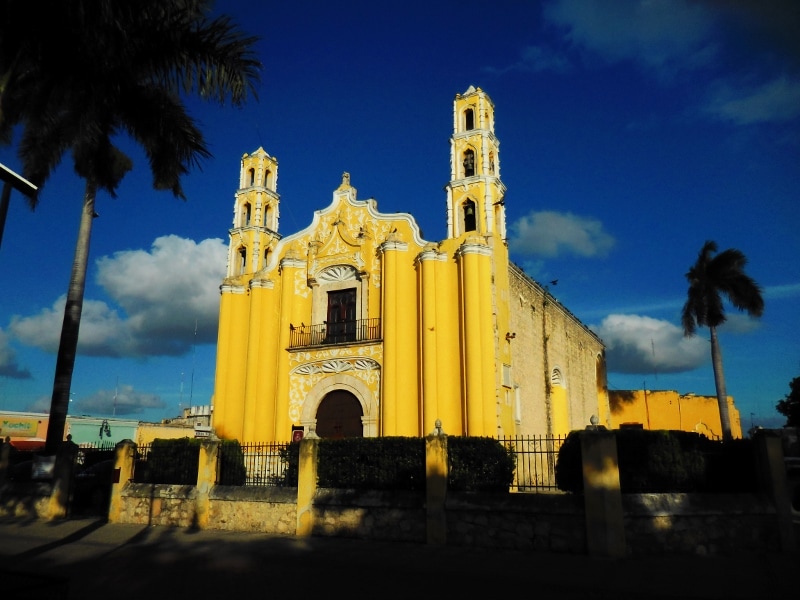
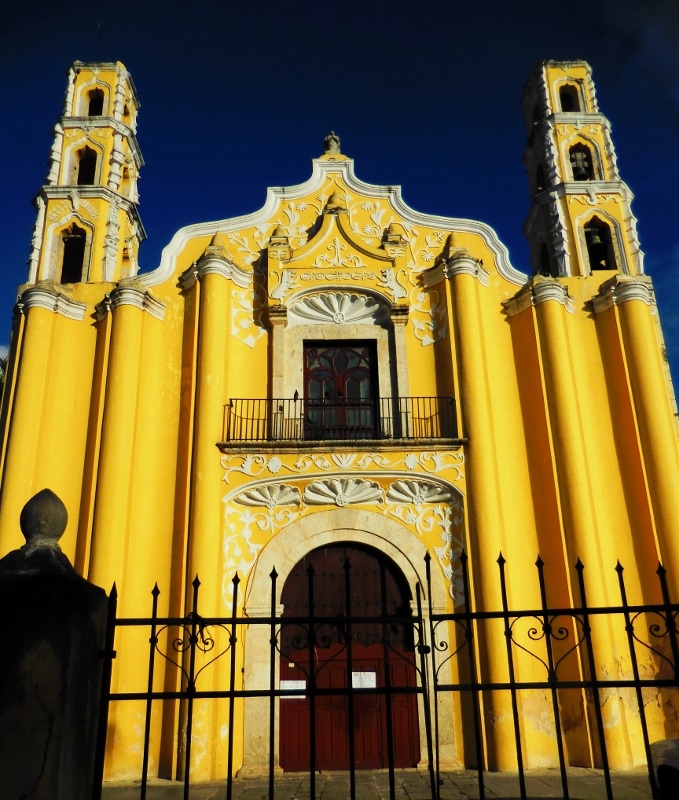
There are a few things we didn't bother with, like the color fading in the shower enclosure, (from sunshine coming in the skylight, we assume). We did look into painting or replacing it, but the former was complex and toxic, and replacement would have been very expensive. Neither are worth it to us right now. The vinyl floor was fine with the decor and is covered mostly by a bath rug anyway, so we left that intact, along with the cabinets, sink, and counter top. We had already replaced the faucet set last year when the first one developed a leak. If you have any questions about our renovation, please put them in the comments section, and I'll be happy to answer. Of course there's more to Mérida than the excellent food (see Part 2). In this final post from our December 2015 visit to the capital of Mexico's Yucatan state, we'll show you a few more sights on our second visit to this historic city. Here is the Palacio Municipal (or Governor's Palace) on Mérida's Plaza Grande, the main square in Centro. The palace is open for touring with no admission, and is a must-see when in Mérida for the large, detailed murals within, depicting Mayan history. Since we'd toured the palace on our first trip to the city, we didn't go in this time but enjoyed the exterior views. It's a beautiful building, painted in a salmon color that appears pink in some light, orange in others. Wherever we go in Mexico, it seems that there is always a parade for something or another. This small procession was comprised of older children in their school uniforms and some in long white robes. Since most of the schools are associated with the Catholic church, it may have had religious significance. Some of the kids were carrying balloons in the colors of Mexico's flag, and many smiled and waved as they marched by and saw us taking their photo. I noticed this painted on a random wall. Translation: "When I change, the world changes." Nice. In the historic Centro of the city, many of the corners are marked with folksy carved concrete plaques painted in a brick-red color and depicting animals or objects. Each of these seems to have a story associated with the name. These designations provided an easy way in the past for people to negotiate the city more easily. Now, street numbers are more commonly used instead, but these corner plaques have endured and add a huge touch of charm and whimsy to the city. On this corner, there is a bar called El Cardenal, which is likely how the corner got its name. Or perhaps it was the other way around? Here's an excellent article about the street corner signs with many more photos, if you are interested in learning and seeing more. We saw another parade just getting set up near the Parque Le Mejorada. This one was likely associated with the church on this park, the Iglesia y Ex Convento de la Mejorada, which roughly translates to "Church and Ex-Convent of the Improved". Below is El arco de Dragones (the Arch of Dragons), also in the La Mejorada area of the city. The arch dates from the colonial period and, along with several other arches, was erected to delineate various barrios (neighborhoods) in Centro Mérida. Last but certainly not least, the golden Iglesia de San Juan was all lit up in the afternoon sunshine on one of our walks. Against the brilliant blue sky, this was a sight we found muy hermosa (very beautiful). Also while in Mérida, we took a day trip by bus to the fascinating "Yellow City" of Izamal nearby. We'll bring that to you next, so stay tuned!
|
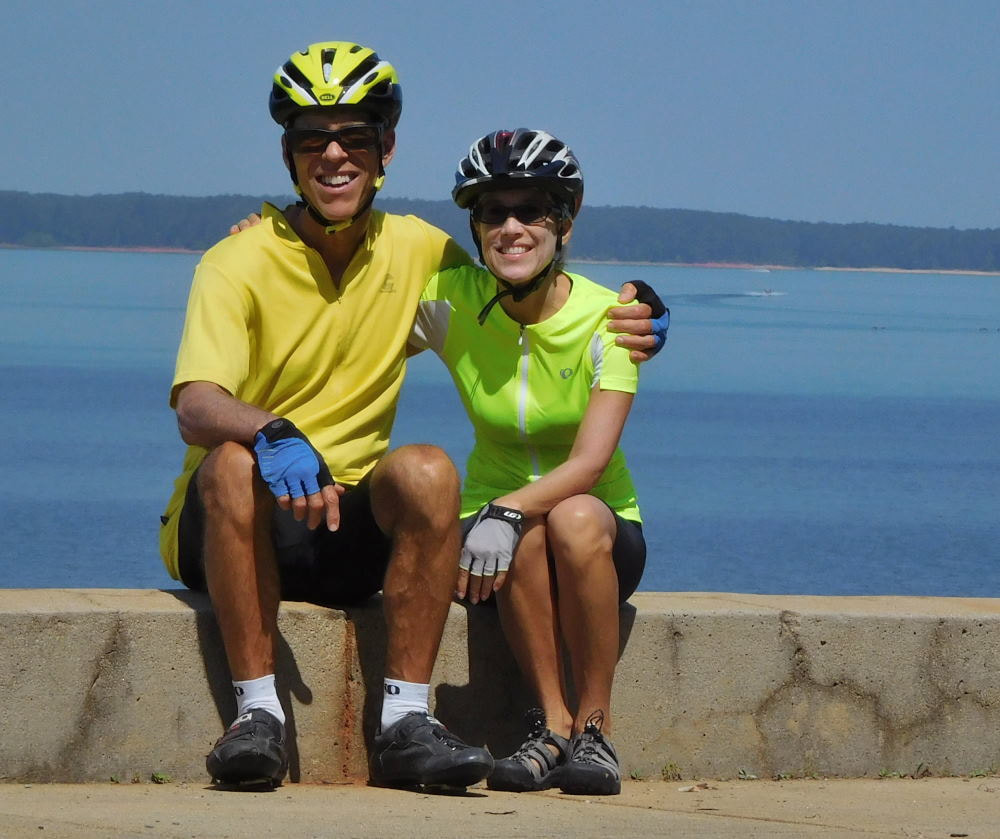
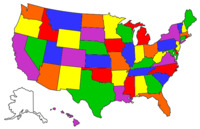
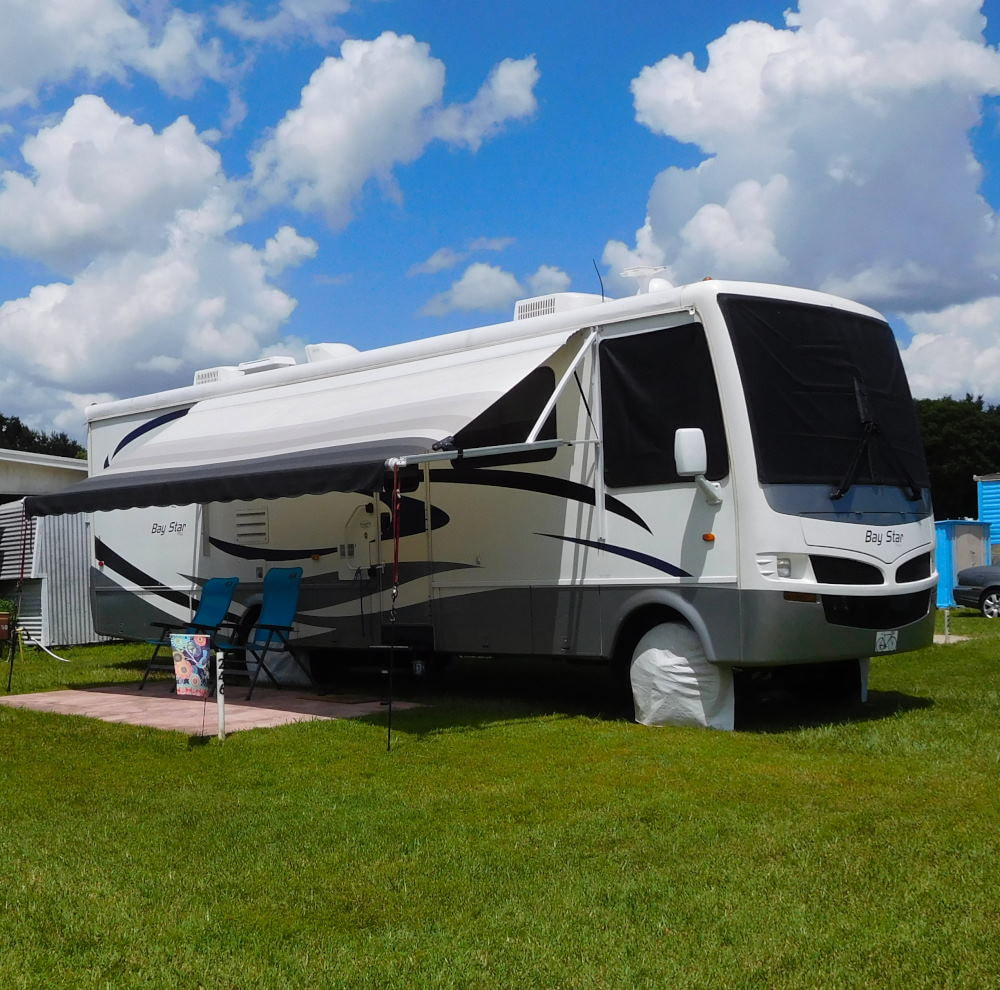
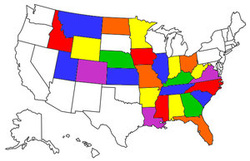
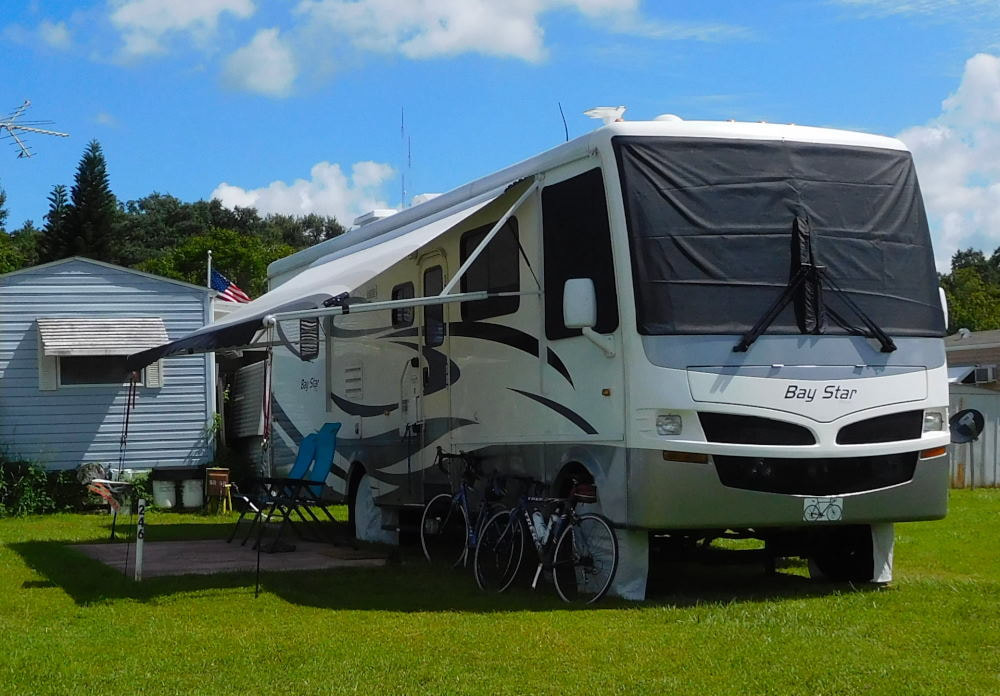
Emily & BarryWe're a long-married, early-retired couple who are currently traveling as nomads with no fixed home base. After years of living in North Carolina (Emily's home state), we spent 18 months living oceanfront on Ambergris Caye, Belize, a year road-tripping the US in a Honda CR-V, a year in Playa del Carmen, Mexico, and are now roaming North America in our 32' motorhome, Pearl, following warm weather whenever possible. Archives
July 2019
Favorite Travel Blogs |
- Traveling Twosome Blog
- BeBelize - Our life in Belize (2011-2013)
-
Earlier adventures (2003-2010)
- First Belize Trip 2010
- Fall Sail Cruise Aboard Logos 2009
- Conch Key 2007
- Charleston Sailing School 2007
- Biscayne Bay Sailing School 2007
- Key Lime Sailing Club 2006
- Southwest Parks 2006
- BEYC/Jost van Dyke, BVI 2005
- Offshore Sailing School 2004
- Annapolis Sailboat Show 2004
- Finger Lakes 2004
- NY State Bike Tour 2004
- Biras Creek, BVI 2003
 RSS Feed
