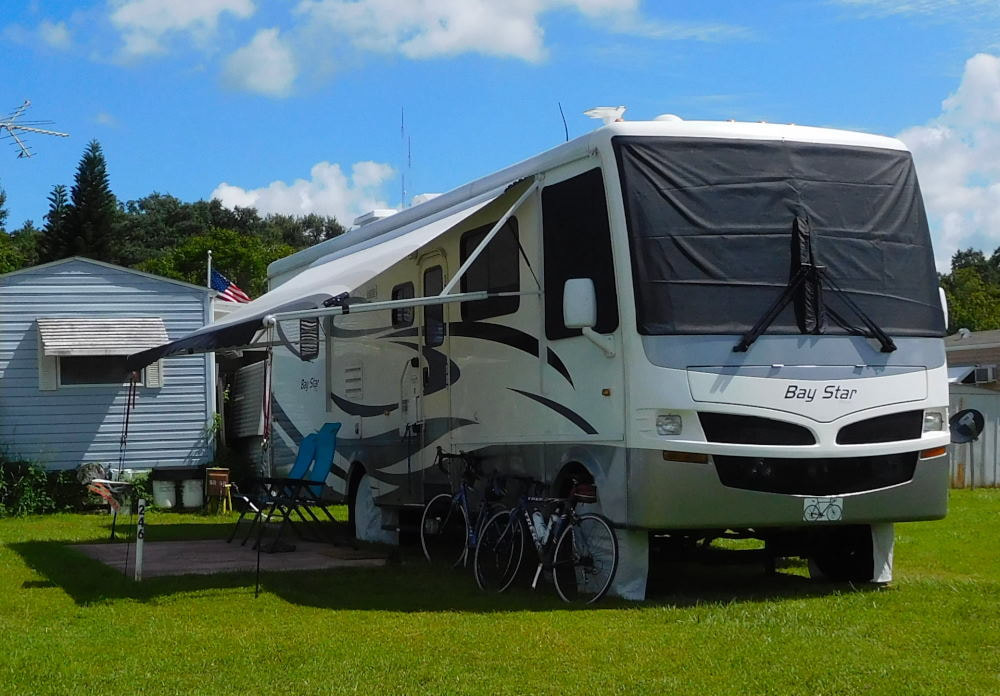
"Pearl" in Winter Garden, Florida
|
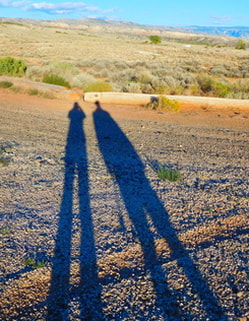
Long shadows in Wyoming
|
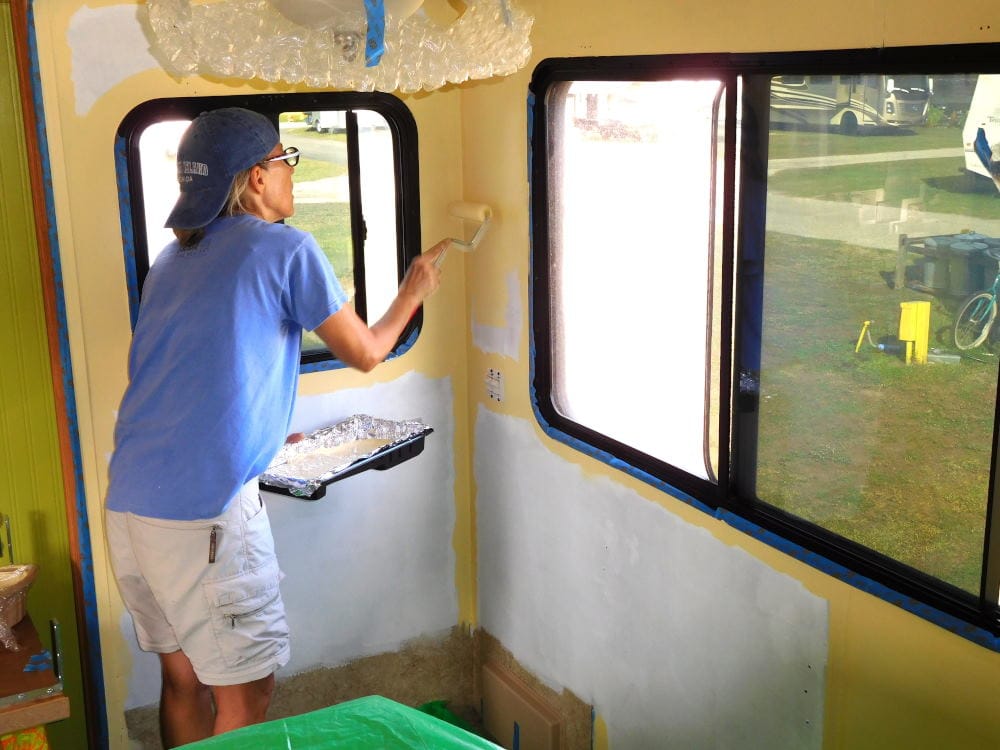
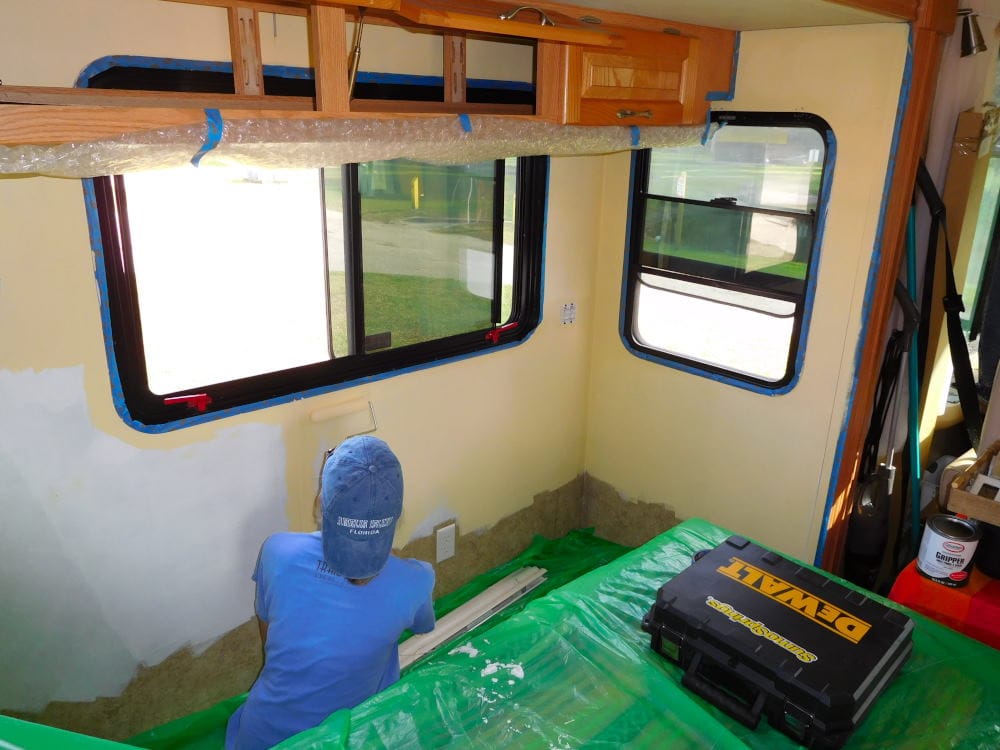
Pearl Gets a Facelift: Sunny Yellow Walls and New Cellular Shades for Her Front Slide-Out12/20/2016 When we first purchased our motorhome, Pearl, last January, I honestly didn't know if I'd ever manage to paint the walls. It seemed like a daunting task, since RVs come with vinyl wallpaper hermetically bonded to the lauan plywood walls. How does one even go about painting this stuff? I really wasn't sure. Over time I became inspired after seeing so many images of dramatic RV makeovers on Pinterest and other online sites. If they could do it, why couldn't I? After all, Pearl is our home, and we might as well enjoy a space that reflects us and not some motorhome designer who was obviously enamored with beige! The previous owners had changed only a few small things here and there; otherwise, Pearl looked just like the pictures in the 2007 Newmar Baystar brochure I found online. We were ready to brighten her up. I did my research online to figure out the best way to paint these walls successfully. Ultimately, this excellent blog post from Trek With Us gave me the testimonial, photos, and step-by-step instructions I needed to attack this job with confidence. Since we live in Pearl, I'd never attempt to paint more than one "room" (better yet, just part of a room) at a time. That is disruptive enough, as there are limited places in such a small space to put the displaced items so that I can access the walls to paint them. In this case, I planned to paint only the three walls of our front slide-out. This is where our sofa and dinette sit, so amounts to about half of our living and dining "rooms". Even these three small walls required a lot of prep time. The main part of the project took most of two days. Yes, we actually took two days in a row off our bikes! My first task, done ahead of time, was patching the holes left when the previous owners removed the factory day/night shades and replaced them with plastic mini-blinds. You can see the white spackle material in the photo below. Fortunately I was able to do this part with all the furniture in place. 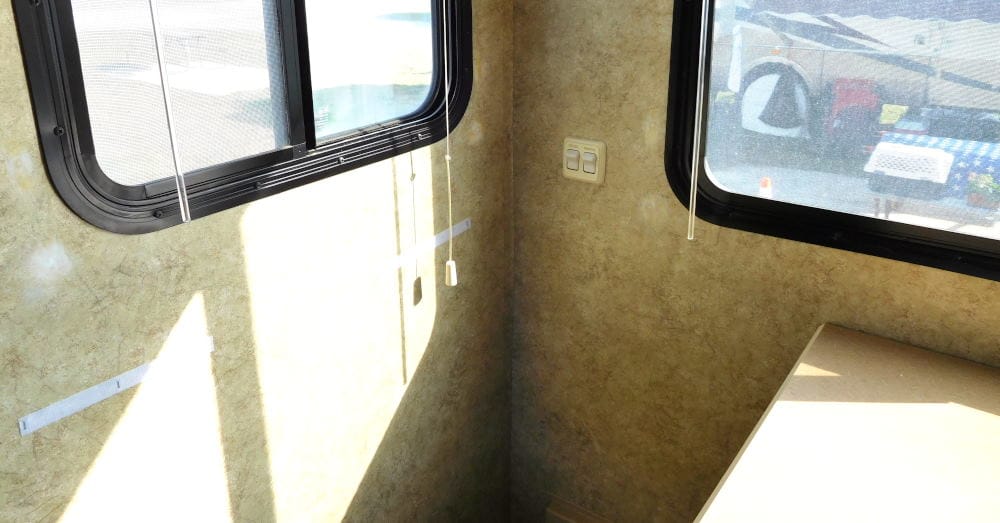 For the rest of the prep, we had to move all the furniture out into the middle of the room. Barry even unscrewed the dinette table from the wall so I didn't have to work around it. I first used a fine-grit sanding block to lightly scuff up the walls to give the paint something to grip onto, then came behind with a damp rag to remove the residue. Next I taped around the four windows, wall sconce, and cabinets. Applying the tape took awhile but was well worth it to get a professional-looking paint job. One plus: Because of all the furniture in the slide-out, I would only have to paint down to the floor under the dinette table. The furniture completely hides the rest of the lower walls, meaning that I didn't have to deal with the carpet line except in the one area. That was a huge help, as that is a tough area to paint. 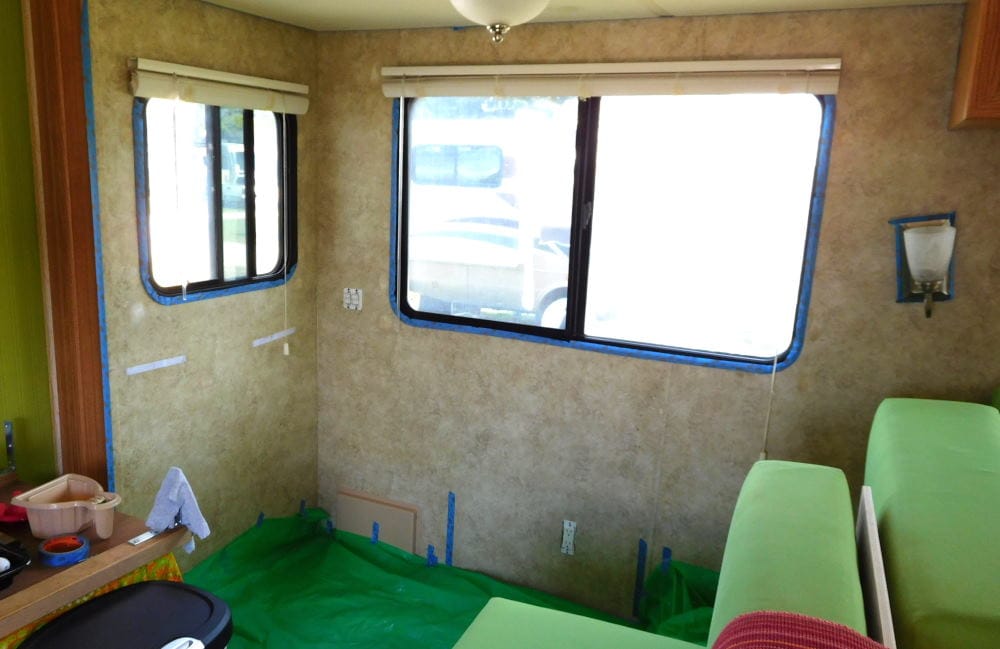 Notice the bubble wrap taped over the ceiling lamp and under the cabinets below? This was not to protect against paint but to keep us from repeatedly bumping our heads, as we'd already done it a couple of times. Ouch! At least now if we bumped, it wouldn't smart so badly. 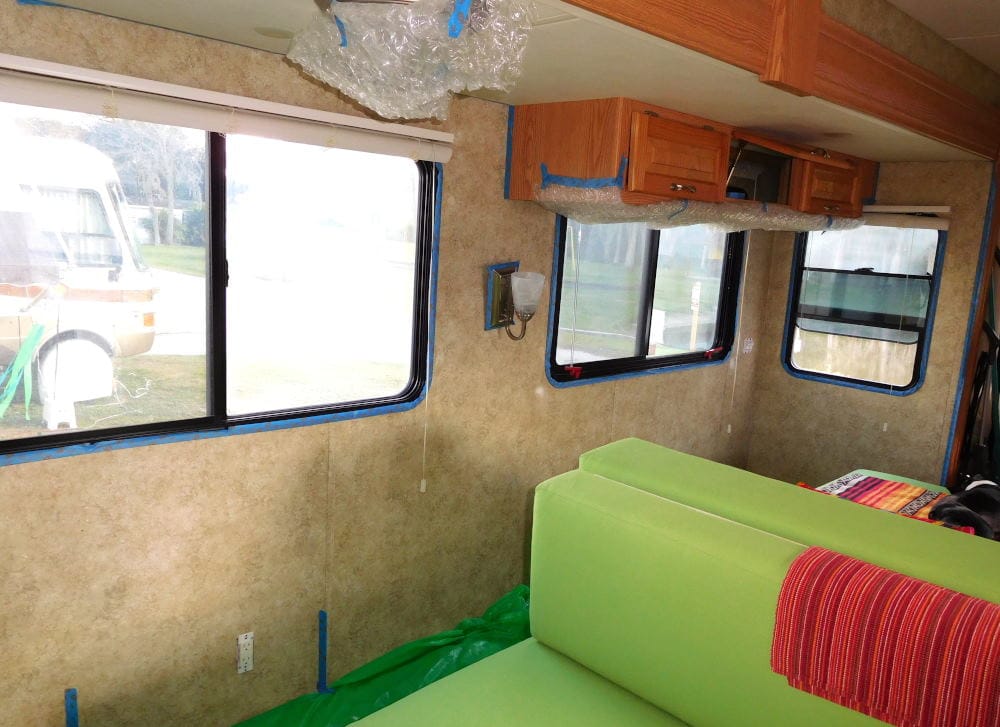 I did all the prep through the taping the day before priming and painting. We left the mini blinds up until the next morning so we'd have privacy overnight. Barry took them down first thing the following morning, and I laid out a large plastic drop cloth over the entire area, including our furniture, as I tend to be very sloppy with paint! After those tasks day 2 began with priming. Although the paint I bought claimed to be a combination primer/paint, I didn't want to take any chances. I'd had great success before with "The Gripper" primer, recommended in the Trek With Us post I linked to above, so I wasn't going to mess with a good thing. Here's what the walls looked like after putting on a coat of The Gripper. Blotchy but sealed. What a change already! 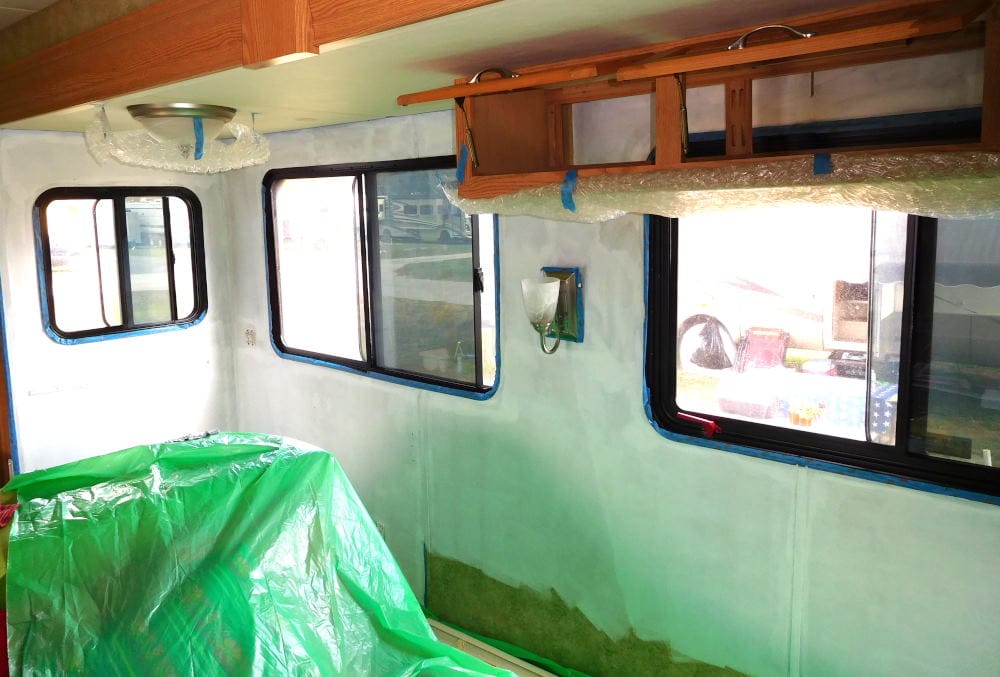 Finally, the real fun began. I used Behr Premium Plus Ultra Interior Eggshell Enamel from Home Depot in a color called "Corn Stalk" It's a really nice golden yellow, not too dark or too bright. This color would look good in just about any room. It is really hard to photograph, though. In some photos it looks much lighter than it is. As you can see below, I used a narrower, smaller roller than the common 9" roller I've used in our past homes. This is a very nice size for the tight areas and smaller walls of an RV. A full-size roller would really be overkill here. 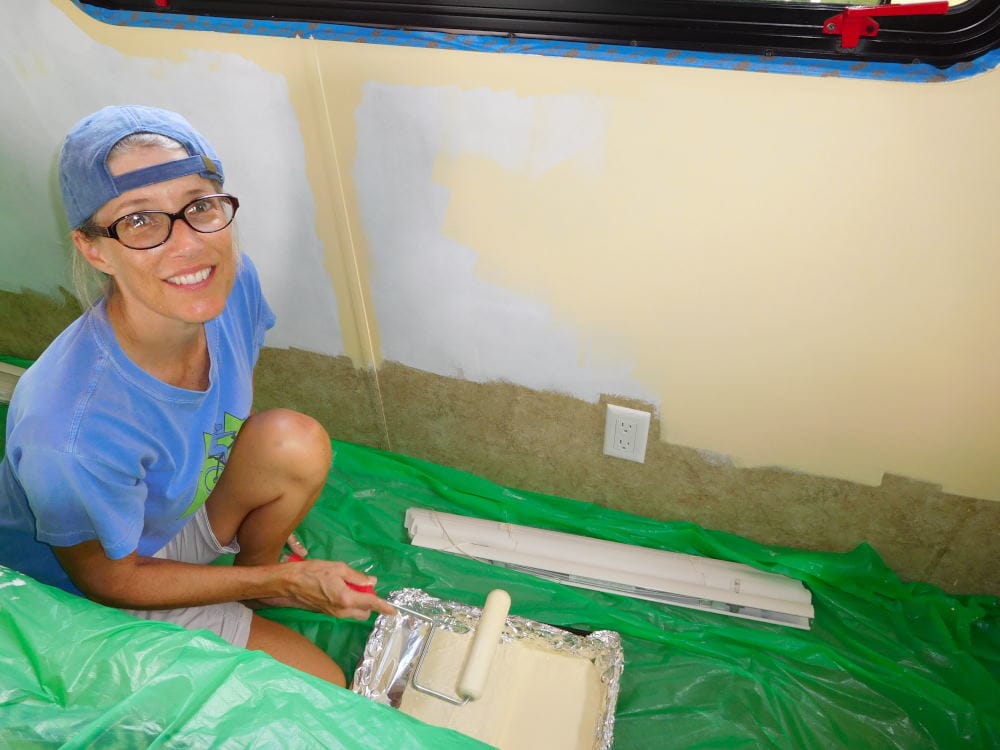
I had hoped to get one-coat coverage with this paint, but I wasn't completely satisfied after one coat so ended up recoating just the areas that would show when the furniture and cushions were in place. Anything below the furniture line just got the one coat. The second coat went on quickly and gave the full coverage I was looking for. 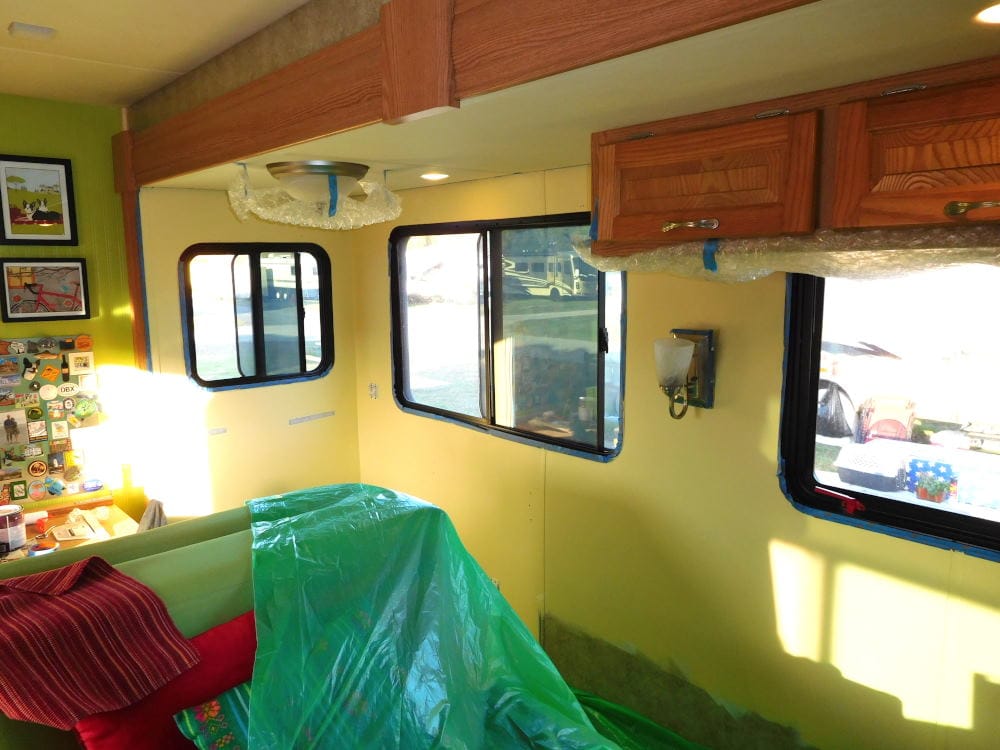 After I'd finished painting and the second coat had dried for an hour, Barry started installing our new cellular shades. We ordered them from Select Blinds, and they are custom made for our oddball window sizes. They are a combination of room darkening and blackout portions. We would have rather had a combination of sheer plus blackout, but those were not available. Oh well, we still love them. They are cordless, modern, and so easy to use. A huge improvement on the plastic mini blinds they replaced. Installation was a breeze as well! 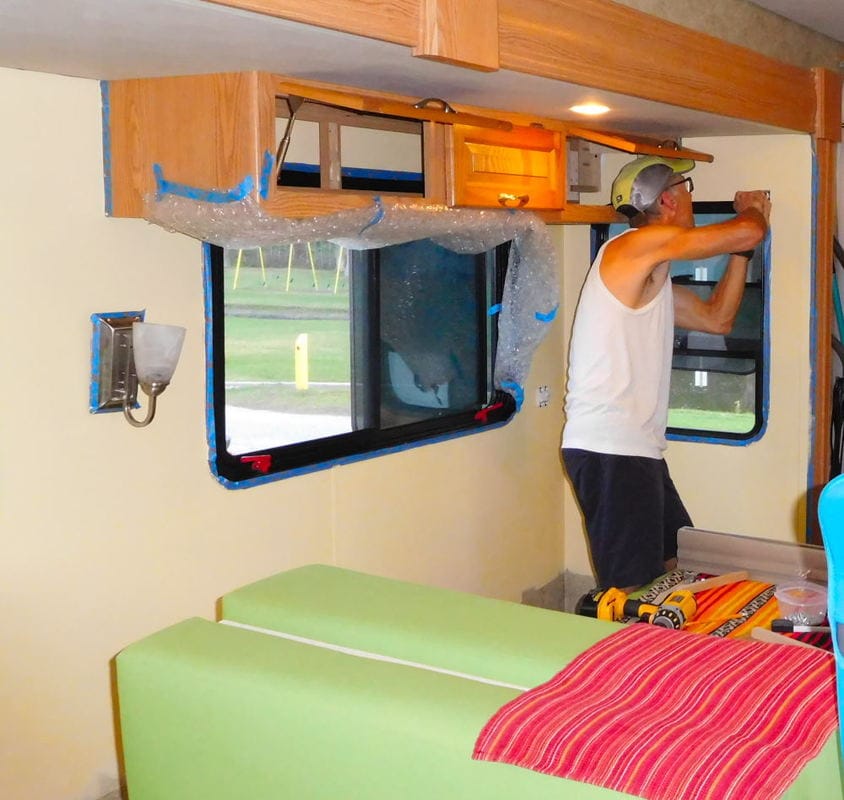 Our last tasks of the evening were removing the blue painter's tape and sliding the furniture back into place, just a tiny bit away from the walls until the paint cured completely. It was nice to be able to move around in our space again! I took this photo the following morning; it shows the color of the walls much better than the photo above, taken at dusk. You can also see the new shades. This is the room darkening portion; the blackout portion is below, but we will only be using those at night. 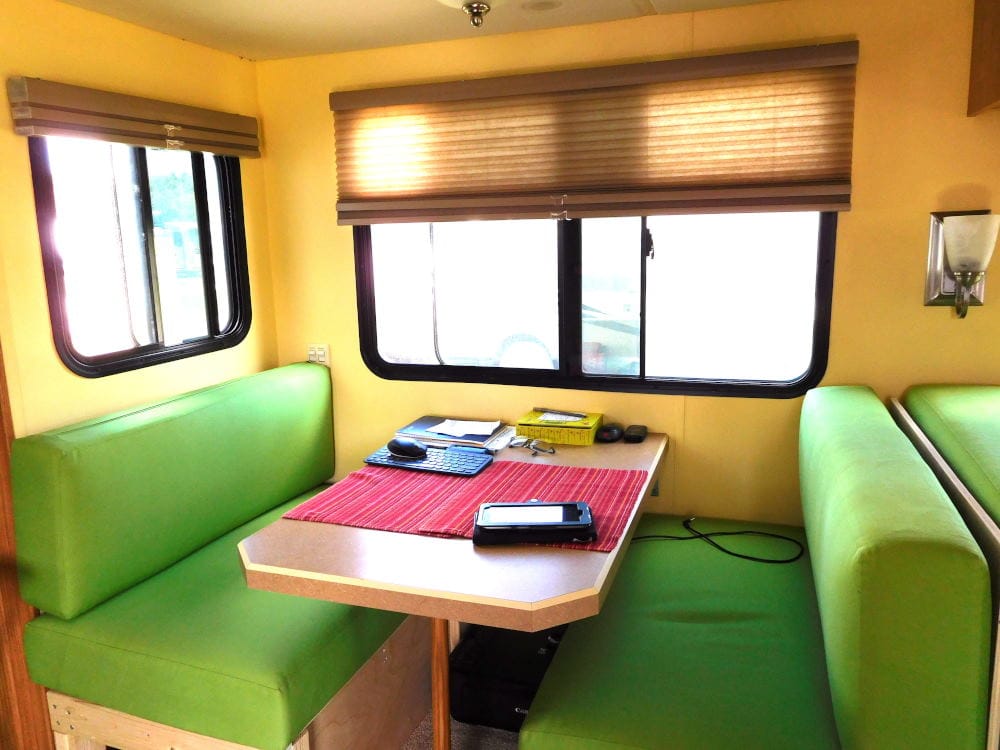 The photo below doesn't show the yellow at all, but I wanted to include it because it shows the shades, furniture back in place, and of course, Paisley! She seemed relieved to have her usual space on the sofa back after two disruptive days with furniture pulled out and "stuff" out of place everywhere. 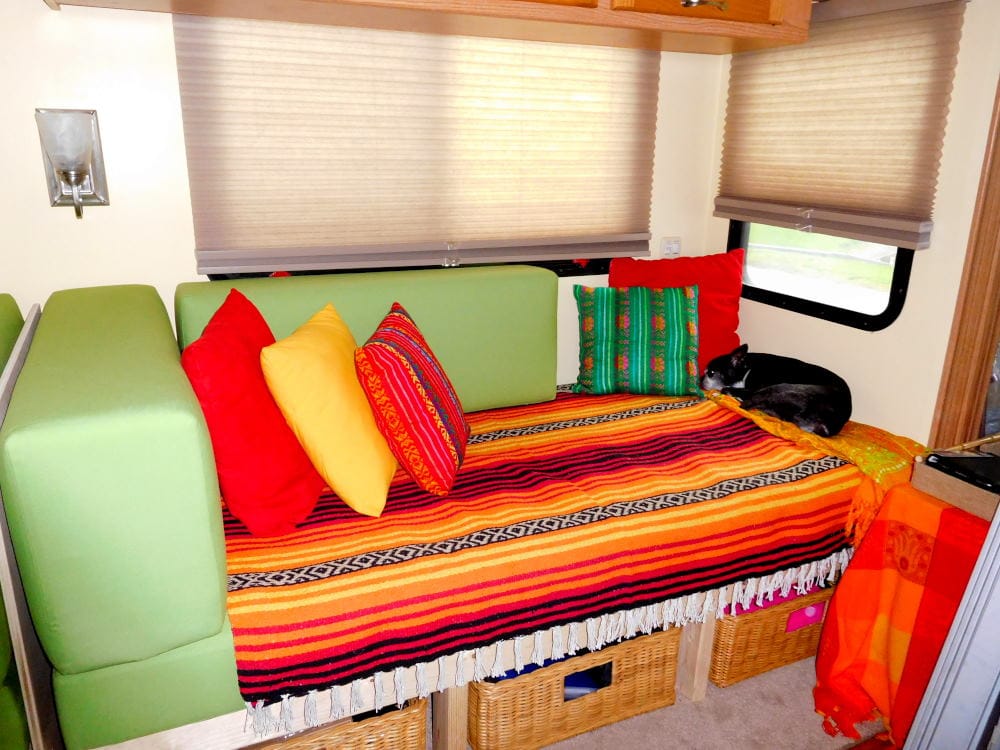 I have enough of the paint left (and plenty of Gripper primer) so will likely attack the small hallway between kitchen and bedroom next. Once started, it's hard to stop! I also hope to paint the bathroom and bedroom eventually.
And work remains to be done on the new platform furniture Barry built: finish carpentry, priming, painting, and bolting it to the floor. Nope, we never get bored living in an RV!
4 Comments
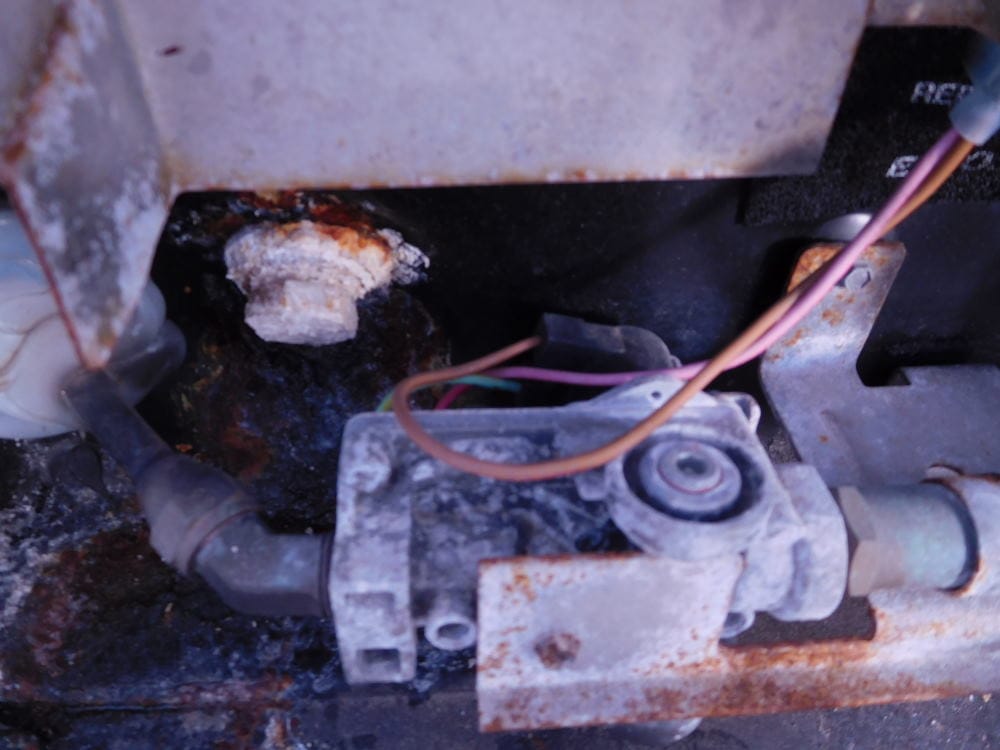
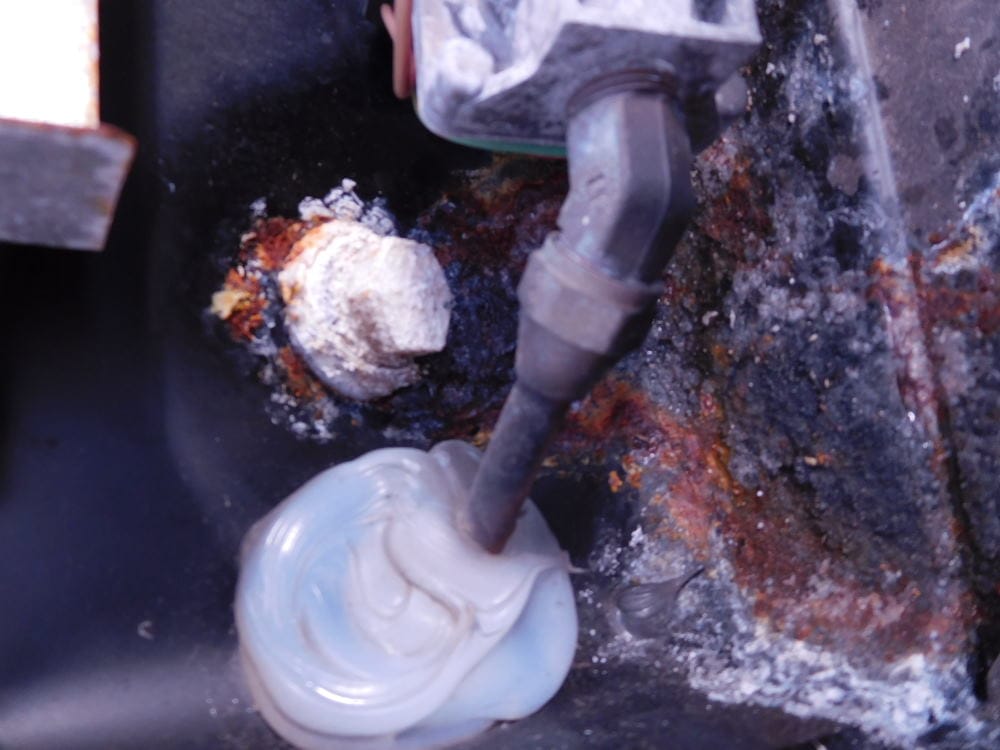
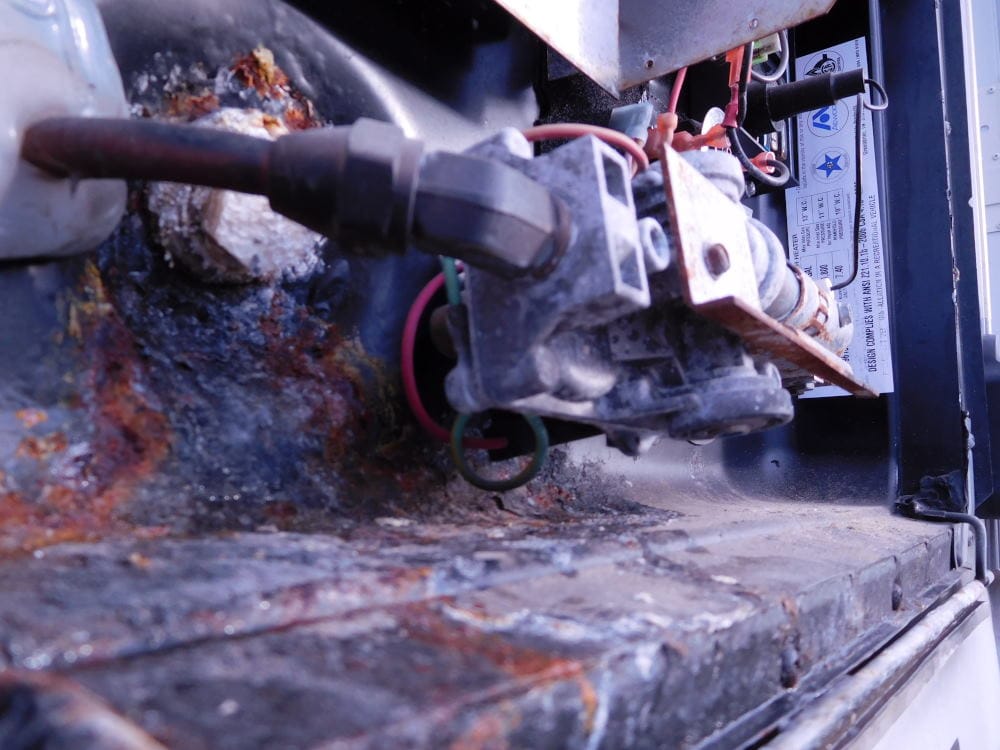
It was definitely overdue. Although the water heater in our motorhome, Pearl, still functioned and heated water fine, water was leaking down the side of the coach, and the unit was corroded inside. Because of the leak, we only turned on the water heater before taking showers or washing dinner dishes, but it leaked even when turned off since it holds six gallons of water. 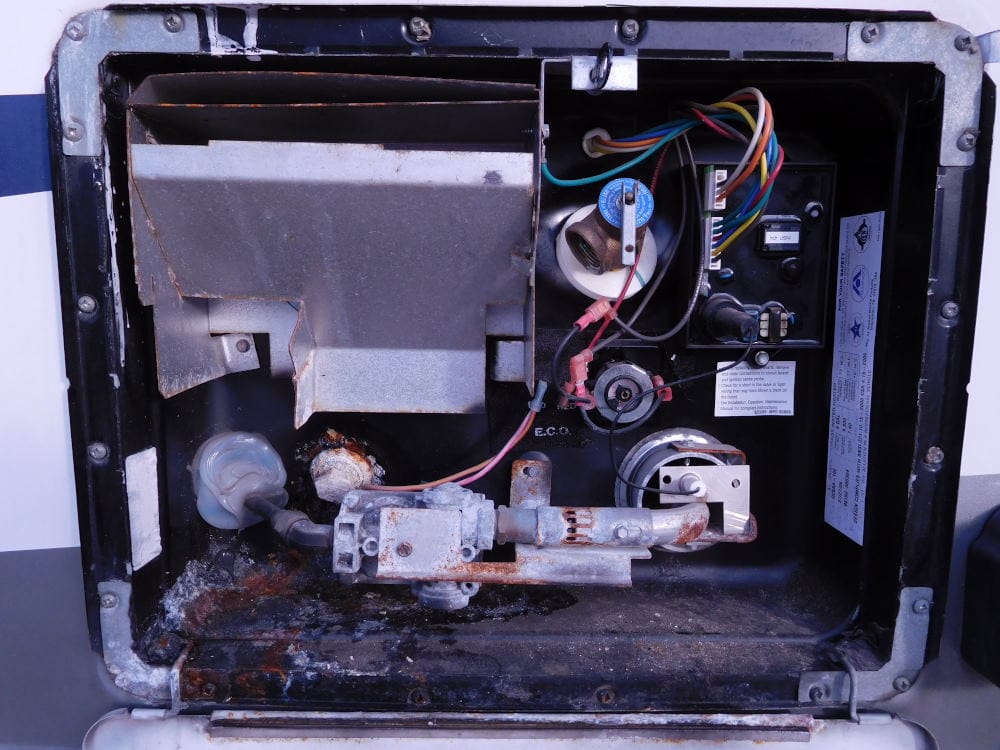 This was the original Atwood water heater so was reaching ten years old. It was time to replace it with a shiny new one. As you know if you follow this blog, Barry is a DIYer, so of course he would attempt this himself! He watched some Youtube videos to determine that he could do it, and then we went ahead and ordered the replacement heater. Prices vary from different sellers, of course, so it pays to comparison shop. We found the best price from an Ebay seller, $355, with shipping included. If you do this yourself, make sure to check the model number carefully, as there are many models with similar numbers. Ours is a gc6aa-10e. Here are some more images of the old heater showing the corrosion clearly.
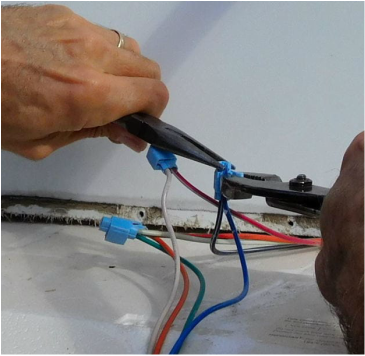
Here is the brand-new heater. It came with a new door as well. Not all do, so check the listing carefully if you need a new door. We didn't really need one, but might as well install it since it was included! 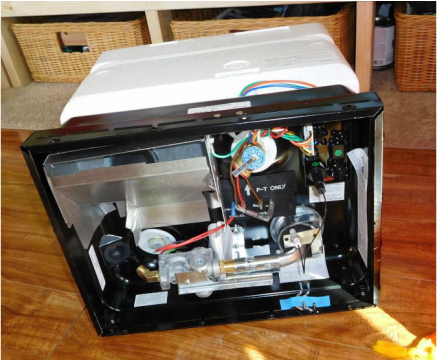 The first step in the replacement was draining the water out of the old unit. The next step was disconnecting the old unit. Even after draining, this can get a bit wet in the back of the unit because of water remaining in the lines, so make sure to have plenty of old towels handy! 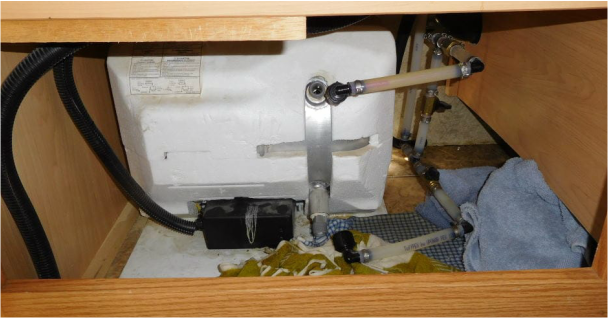 In addition to the water lines, the propane line must be disconnected. Prior to disconnecting anything, the water, propane, and electricity to the unit must be turned off, of course! 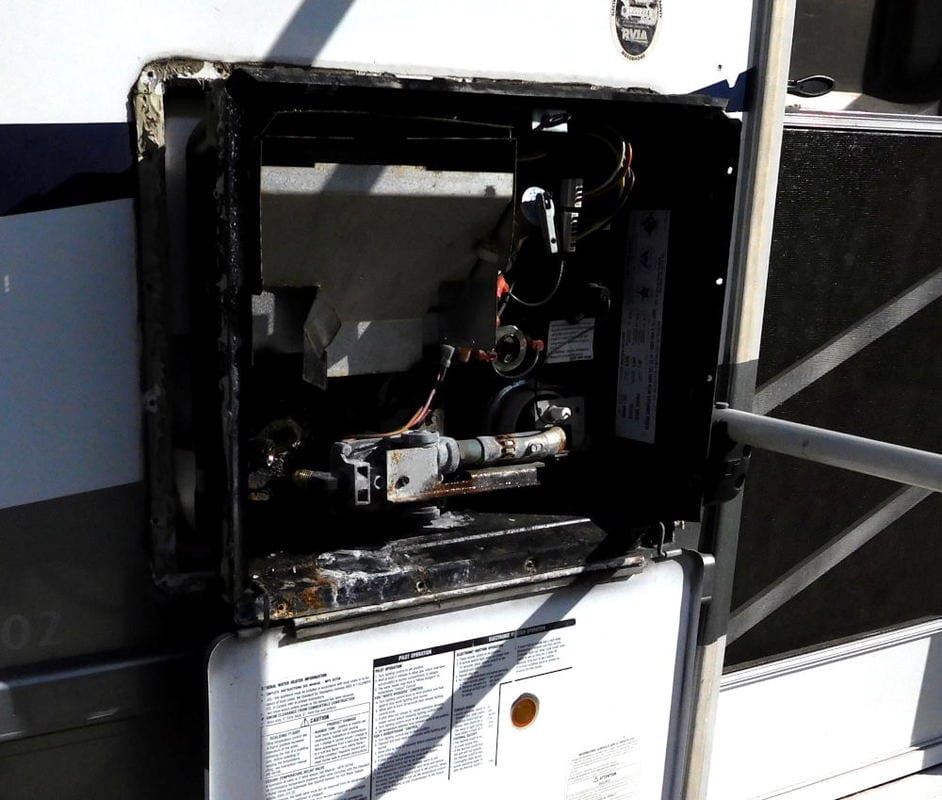 Take note (and a photo!) of the wiring on top of the unit as you remove it so that you can duplicate it with the new unit. 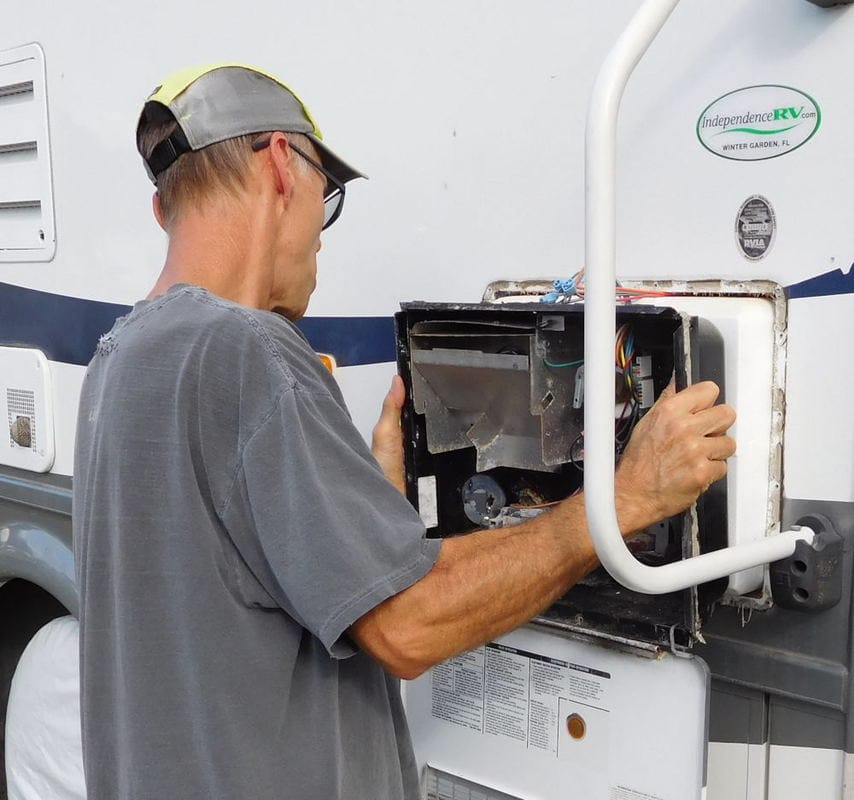
An exciting moment: the old unit comes out! 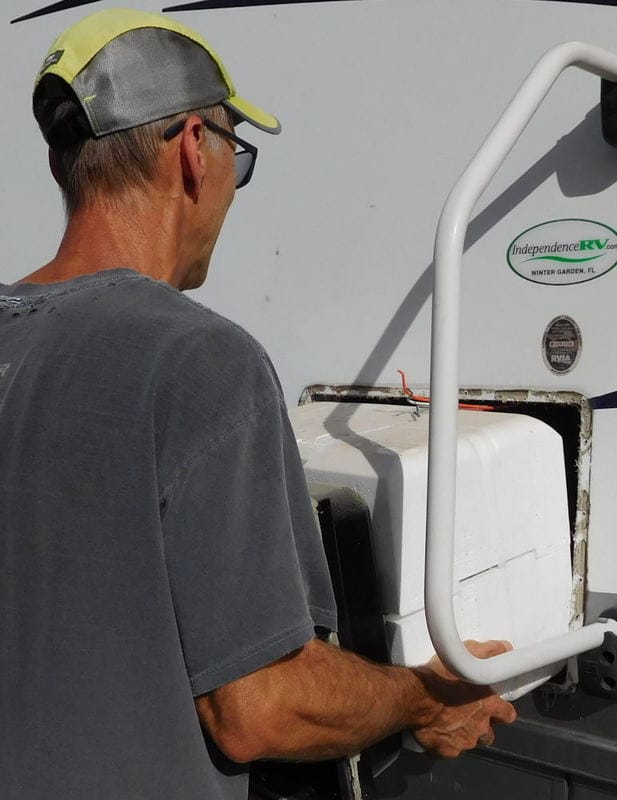 The old sealant around the edges must be removed, and any cleaning of the empty oriface done before installing the new heater. In the photo below, you can see where the water was leaking from the old unit in the bottom left. 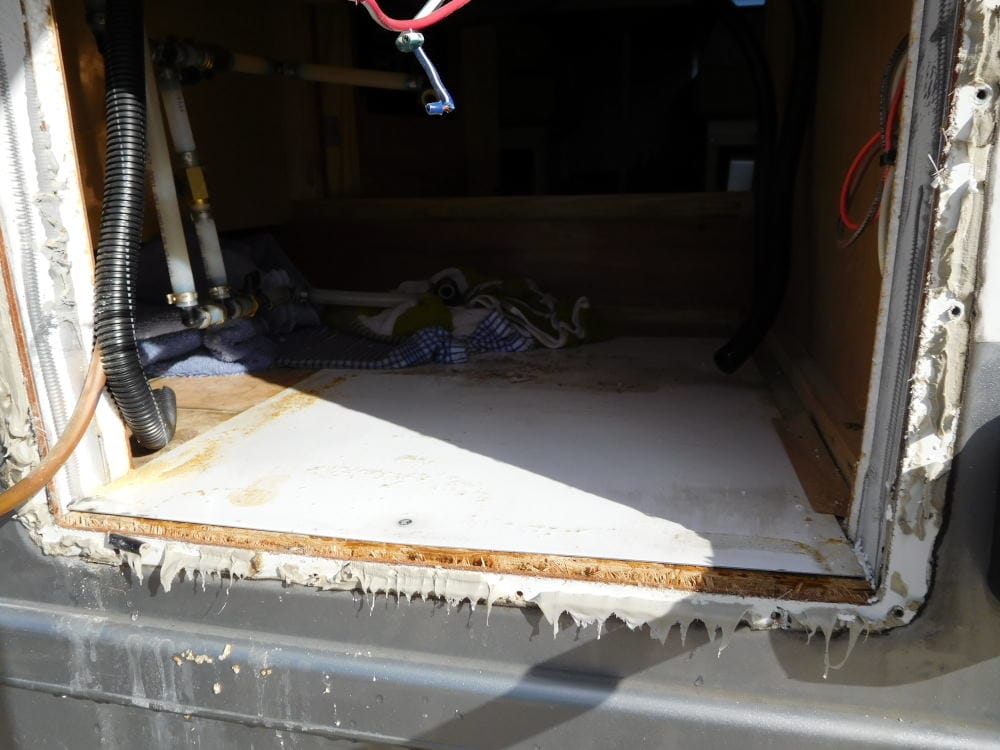 Someone is curious about the goings-on! 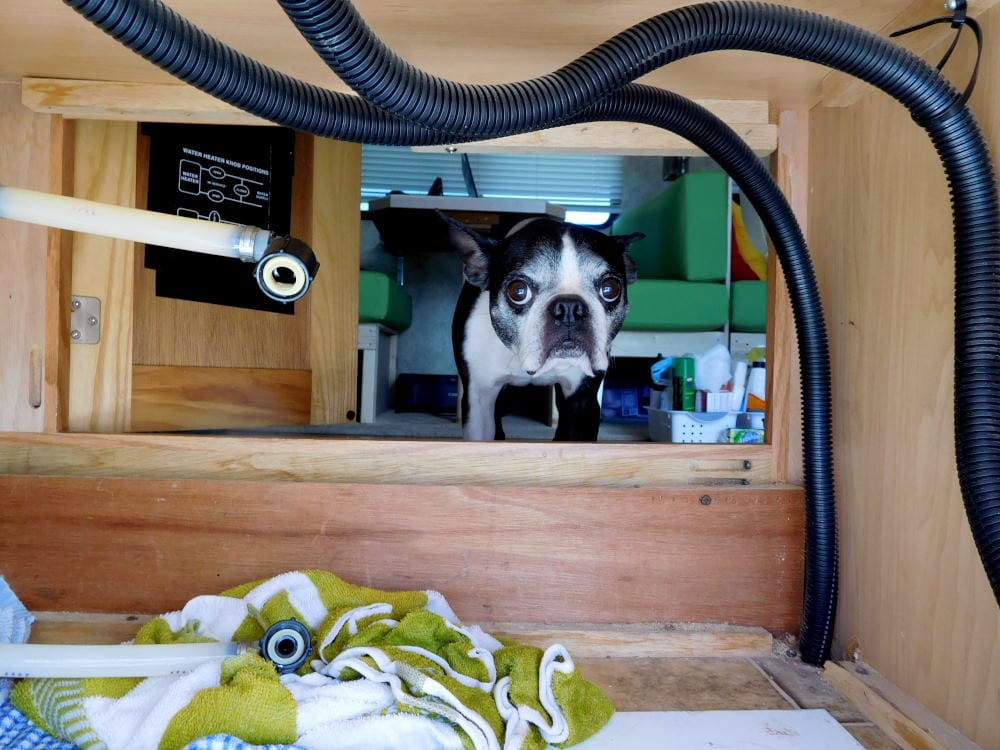 Next, Barry placed fresh butyl tape around the opening, after I cleaned everything inside. 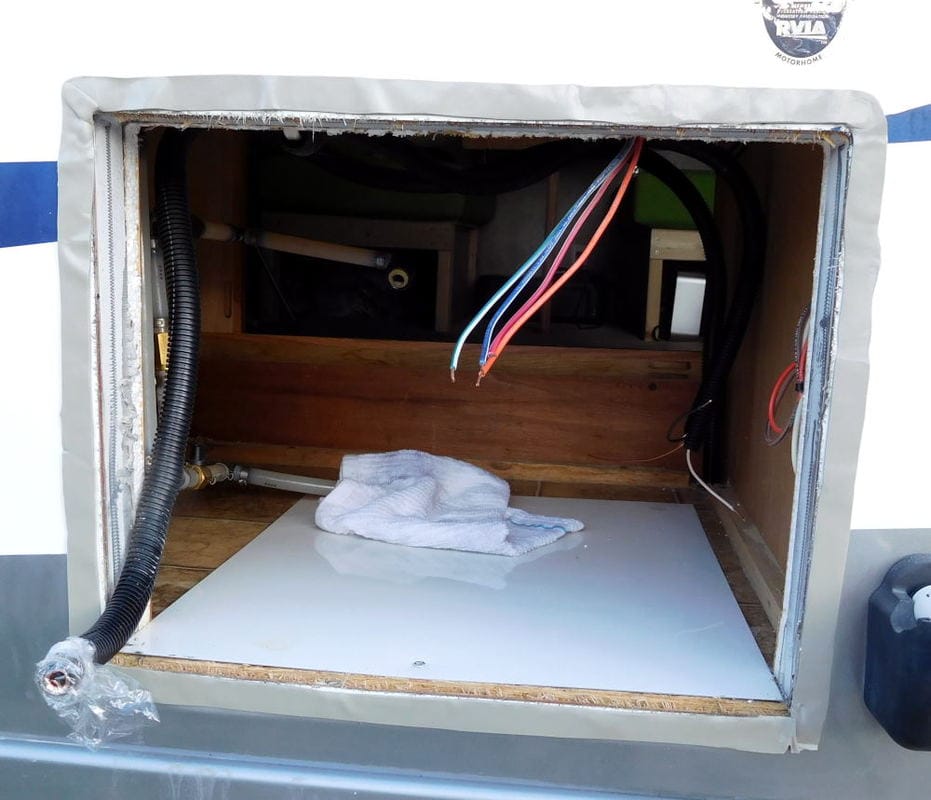 The wiring has to be hooked up before pushing the unit back into place. 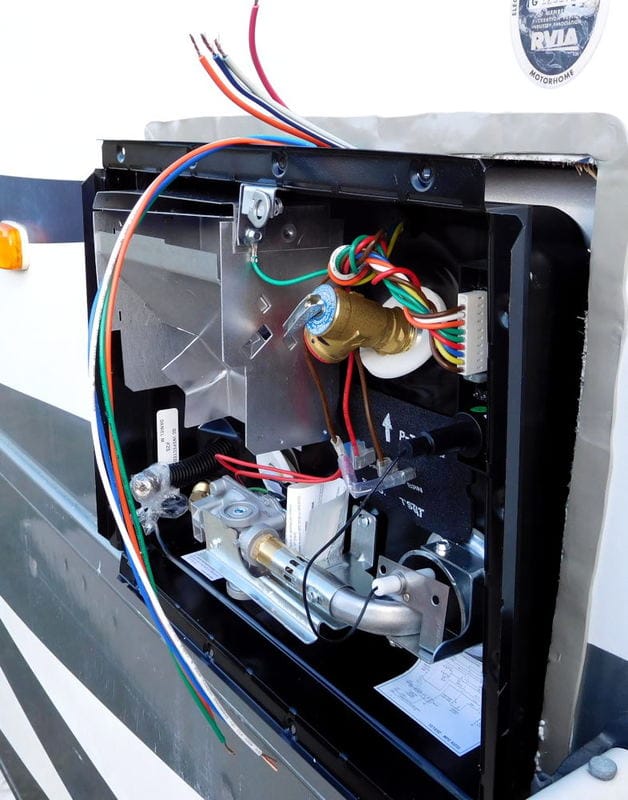  Here Barry is reattaching the water lines. 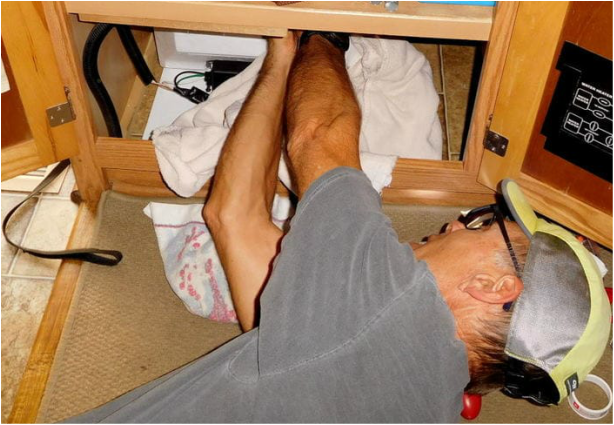 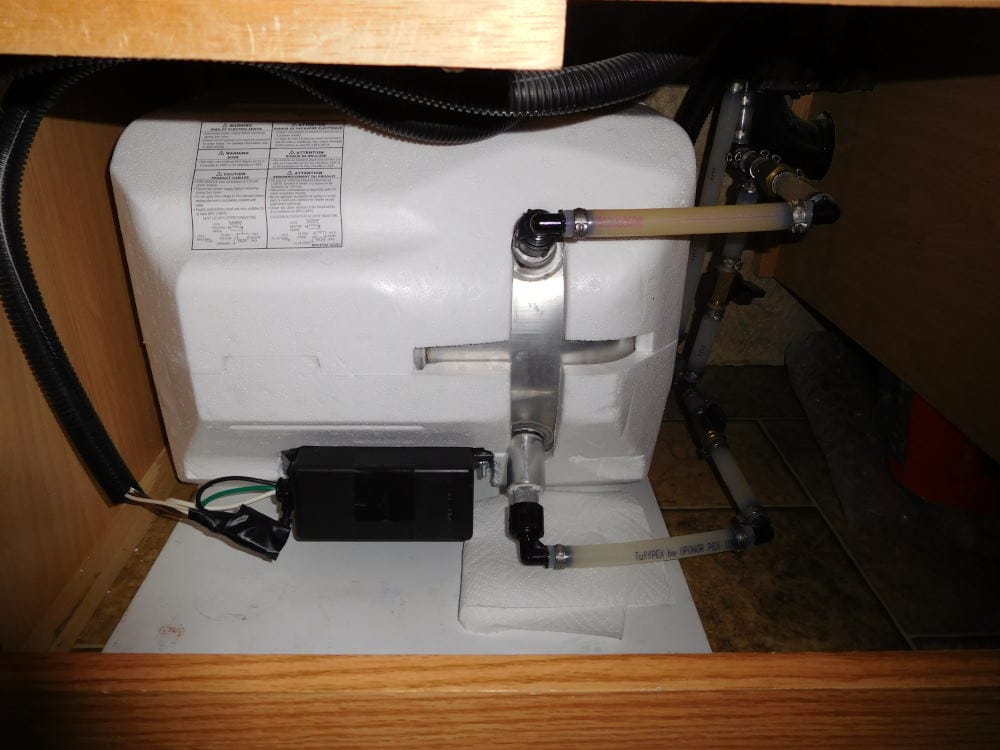 Now he's screwing the unit in place, including corner brackets. 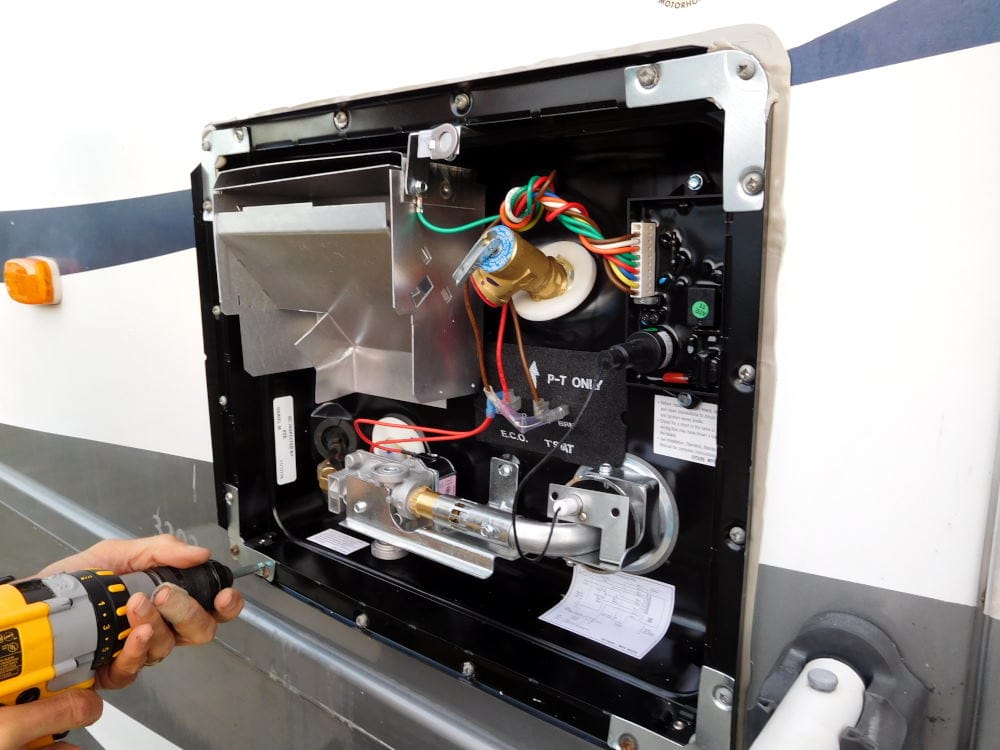 After we tested the unit in electric mode to ensure it was heating water, he fired up the propane, and we saw the flame. A success! 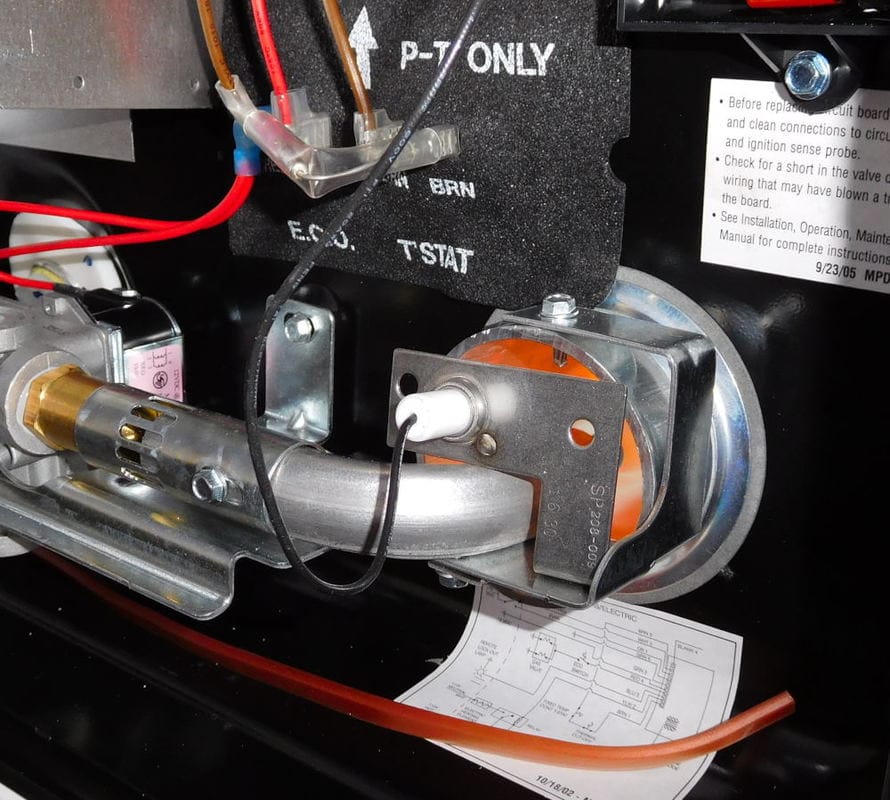 Here is the new, shiny door! 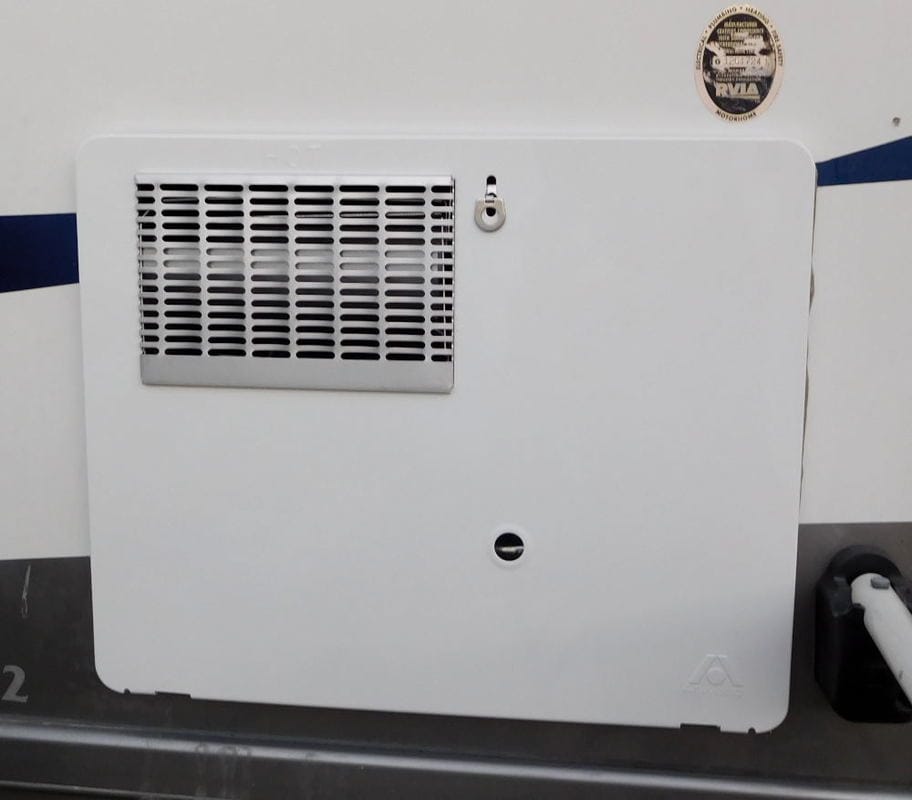 The new water heater works great and really heats up the water! Barry was also able to clean the deposits from the leakage off the side of Pearl with a little CLR.
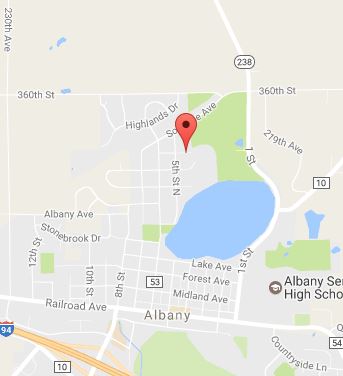
Another RV project completed successfully!  (Click on the image to see this cute kids' t-shirt!) (Click on the image to see this cute kids' t-shirt!) Well, not really everywhere, but we certainly have seen a lot of them as we've crisscrossed the US, both back in 2013-14 and the year just past. I've mentioned this from time to time in this blog. But one particular day this past July really took the cake. I never had time to blog this when it happened as we were moving around a lot, and I had so many posts to write, but now that we're settled down in Florida for the winter, I finally have time to do some catch up posts from the past. We were in Minnesota, camping in the city park in the town of Melrose very close to the Lake Wobegon Trail. I had a few books to exchange and had seen on the Little Free Library website that there was one in the nearby town of Albany, just a short distance off the main trail on a northern trail extension. So, since we had a ride planned in that direction (east), I loaded up my little backpack with my books, and off we went. Here's the blog post from that ride. I didn't mention the Little Free Library aspect of it as the blog post was long enough, and I planned to cover it in another post; I just didn't realize it would be half a year later! So here's where the Little Free Libraries come in...
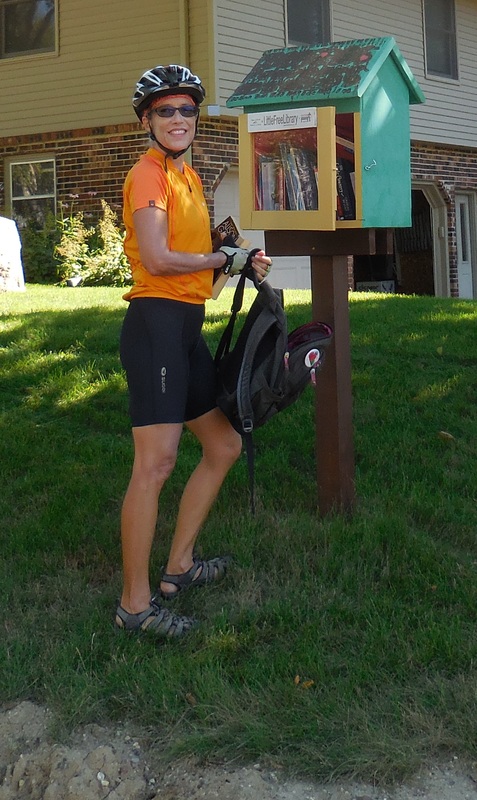 This is what the neighborhood looked like, temporarily! 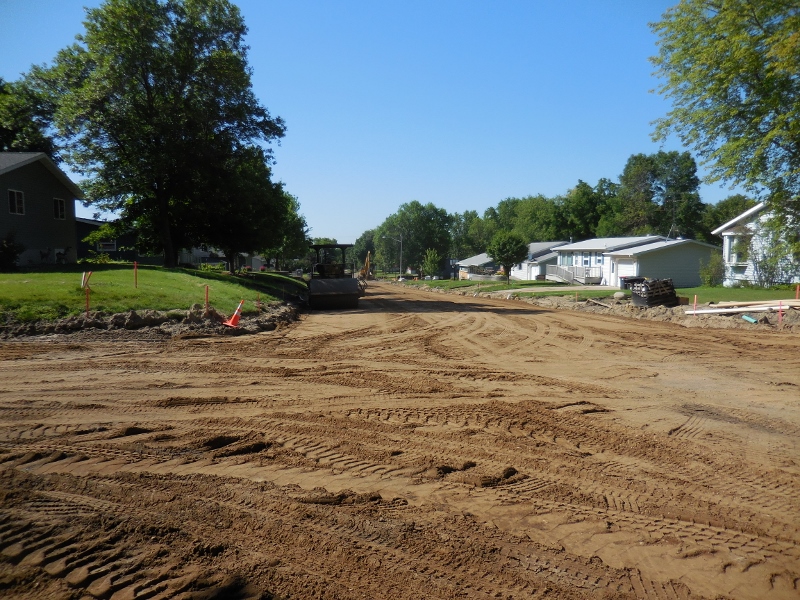 I left three books and took only one, since I didn't find anything that really floated my boat. Still, an unread book is better than three read ones any day, so I considered this a success. What I didn't know was that had I looked a bit farther east on the Little Free Library map, I would have found that there were not one but TWO other locations in the vicinity. This came as a complete surprise to me! We just happened upon them at a couple of the trailheads as we pedaled through, and by the third one, I had to laugh. I ended up trading the book I picked up at library #1 at one of the other two. And I saw so many good books in these that I regretted only taking one at the first location, since I could have easily traded my three for three more! 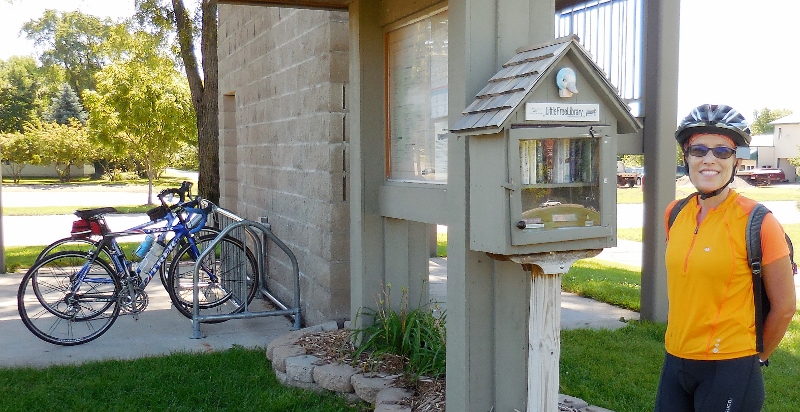 Little Free Library #2 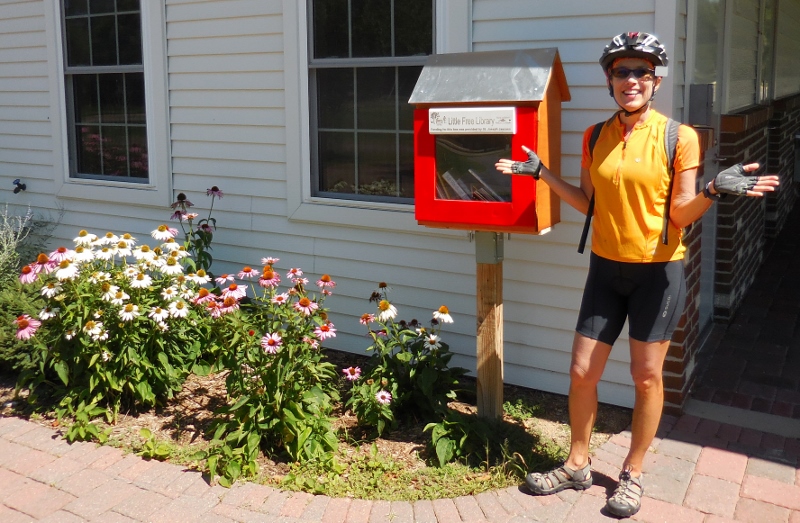 You must be kidding me...Little Free Library #3! So that is my strangest experience with Little Free Libraries! And Winter Garden has one too!Not as strange but definitely welcome was our discovery a couple of weeks ago of a Little Free Library right here in Winter Garden! We happened upon this location when walking back from the farmer's market on our first Saturday in town, although it actually doesn't appear on the Little Free Library website map, for some reason. 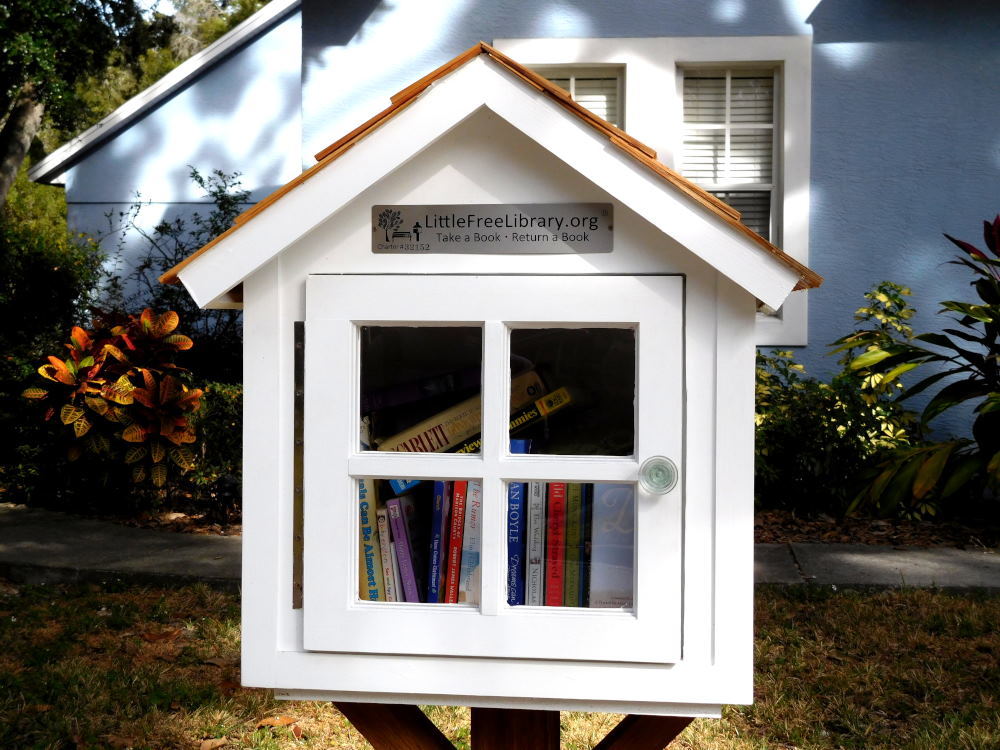 Isn't this a charming neighborhood? I just love it. 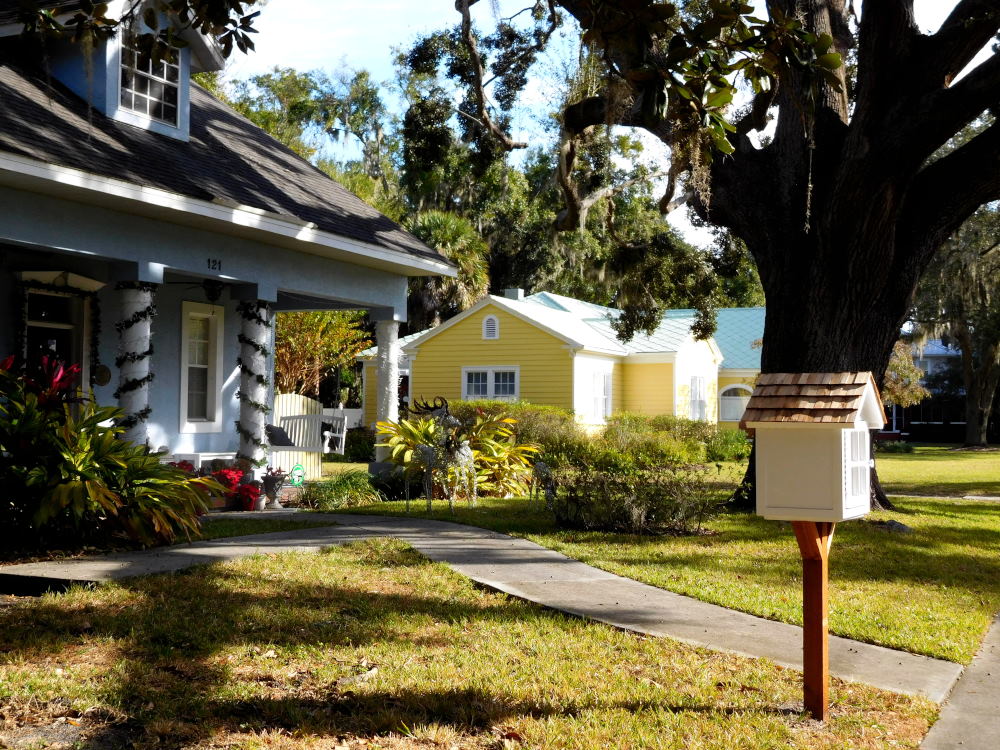 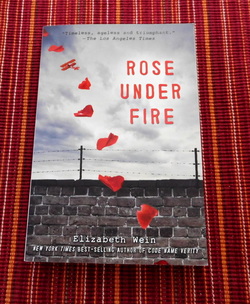 Yesterday I finally remembered to take a couple of books along to trade on the way back from the farmer's market.
I only took one book from the library as there were lots of kids' books and several I'd already read, but I'm looking forward to the one I nabbed, Rose Under Fire by Elizabeth Wein. In my opinion, the world needs even more Little Free Libraries. Both children and adults need more encouragement than ever to read books in our current world filled with online distractions. Yours truly is certainly not immune to these, despite being a lifelong bookworm! In case you're unfamilar with these adorable "tiny houses" for books, they are simply a spot for people to leave a book (or a few) that they're finished with and take another book or two in exchange. No library card required, and they operate on the honor system. From the many I've visited, people really do seem to respect that. Readers are good peeps in general, and these little libraries are such a smart addition to the sharing economy. I love them because they have introduced me to many books and authors I might never have discovered otherwise AND because I love the concept of sharing books! If you love books and have a yard or even a business where a Little Free Library might be appropriate, I encourage you to sign up. The Little Free Library website includes all the information you need to get started. And watch out...if you do start one, I might just come visiting one day! |
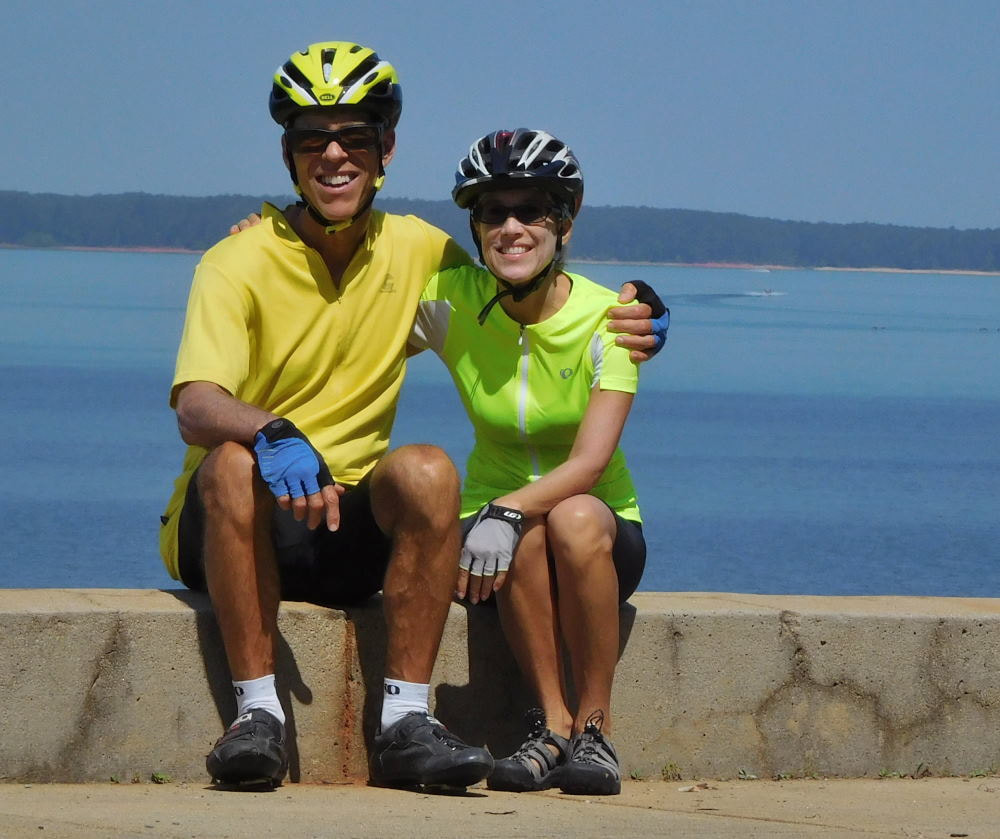
Emily & BarryWe're a long-married, early-retired couple who are currently traveling as nomads with no fixed home base. After years of living in North Carolina (Emily's home state), we spent 18 months living oceanfront on Ambergris Caye, Belize, a year road-tripping the US in a Honda CR-V, a year in Playa del Carmen, Mexico, and are now roaming North America in our 32' motorhome, Pearl, following warm weather whenever possible. 
Paisley, May 2016
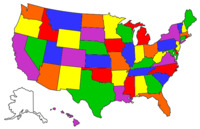
States visited (pre-RV)
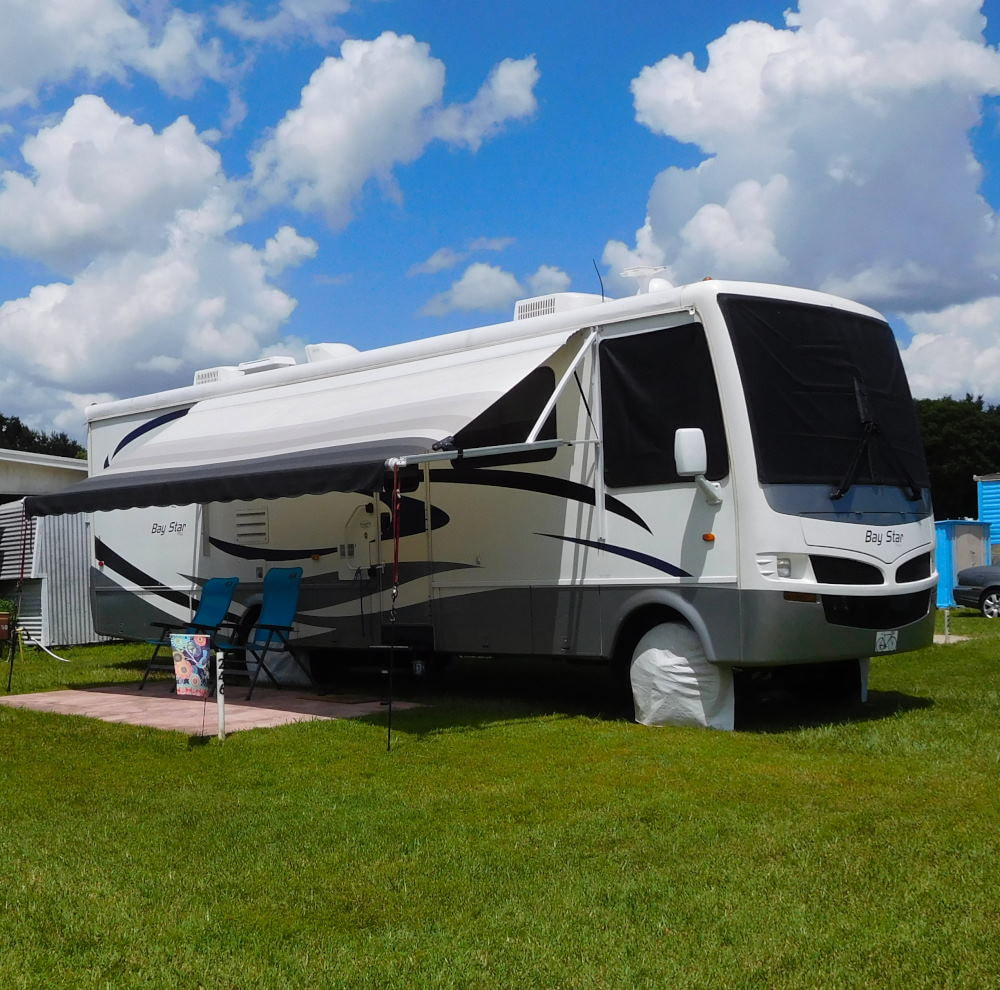
Pearl, a 2007 Newmar Bay Star
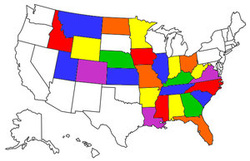
States visited in "Pearl"
Archives
July 2019
Favorite Travel Blogs |

 RSS Feed
