"Pearl" in Winter Garden, Florida
|
Long shadows in Wyoming
|
|
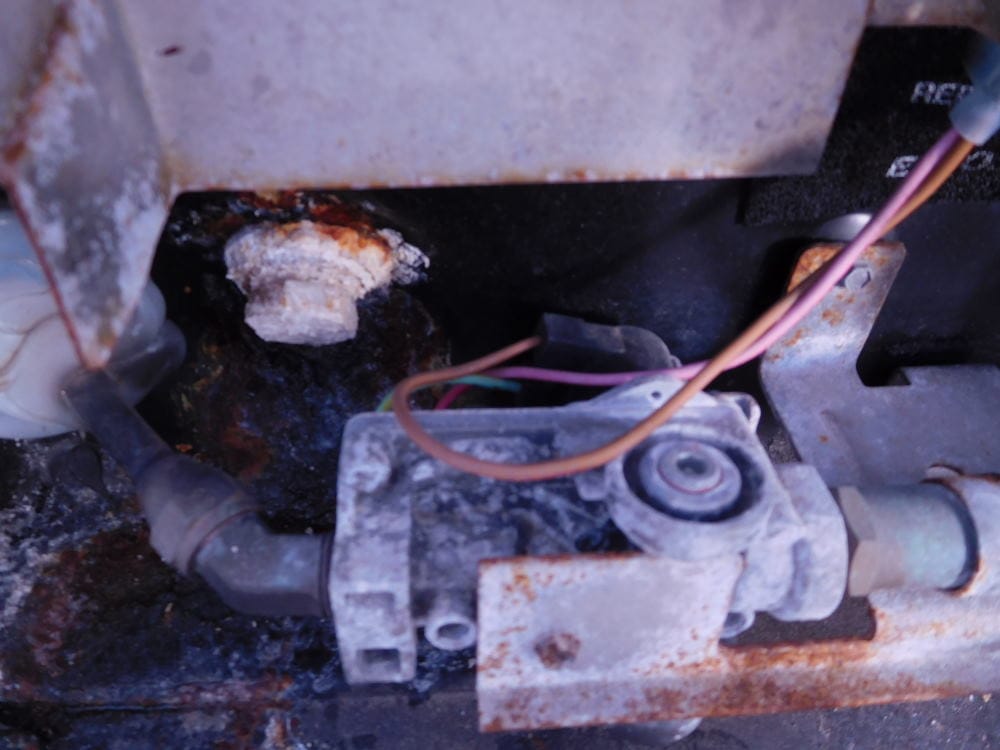
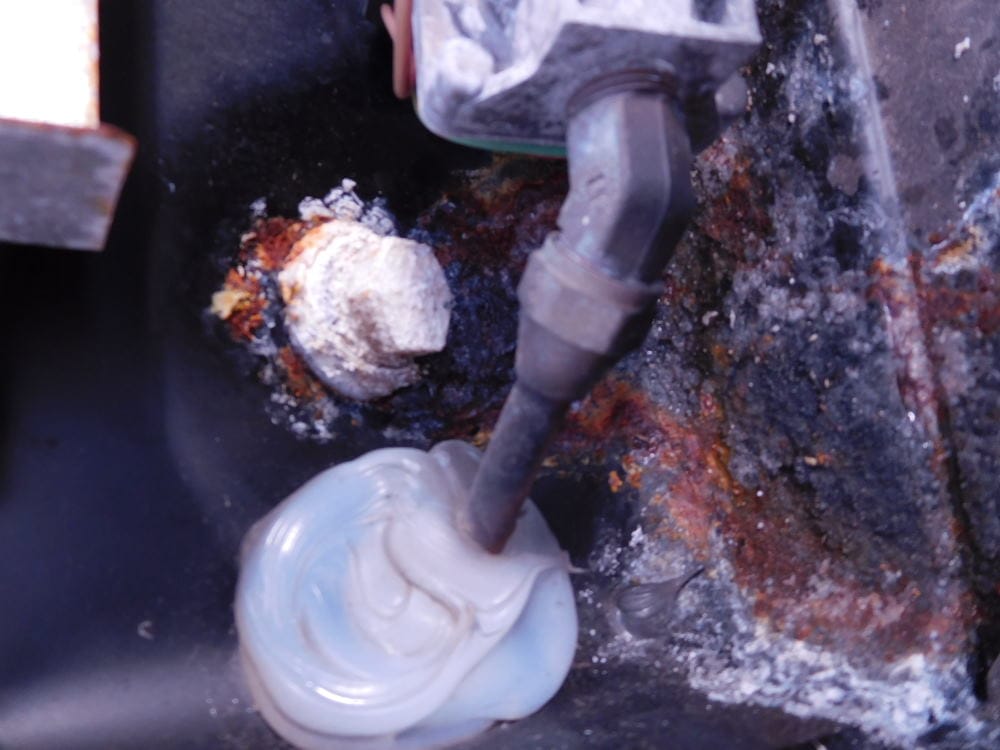
It was definitely overdue. Although the water heater in our motorhome, Pearl, still functioned and heated water fine, water was leaking down the side of the coach, and the unit was corroded inside. Because of the leak, we only turned on the water heater before taking showers or washing dinner dishes, but it leaked even when turned off since it holds six gallons of water. 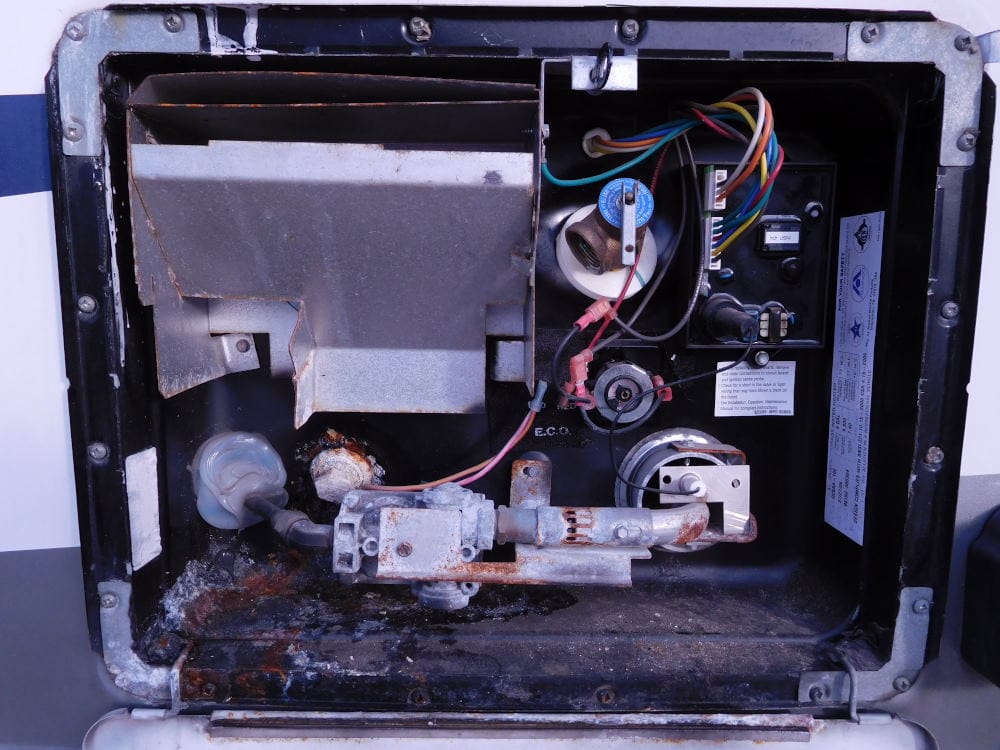 This was the original Atwood water heater so was reaching ten years old. It was time to replace it with a shiny new one. As you know if you follow this blog, Barry is a DIYer, so of course he would attempt this himself! He watched some Youtube videos to determine that he could do it, and then we went ahead and ordered the replacement heater. Prices vary from different sellers, of course, so it pays to comparison shop. We found the best price from an Ebay seller, $355, with shipping included. If you do this yourself, make sure to check the model number carefully, as there are many models with similar numbers. Ours is a gc6aa-10e. Here are some more images of the old heater showing the corrosion clearly.
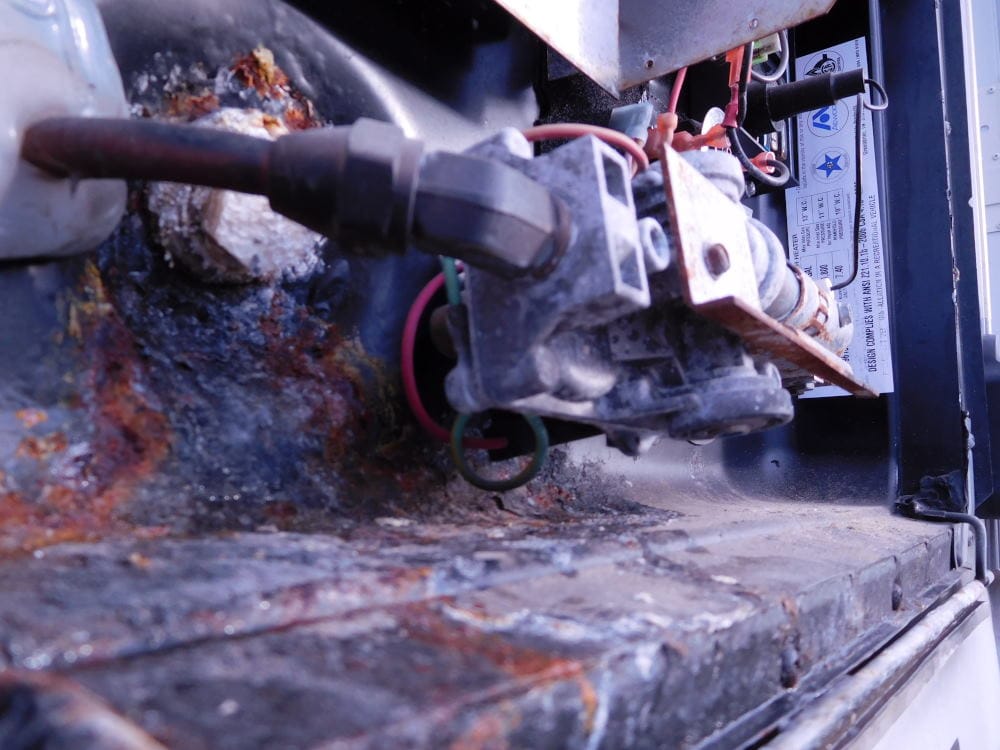
Here is the brand-new heater. It came with a new door as well. Not all do, so check the listing carefully if you need a new door. We didn't really need one, but might as well install it since it was included! 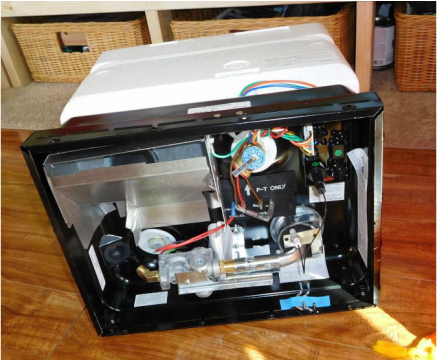 The first step in the replacement was draining the water out of the old unit. The next step was disconnecting the old unit. Even after draining, this can get a bit wet in the back of the unit because of water remaining in the lines, so make sure to have plenty of old towels handy! 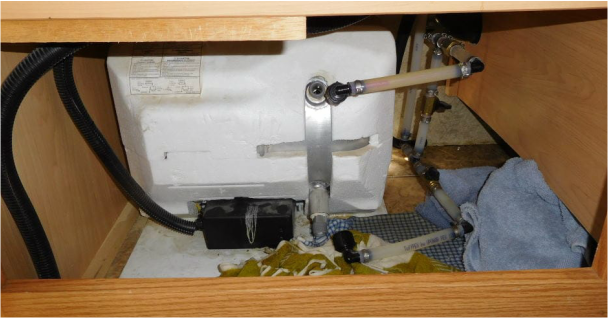 In addition to the water lines, the propane line must be disconnected. Prior to disconnecting anything, the water, propane, and electricity to the unit must be turned off, of course! 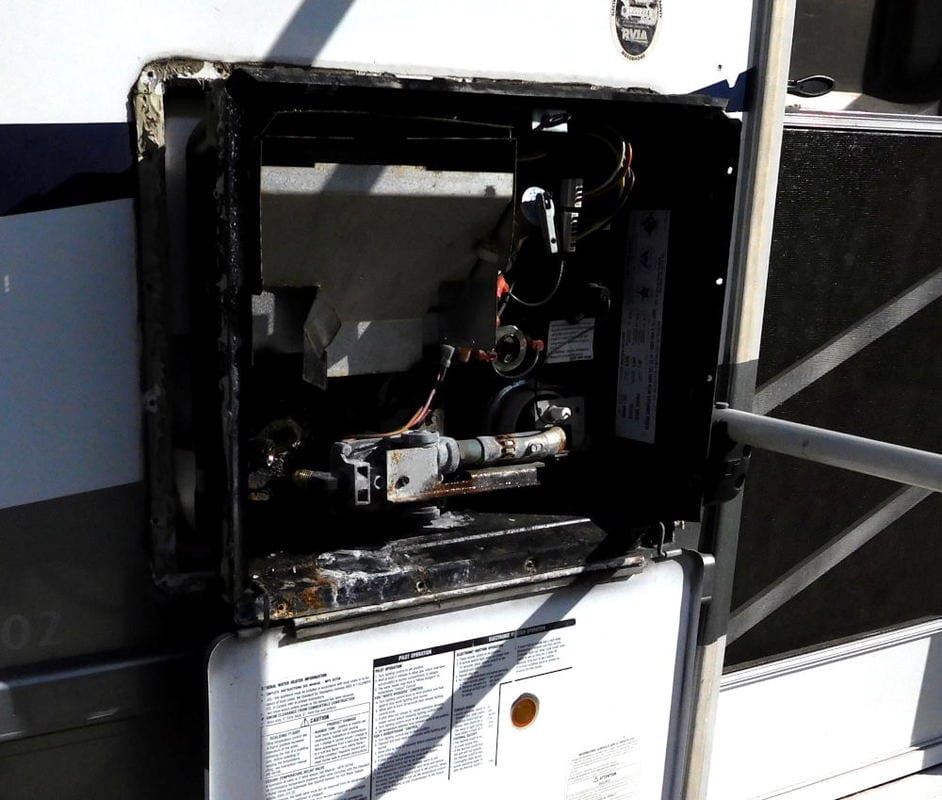 Take note (and a photo!) of the wiring on top of the unit as you remove it so that you can duplicate it with the new unit. 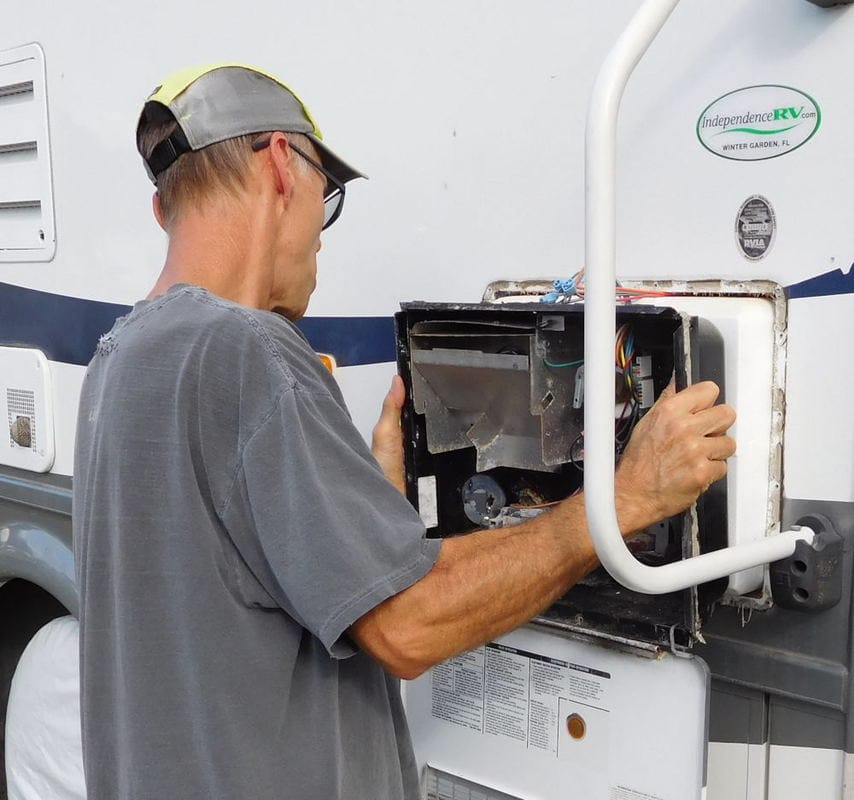
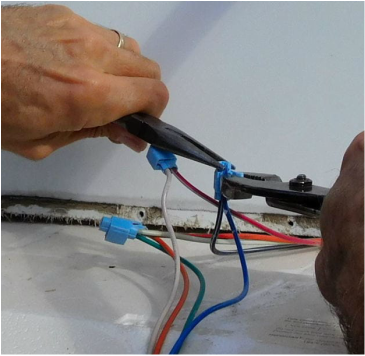
An exciting moment: the old unit comes out! 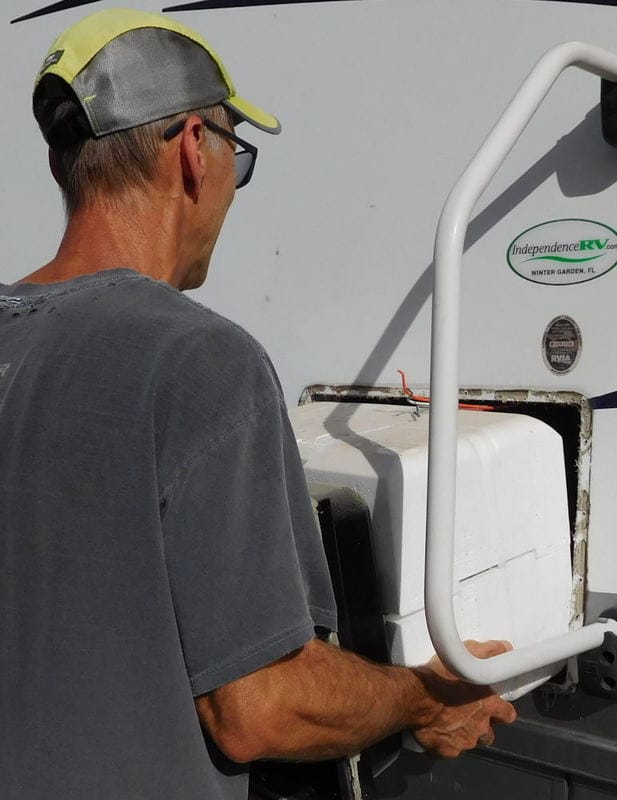 The old sealant around the edges must be removed, and any cleaning of the empty oriface done before installing the new heater. In the photo below, you can see where the water was leaking from the old unit in the bottom left. 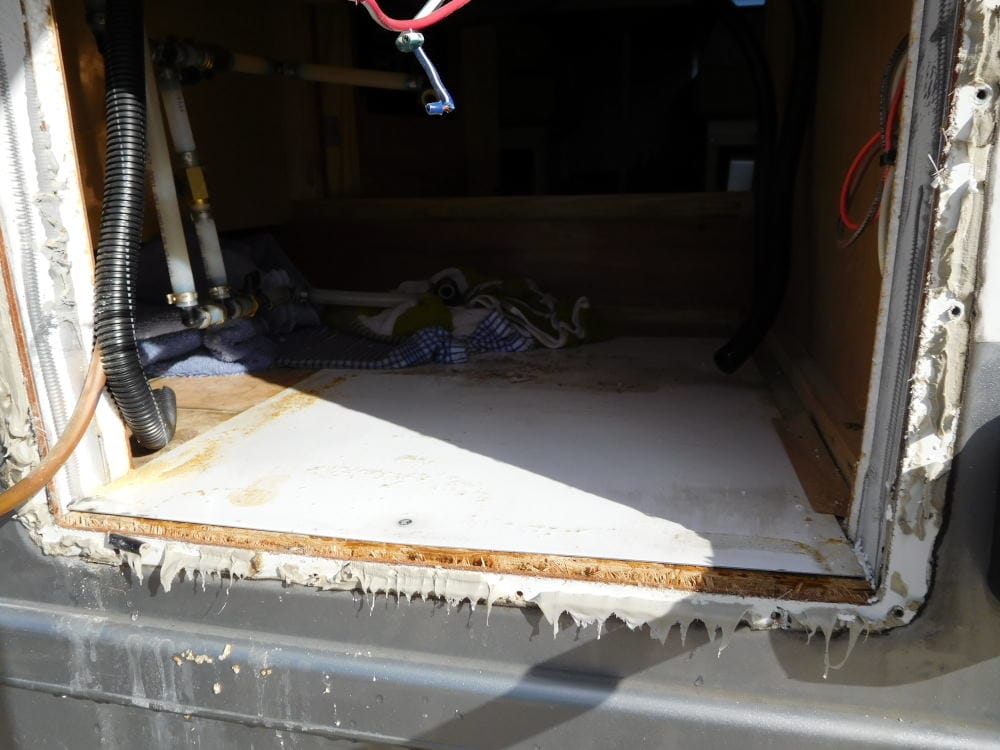 Someone is curious about the goings-on! 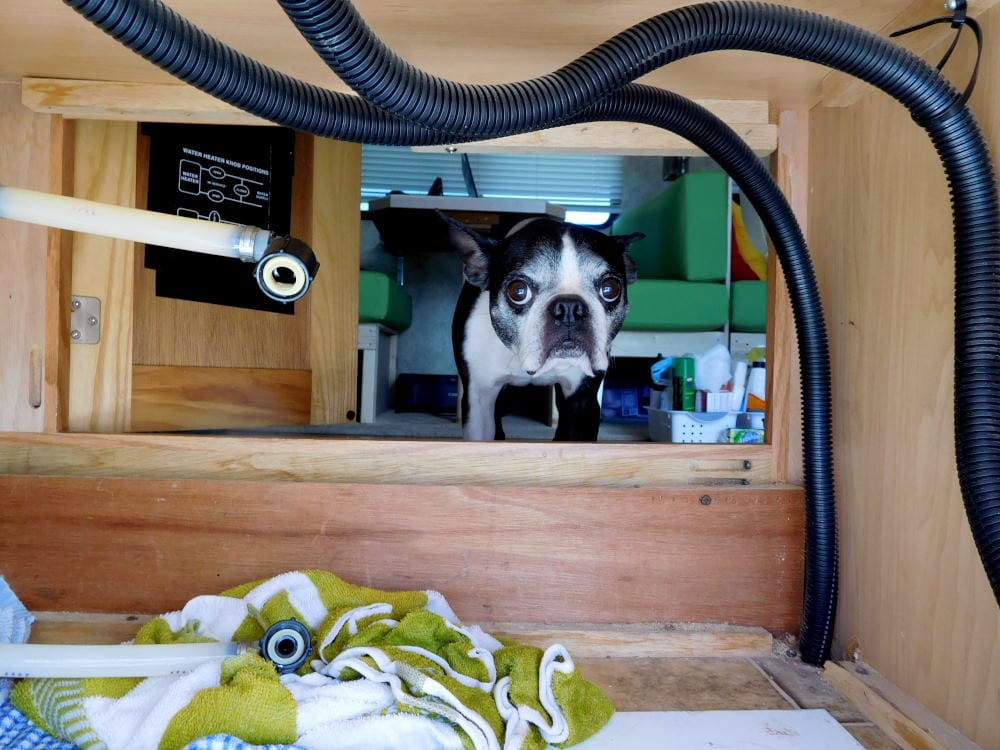 Next, Barry placed fresh butyl tape around the opening, after I cleaned everything inside. 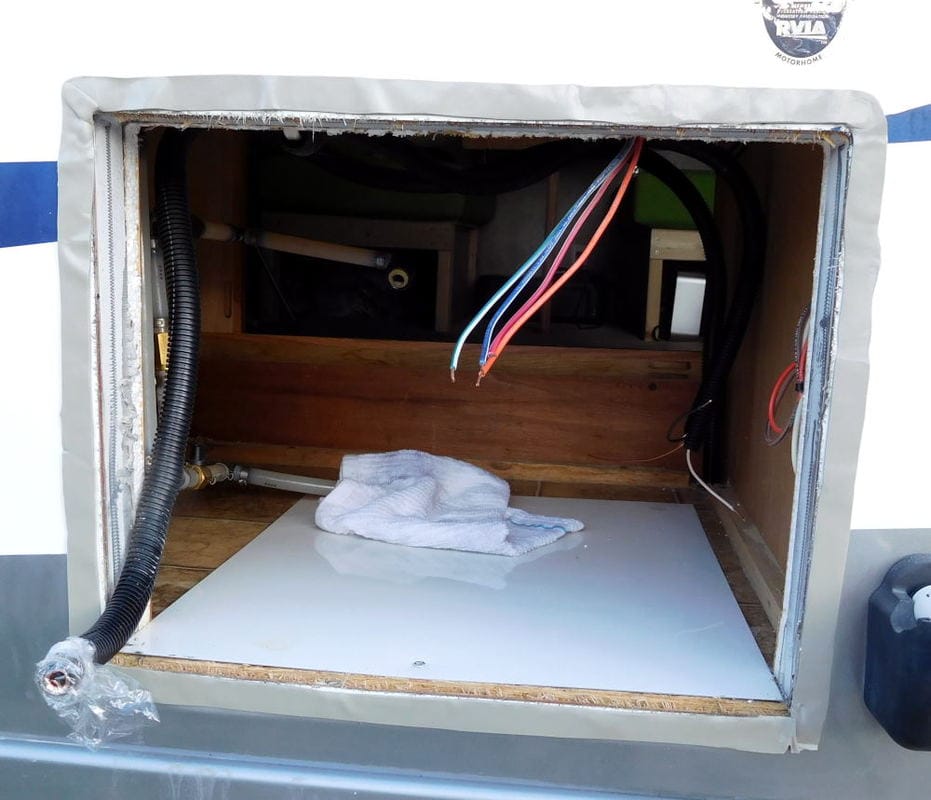 The wiring has to be hooked up before pushing the unit back into place. 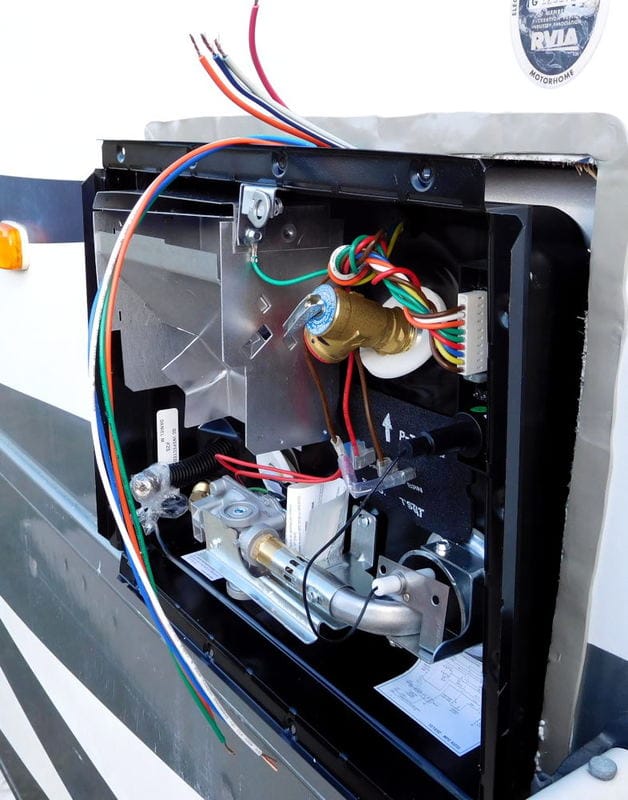  Here Barry is reattaching the water lines. 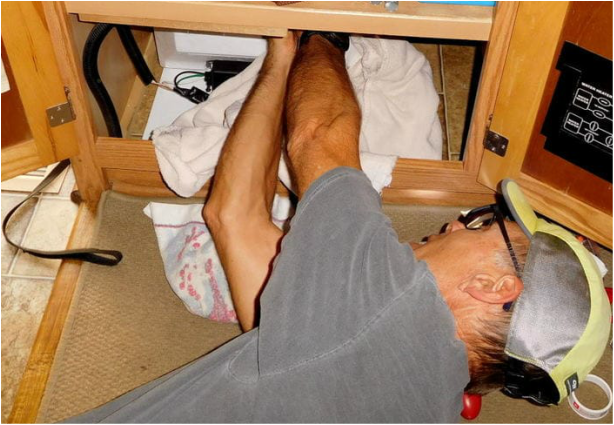 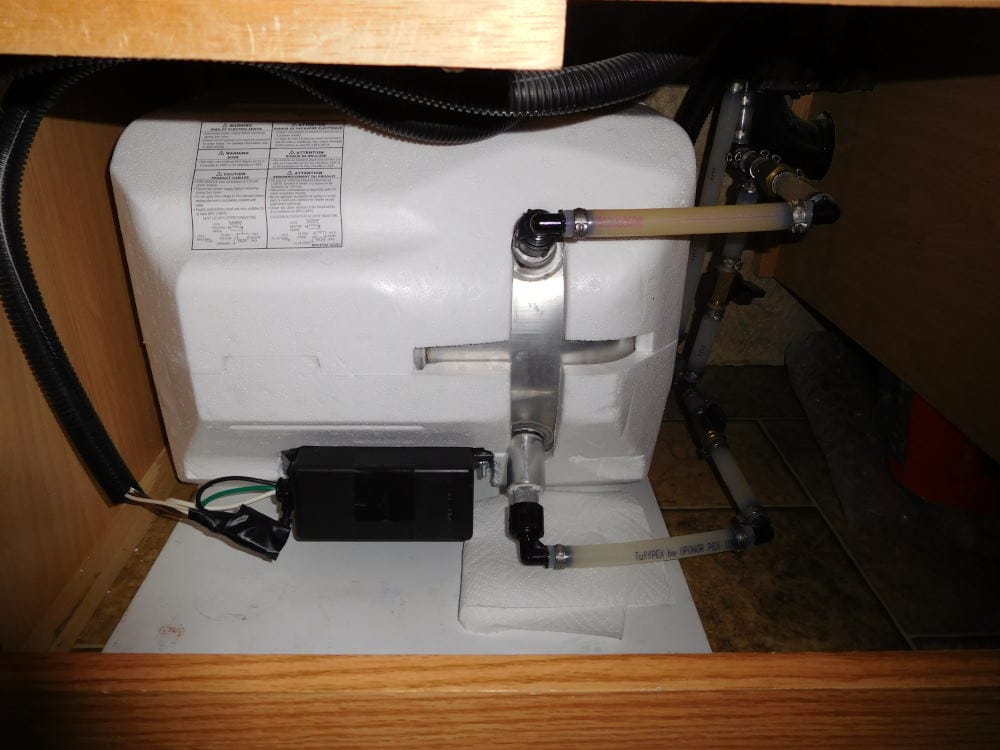 Now he's screwing the unit in place, including corner brackets. 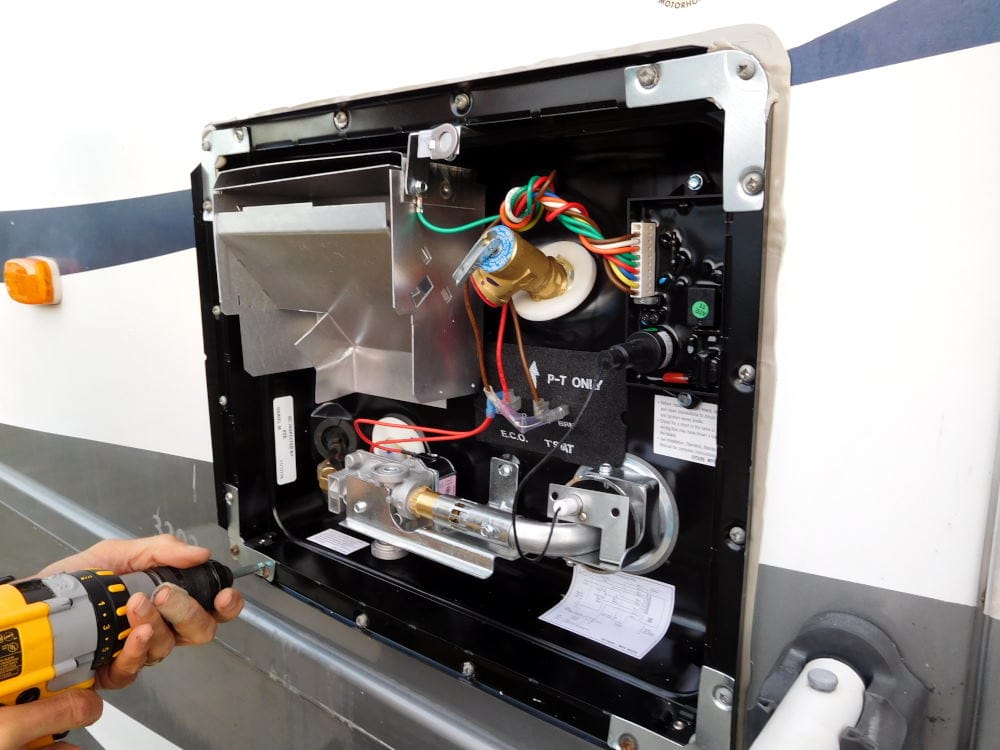 After we tested the unit in electric mode to ensure it was heating water, he fired up the propane, and we saw the flame. A success! 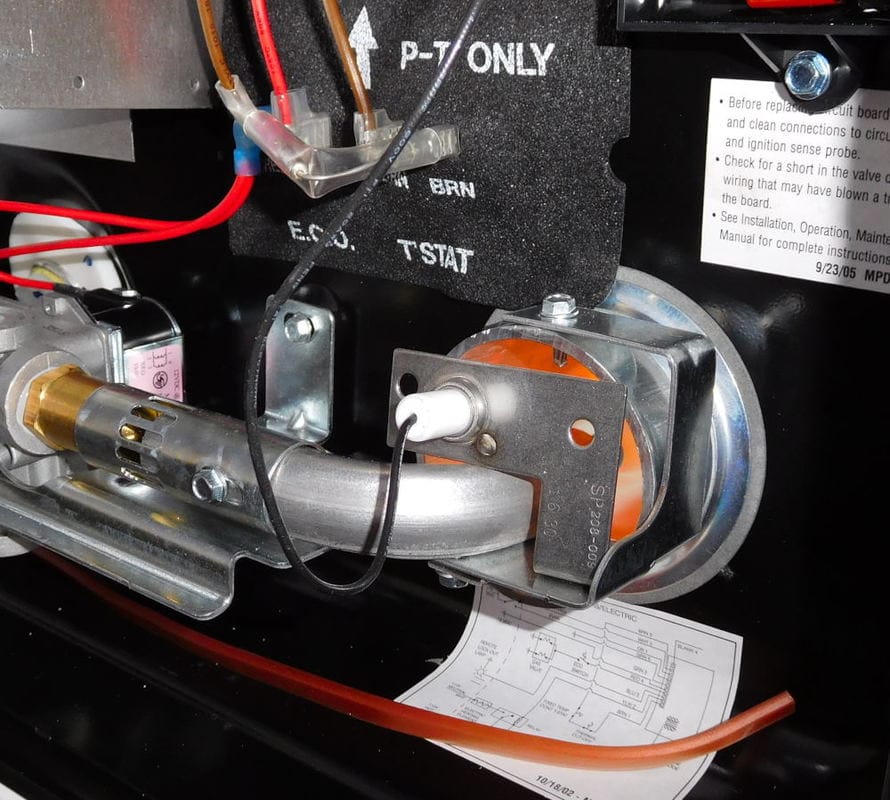 Here is the new, shiny door!  The new water heater works great and really heats up the water! Barry was also able to clean the deposits from the leakage off the side of Pearl with a little CLR.
Another RV project completed successfully!
4 Comments
12/16/2016 08:50:47 am
One thing about an RV vs a boat .. you don't have to worry about dropping things in the water! LOL!
Emily
12/19/2016 07:45:18 am
You are so right, Cheryl! When we had our C30, I admit that we both managed to drop several things in the water. Barry lost a wrench once, and I even lost a boat hook while fending off from a dock piling!
Barb Nutting
12/17/2016 10:12:43 am
Only you can make installing a water heater sound fun!! Love the pic of Paisly. A Merry 80 degree Christmas!!
Emily
12/19/2016 07:46:14 am
Thanks, Barb! I figured that this post would only be of interest to the most die-hard RVers, except for the Paisley pic. She adds interest to everything. :) Merry Christmas to you as well! Leave a Reply. |

Emily & BarryWe're a long-married, early-retired couple who are currently traveling as nomads with no fixed home base. After years of living in North Carolina (Emily's home state), we spent 18 months living oceanfront on Ambergris Caye, Belize, a year road-tripping the US in a Honda CR-V, a year in Playa del Carmen, Mexico, and are now roaming North America in our 32' motorhome, Pearl, following warm weather whenever possible. 
Paisley, May 2016
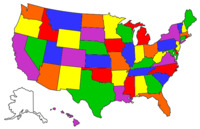
States visited (pre-RV)
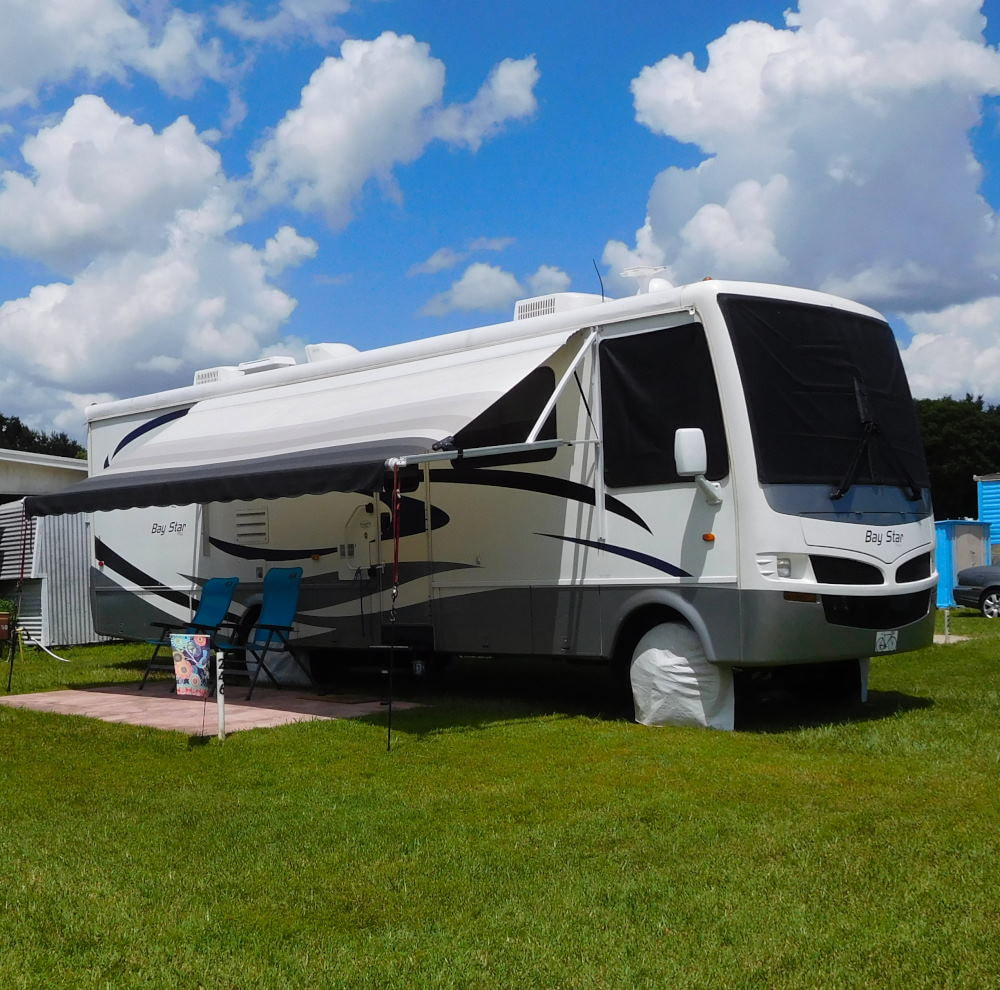
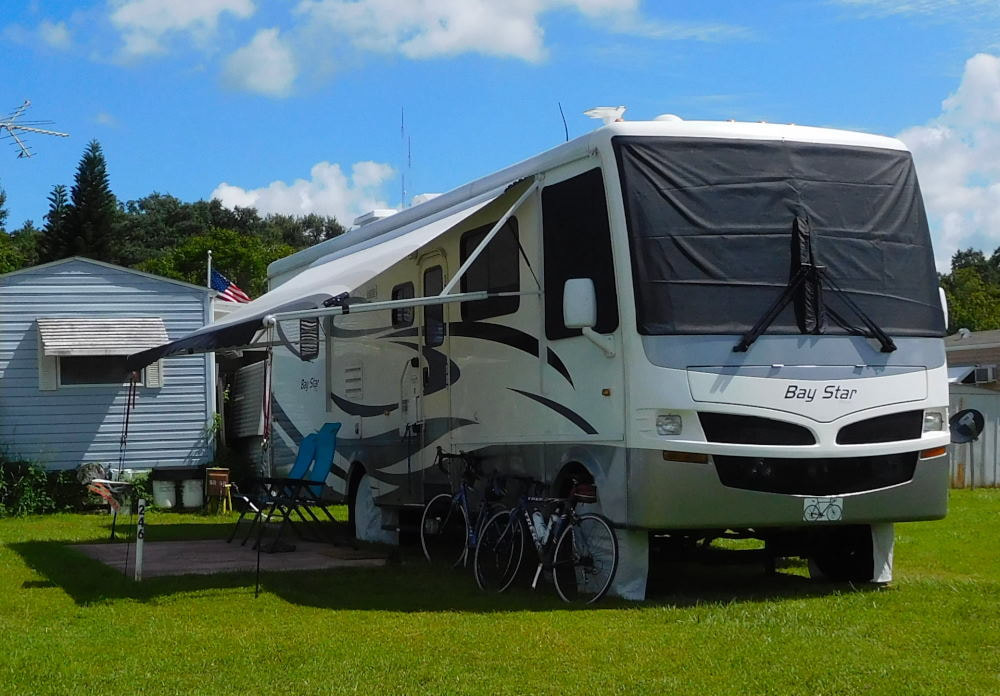
Pearl, a 2007 Newmar Bay Star
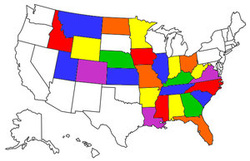
States visited in "Pearl"
Archives
July 2019
Favorite Travel Blogs |

 RSS Feed
